9 White Subway Backsplash Ideas That Work in Any Size Home
9 White Subway Backsplash Ideas That Work in Any Size Home
White subway tile has been around for over a century, and honestly, it’s not going anywhere. There’s a reason designers keep coming back to it no matter how many trends come and go. It’s clean, it’s affordable, and it plays nice with pretty much any kitchen style you can think of.
But here’s the thing — “white subway tile” doesn’t have to mean boring. The layout, grout color, tile size, and finish you choose can completely change the personality of your space. Whether you’re working with a cramped city kitchen or a sprawling farmhouse layout, there’s a version of this classic that fits. Let’s get into nine ways to make it work for your home.
Classic Running Bond Layout

This is the one you picture when someone says “subway tile” — bricks staggered in a 50% offset, just like the old New York subway stations that started the whole trend. It’s simple, it’s balanced, and it never looks dated.
This layout works especially well in smaller kitchens because the repetition doesn’t compete for attention. It just quietly does its job. Pair it with white grout for a seamless, almost wallpaper-like effect, or go with light gray if you want the pattern to read a little more clearly.
It’s also one of the easiest layouts for a DIYer to tackle since the offset is forgiving and doesn’t require much planning. Budget-wise, this is usually your cheapest option too, since standard 3×6 tiles are widely available and inexpensive.
Herringbone for a Custom Look

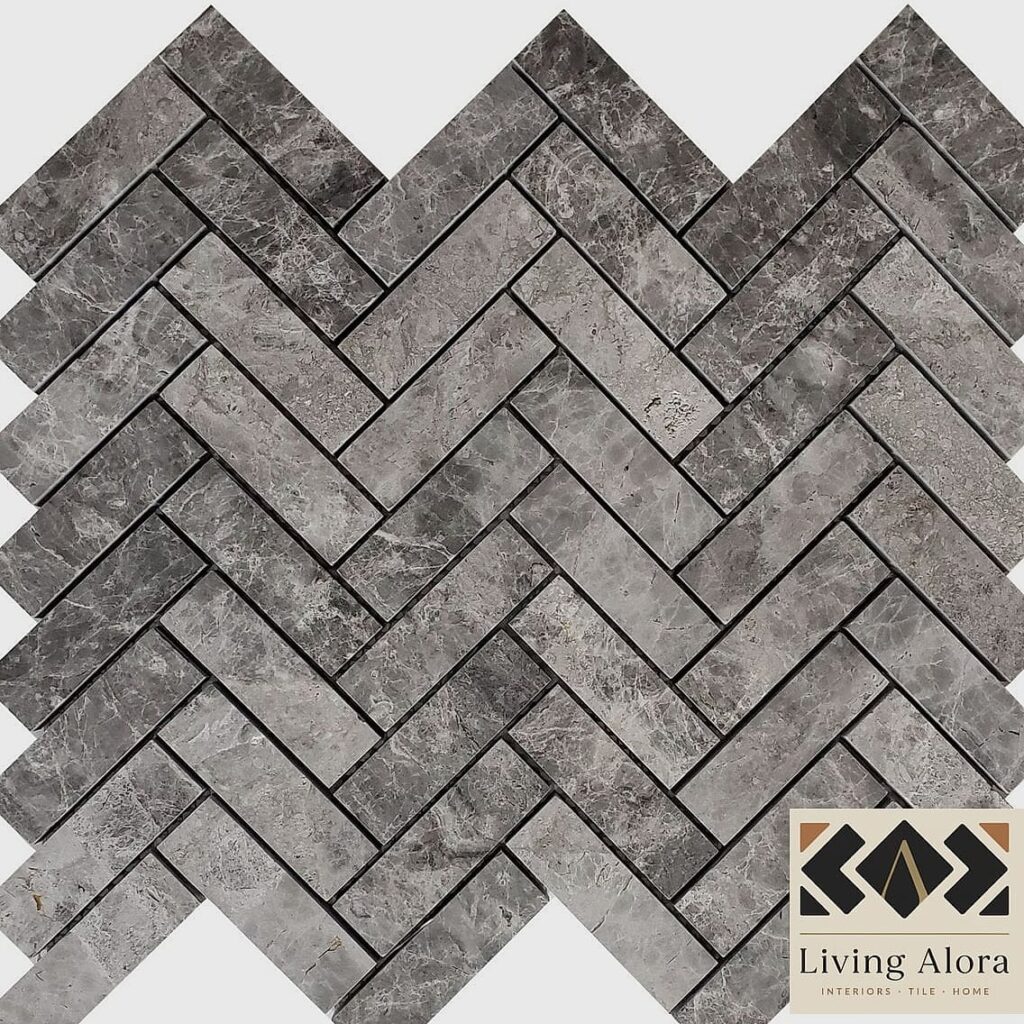
If you want people to actually stop and notice your backsplash, herringbone is the move. The zigzag pattern adds movement and texture that a straight layout just can’t match, and it instantly makes a kitchen feel more custom without requiring a full renovation.
This one works beautifully behind a stove as a focal point, even if the rest of your kitchen keeps things simple. It’s a great option for homeowners who love a traditional white subway tile but want something with a little more visual interest.
Fair warning — herringbone takes more cuts and more time to install than a straight layout, so it’s either a job for a patient DIYer or worth hiring a tile pro. The extra labor is usually worth it for how much character it adds.
Vertical Stack for Small Kitchens

Turning subway tile on its end and stacking it vertically is a sneaky trick for making low ceilings feel taller. Instead of the eye moving side to side, it moves up, which tricks the brain into perceiving more height in the room.
This layout is particularly great in galley kitchens or small apartment kitchens where every inch of visual space matters. It also pairs nicely with floating shelves, since the clean vertical lines complement open shelving instead of competing with it.
Keep the grout lines thin and consistent for the best effect. A slightly warmer white tile here can soften the look if your kitchen already has a lot of cool-toned finishes like stainless steel or matte black fixtures.
Stacked Horizontal Grid

This is the more modern cousin of the classic running bond. Instead of offsetting each row, the tiles line up in a clean grid, creating crisp horizontal and vertical lines throughout the whole wall.
It reads more contemporary and minimalist, which makes it a great fit for homes leaning into a modern farmhouse or transitional style. Because the lines are so precise, this layout does require careful installation — even small inconsistencies in tile spacing become more noticeable in a grid pattern.
If your kitchen already has a lot of pattern happening (patterned flooring, a busy countertop), the stacked grid gives your eyes a clean, calm surface to rest on. It’s a nice way to balance out a busier design.
Extended Backsplash to the Ceiling

Instead of stopping the tile at the standard 18 inches above the counter, this idea takes white subway tile all the way up to the upper cabinets or even the ceiling. It’s become a favorite among designers because it makes a kitchen feel taller, brighter, and more finished.
This works especially well in kitchens with a window over the sink, since the tile can wrap around it for a cohesive, almost architectural look. It’s also a smart choice if you’re skipping upper cabinets in favor of open shelving, because it gives the wall a purpose instead of leaving it plain.
Cost-wise, this obviously uses more tile and more labor, so it’s more of a splurge option. But for a kitchen that gets a lot of natural light, the payoff in brightness and perceived space is often worth it.
Colored or Contrast Grout

The tile itself stays classic white, but swapping the grout color changes the whole vibe. Charcoal or black grout gives the pattern serious definition and a slightly industrial, modern edge. Warm gray grout softens things while still adding contrast.
This is one of the easiest ways to personalize a builder-grade white subway backsplash without changing the tile at all. It’s also a good option if you’re worried about white grout staining over time, since darker grout naturally hides everyday grime better.
If you do go with contrast grout, just know the pattern becomes the star of the show, so keep your countertops and cabinetry a little more understated to let it shine.
Mixed Tile Sizes for Texture
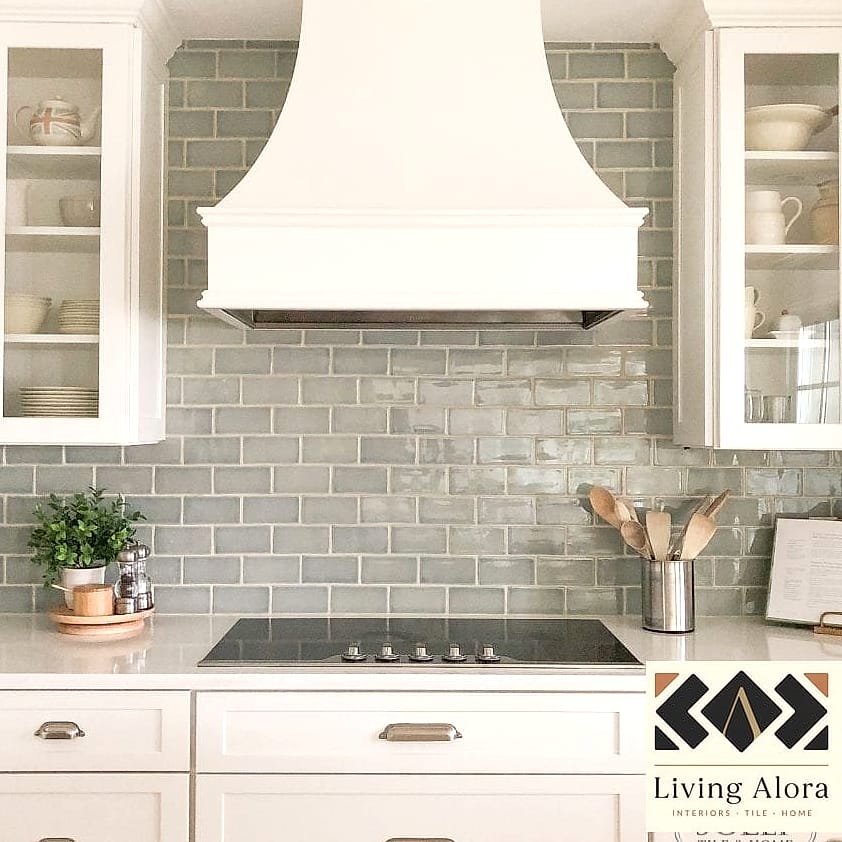
Traditional subway tile is 3×6 inches, but mixing in a few different sizes — like 2×8 or 3×9 — within the same white palette adds subtle texture without introducing new colors. It keeps things cohesive while avoiding that flat, uniform look some kitchens end up with.
This idea works well for homeowners who love a minimalist white kitchen but still want some depth and dimension. It’s a quieter way to add interest compared to a bold pattern like herringbone, which makes it a nice middle ground.
Because you’re working with multiple tile sizes, this is a project better suited for an experienced installer who can keep the grout lines aligned and consistent across the different dimensions.
Handmade Zellige-Style White Tile
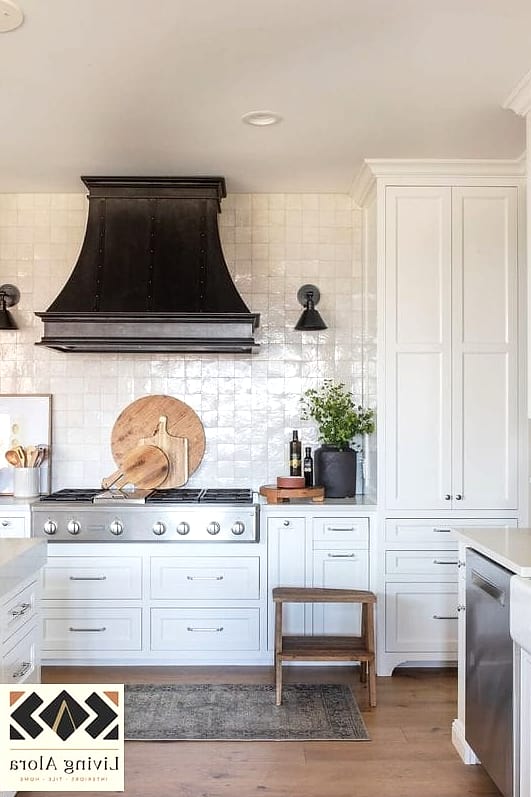
If you love the subway shape but want something with more soul, zellige-style tiles bring in gentle color variation, slight texture, and a handmade, imperfect quality that mass-produced ceramic just can’t replicate. Each tile catches the light a little differently, which gives the whole wall a subtle glow.
This is a gorgeous choice for kitchens going for that European farmhouse or Mediterranean-inspired look. It pairs beautifully with brass hardware, wood cutting boards on display, and warm, natural finishes.
Because these tiles are often handmade, they come at a higher price point and can be trickier to install evenly. It’s a bit of a splurge, but for homeowners chasing a one-of-a-kind kitchen, it’s often worth the investment.
Peel-and-Stick for Renters and Budgets

Not everyone can rip out tile or commit to a permanent installation, and that’s exactly where peel-and-stick subway tile comes in. Modern versions have come a long way — they look surprisingly realistic and can mimic ceramic, glass, or even zellige textures.
This is a great renter-friendly option since it typically removes cleanly without damaging the wall underneath, though it’s always smart to test a small section first. It’s also a nice weekend project if you want a quick refresh before selling a home or just want to try out a white subway look before committing to real tile.
Maintenance is simple — a damp cloth handles most spills and splatters. Just avoid placing it directly behind a stove where high heat could affect the adhesive over time. For that area, a small section of real tile behind the range paired with peel-and-stick elsewhere is a smart compromise.
Whichever version you land on, white subway tile earns its reputation as a classic for a reason — it adapts to whatever style you’re going for, works in kitchens of every size, and rarely looks out of place a few years down the road. Start with the layout and finish that match your space and budget, and let the smaller details like grout color or tile texture do the personalizing from there.