27 How to Remove Backsplash Ideas You’ll Want to Save Right Now
- Score the Grout Lines First
- Use a Heat Gun on Adhesive-Backed Tiles
- Try a Putty Knife and Rubber Mallet Combo
- Rent a Vibrating Tile Remover
- Soak Old Adhesive with Fabric Softener
- Protect Countertops with Rosin Paper
- Remove Mosaic Tile Sheet by Sheet
- Use a Chisel for Stubborn Natural Stone
- Steam Away Wallpaper-Style Backsplash
- Work Top to Bottom, Not Bottom to Top
- Label Outlets and Switch Plates Before Starting
- Use a Multi-Tool with a Grout Blade for Tight Corners
- Apply a Chemical Adhesive Remover for Stuck-On Residue
- Remove Tile in Small Sections to Control Debris
- Use a Floor Scraper for Large Flat Panels
- Test a Small Section Before Committing to a Method
- Wet Sponge Method for Stubborn Grout Residue
- Use a Utility Knife on Caulked Edges First
- Remove Herringbone or Patterned Layouts in Diagonal Rows
- Use a Shop Vac During Removal, Not Just After
- Remove Thin-Set with a Diamond Cup Wheel
- Soften Epoxy Grout with a Heat Gun Before Scraping
- Remove Backsplash Around a Range Hood Carefully
- Use a Painter’s Tool for Delicate Peel-and-Stick Corners
- Remove Glass Tile with Extra Caution
- Patch and Skim Coat Immediately After Removal
- Save Leftover Tiles for Future Patch Repairs
27 How to Remove Backsplash Ideas You’ll Want to Save Right Now
Pulling out an old backsplash sounds intimidating, but it’s honestly one of the more forgiving DIY projects out there once you know the right approach for your material. Whether you’re dealing with stubborn tile, peel-and-stick panels, or a stone accent wall that’s seen better days, there’s a method that fits your situation. I’ve pulled together every technique, tool, and trick worth knowing so you can tackle this project with confidence instead of dread.
Score the Grout Lines First
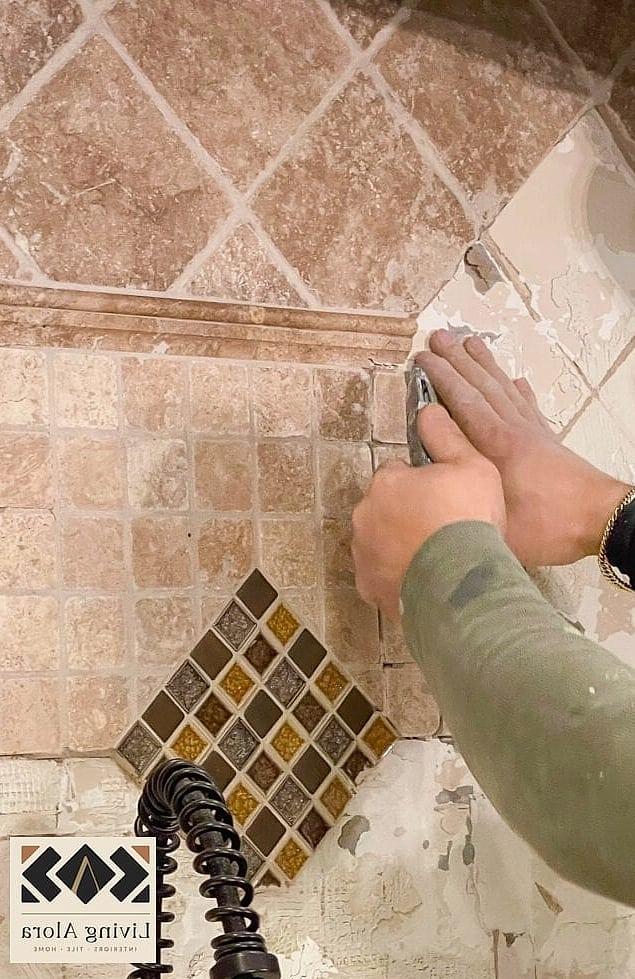
Before you touch a single tile, run a grout saw or oscillating multi-tool along every grout line. This breaks the seal between tiles and keeps you from cracking the drywall behind them when you start prying. It’s a slow step, but skipping it usually means more patchwork later. Most people find this part oddly satisfying once they get a rhythm going.
Use a Heat Gun on Adhesive-Backed Tiles
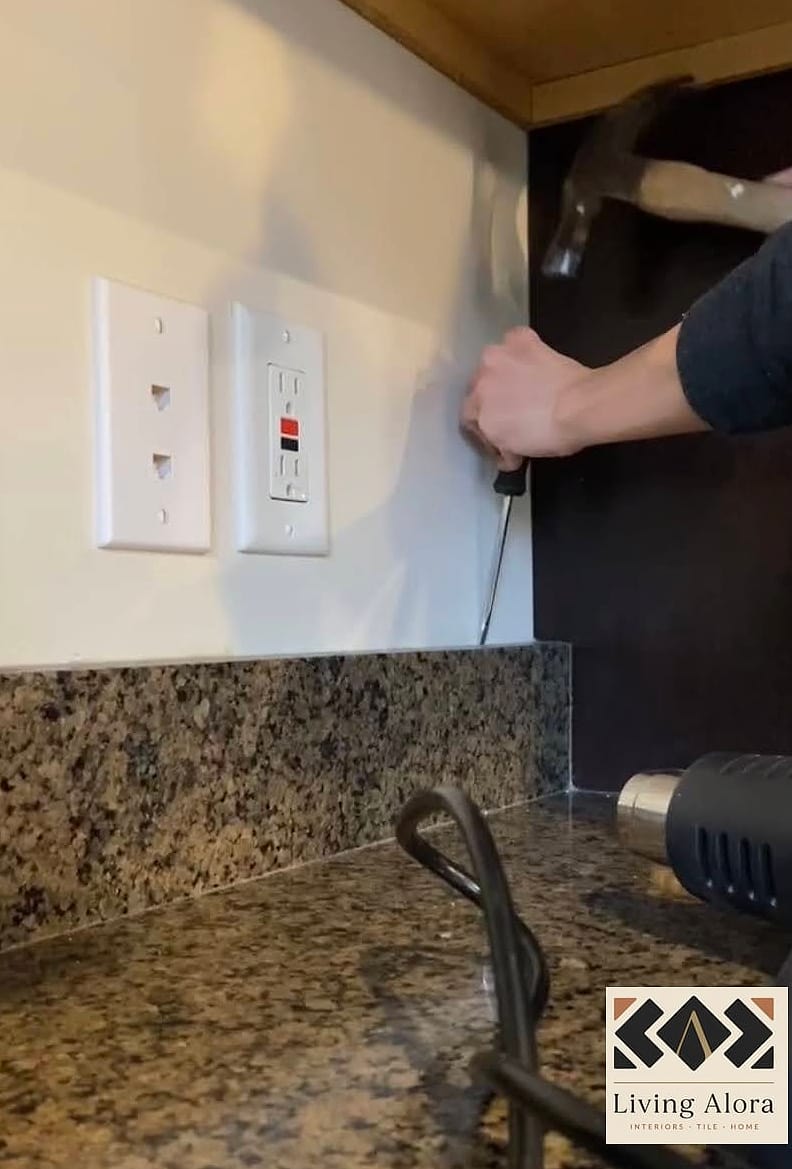
Peel-and-stick tiles and some vinyl backsplash panels respond really well to gentle heat. Warming the adhesive with a heat gun softens it enough that tiles lift off in one piece instead of shattering. Keep the gun moving so you don’t scorch the wall, and work in small sections. This method is especially handy in rentals where you want to leave the wall in decent shape.
Try a Putty Knife and Rubber Mallet Combo
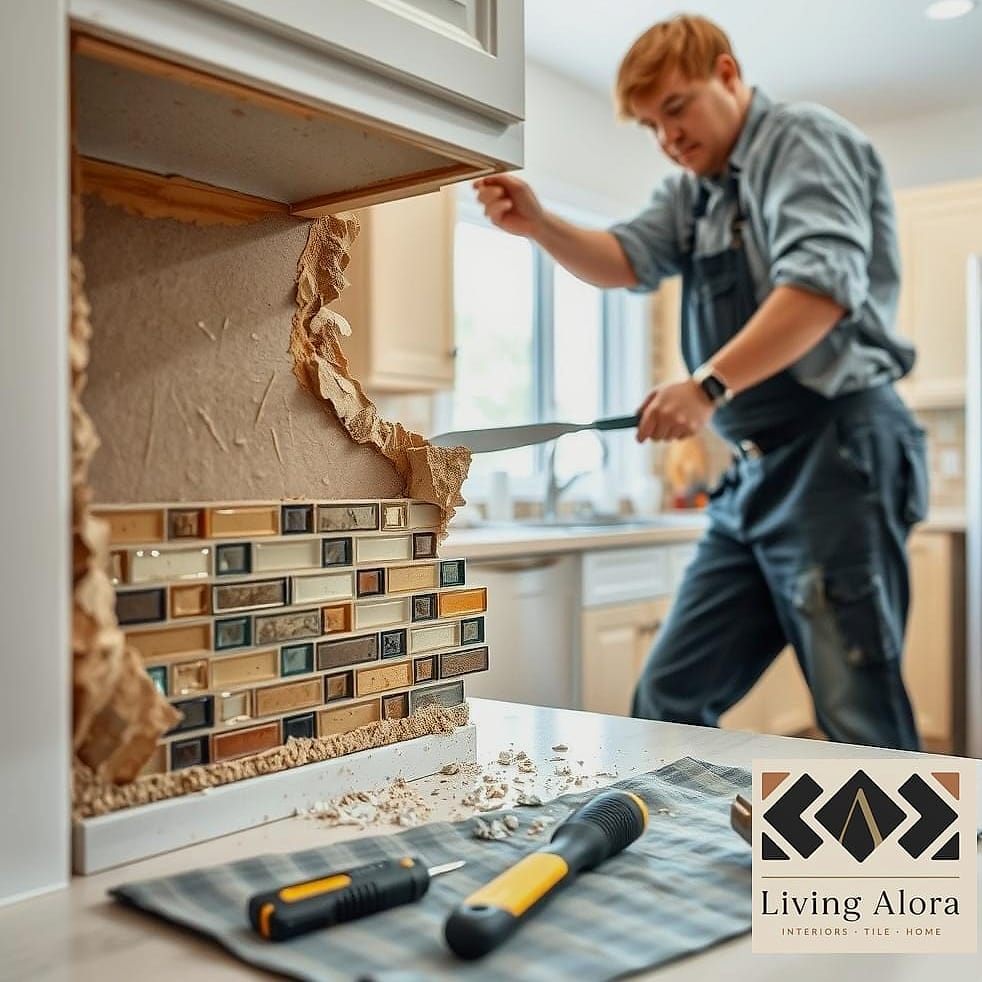
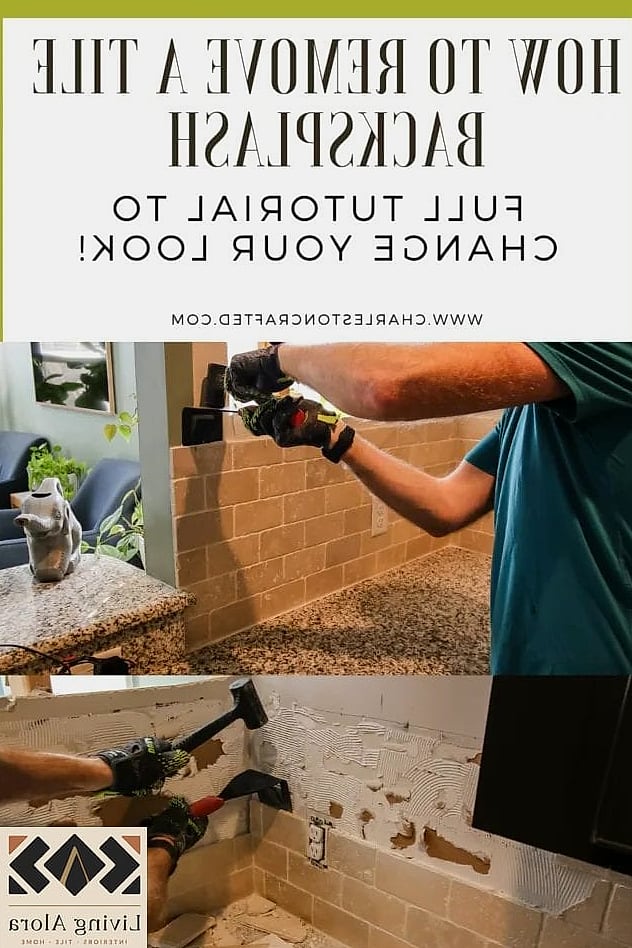
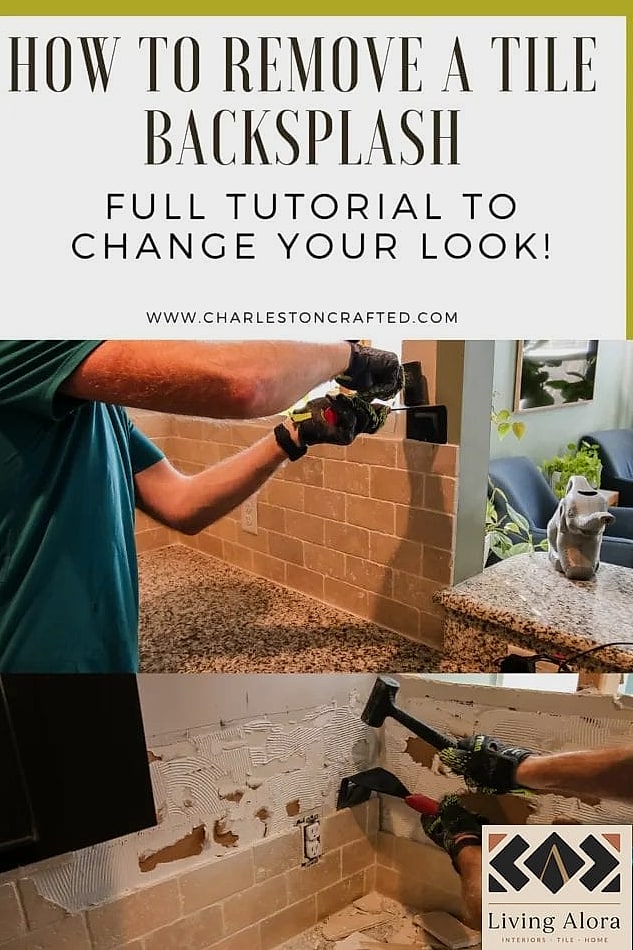
For classic ceramic or porcelain tile, a wide putty knife tapped gently with a rubber mallet works surprisingly well. You’re aiming to slide the blade behind the tile and pop it forward rather than smashing it. This combo gives you more control than a hammer alone and reduces flying debris.
Rent a Vibrating Tile Remover
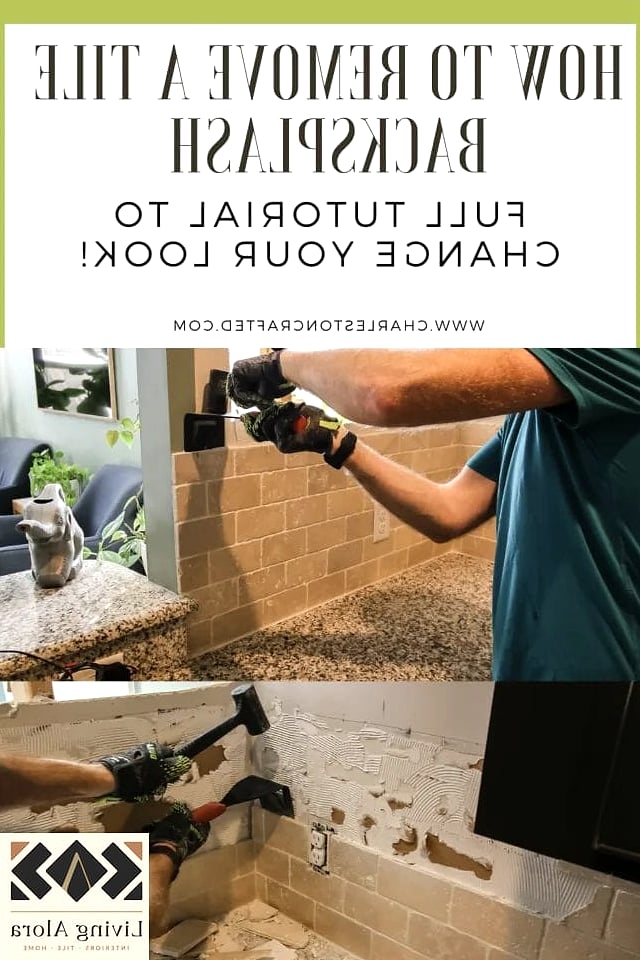
Home improvement stores often rent out vibrating or oscillating tile removal tools, and they’re worth every penny on a big job. These tools chip away at the thin-set beneath tiles without hammering, which means less noise and less risk of damaging studs behind the wall. Great option if you’ve got a full kitchen wall to clear.
Soak Old Adhesive with Fabric Softener
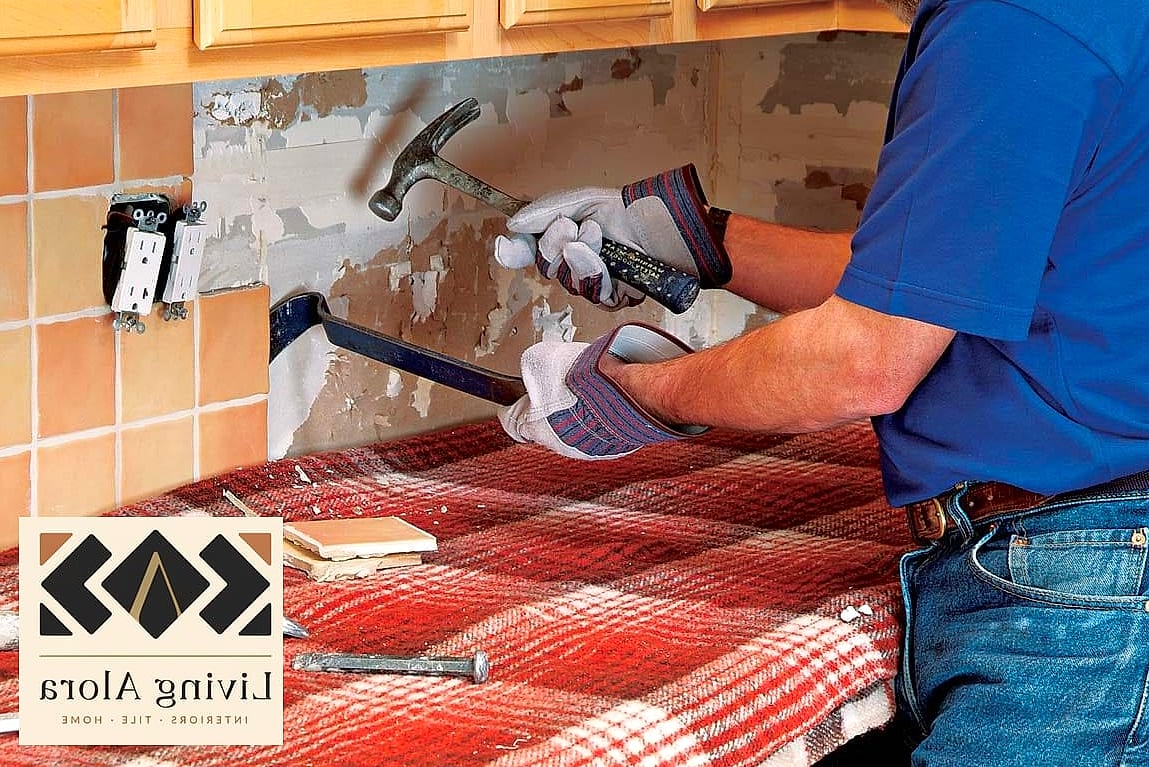
This one sounds strange, but it genuinely works on certain adhesive-backed tiles. Mix warm water with a splash of fabric softener, spray it on the seams, and let it sit for fifteen minutes. The solution breaks down some adhesives just enough to make peeling easier. It’s a budget-friendly trick worth trying before you buy specialty adhesive removers.
Protect Countertops with Rosin Paper
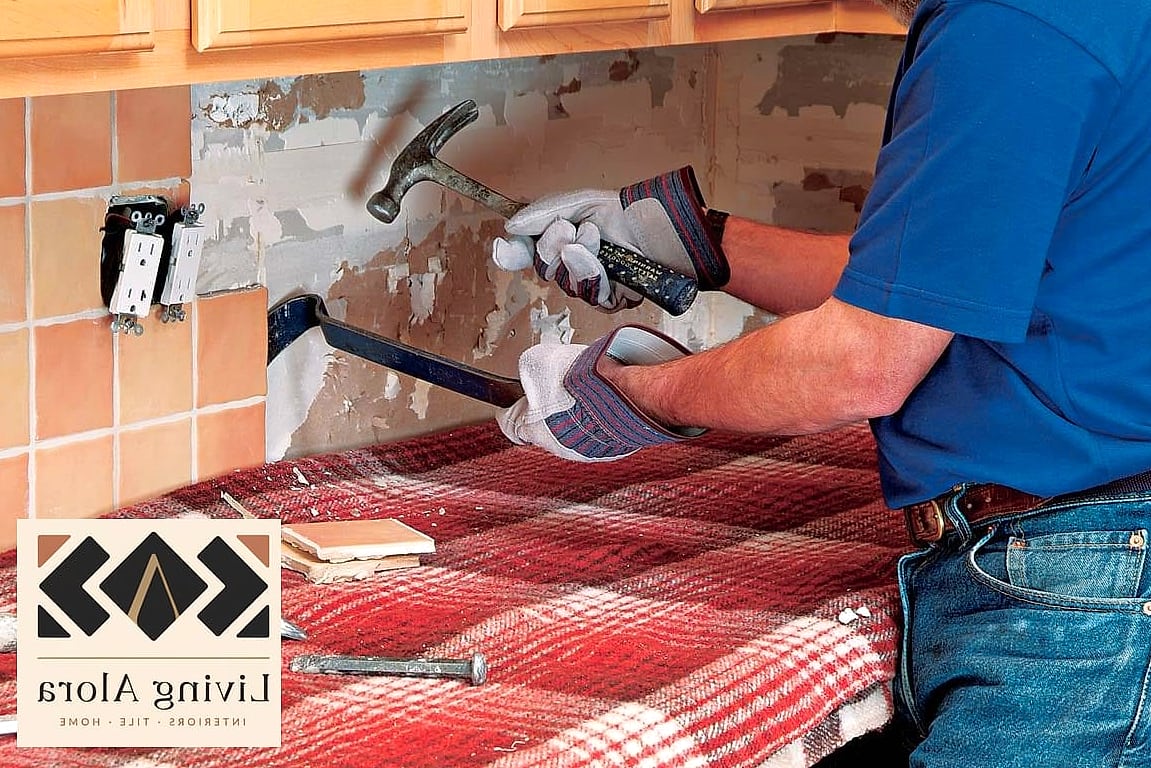
Before demo day, lay down rosin paper or a canvas drop cloth over your countertops and taped them down well. Falling tile shards and dust can scratch quartz or butcher block surfaces fast. This is a small prep step that saves a lot of regret.
Remove Mosaic Tile Sheet by Sheet
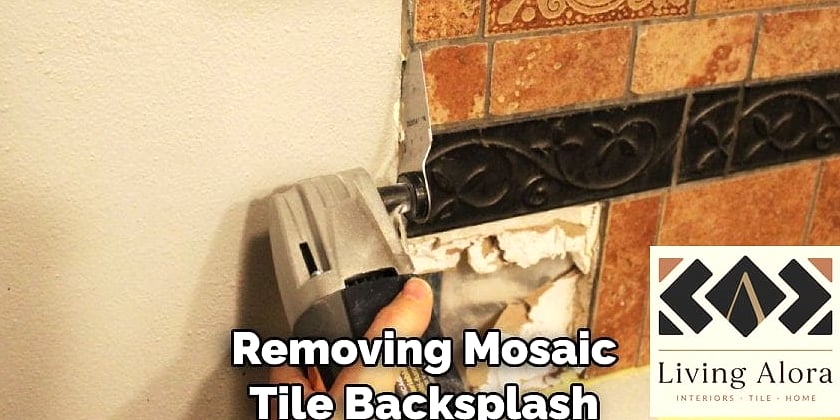
Mosaic tile usually comes on mesh backing, which actually works in your favor during removal. Instead of prying individual tiny tiles, target the mesh strip and pull whole sections at once when the adhesive gives. It’s faster and creates less mess than fighting each tiny piece separately.
Use a Chisel for Stubborn Natural Stone
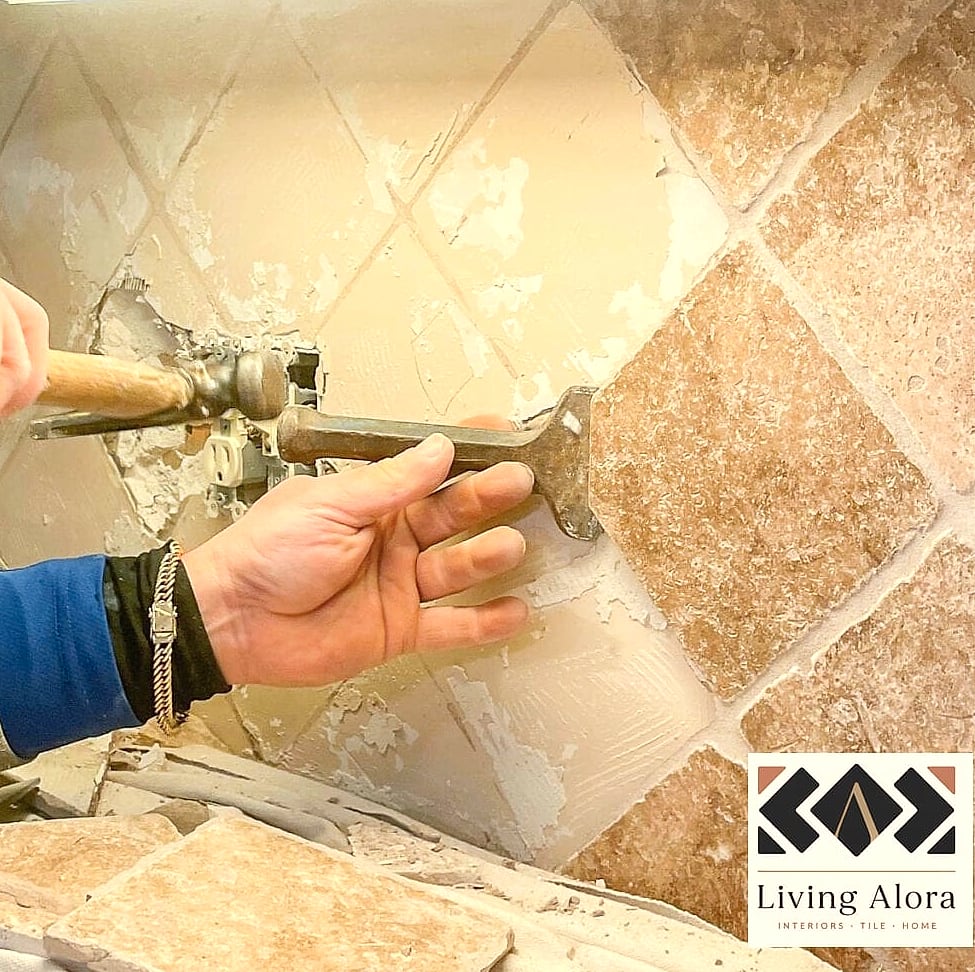
Natural stone backsplashes, especially thicker slate or travertine, often need a cold chisel and hammer. Angle the chisel at the base of the tile and tap steadily rather than swinging hard. Stone is heavy and can crack unpredictably, so safety glasses are non-negotiable here.
Steam Away Wallpaper-Style Backsplash
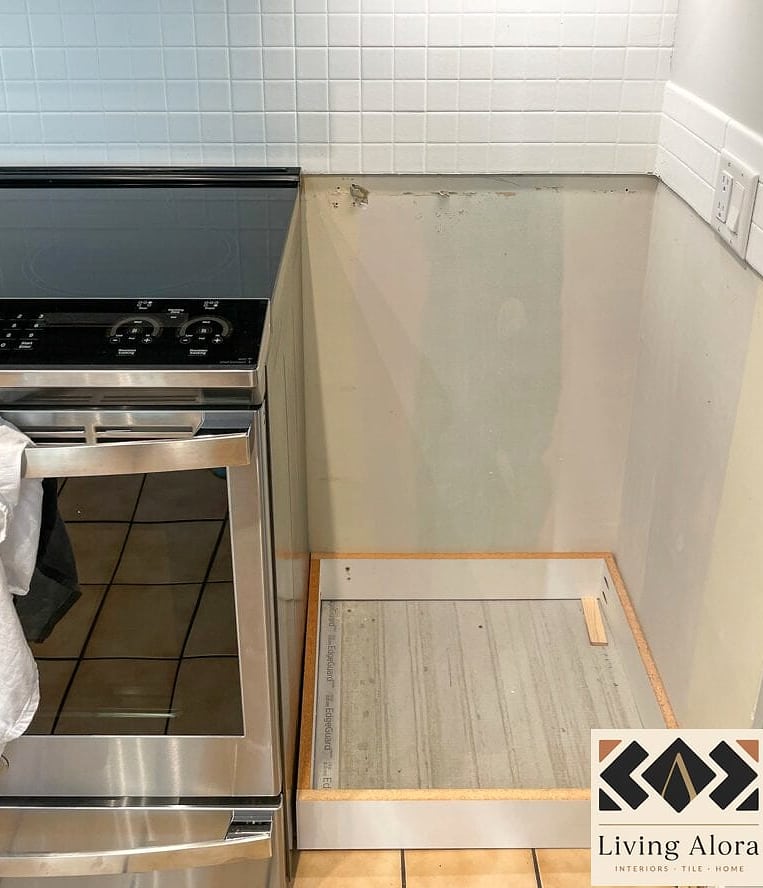
Some homes have vinyl or wallpaper-style backsplash material instead of tile. A wallpaper steamer loosens the adhesive quickly, and the material typically peels off in long strips. This is one of the easier removal jobs on this list and rarely requires patching more than a light skim coat.
Work Top to Bottom, Not Bottom to Top
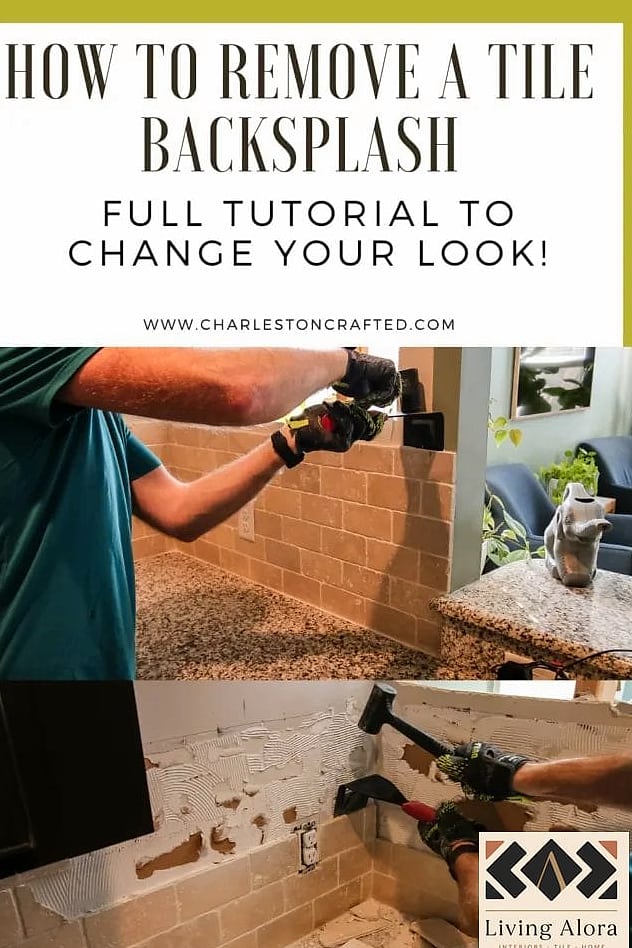
Starting removal at the top row and working down means falling debris doesn’t damage tiles you haven’t removed yet. It also keeps your work area more organized since you’re not stepping over broken pieces while reaching upward. Small sequencing choice, but it makes the whole project smoother.
Label Outlets and Switch Plates Before Starting
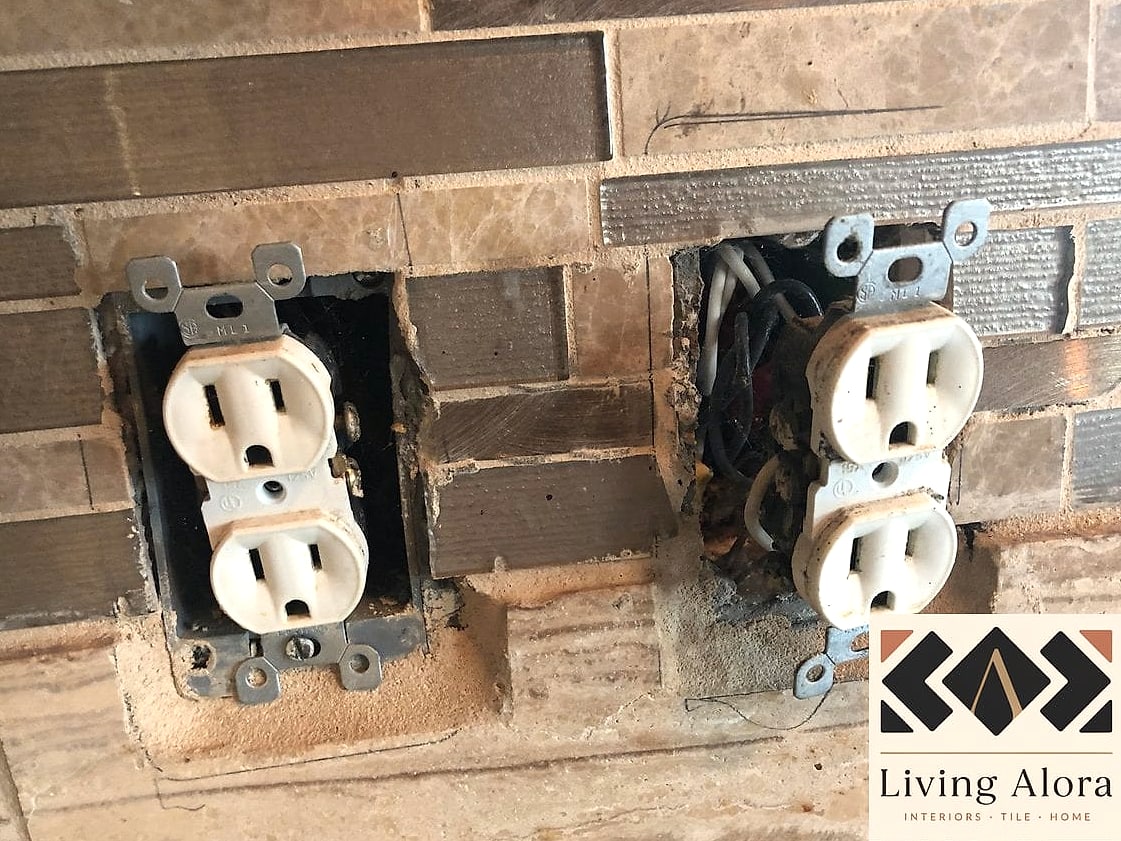
Turn off power to any outlets in the backsplash zone and remove cover plates before demo begins. Snap a quick photo of the wiring setup too. This prevents damage to electrical boxes and makes reinstalling everything afterward much less stressful.
Use a Multi-Tool with a Grout Blade for Tight Corners
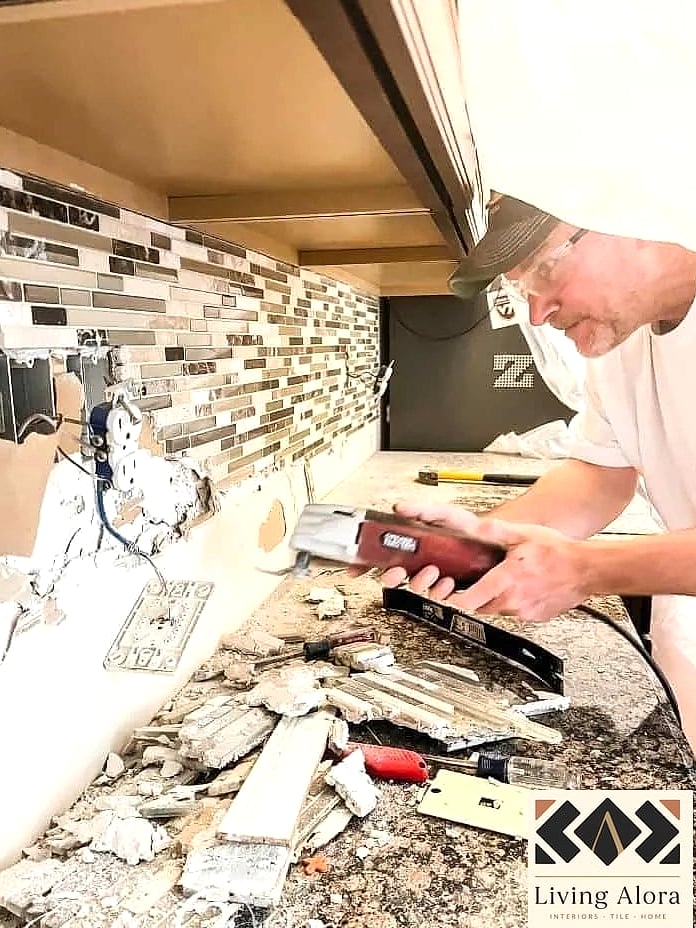
Standard tools struggle near cabinets, windows, and corners. A multi-tool fitted with a grout removal blade gets into those tight edges without gouging cabinet faces. This is especially useful in galley kitchens where backsplash runs right up against upper cabinets.
Apply a Chemical Adhesive Remover for Stuck-On Residue
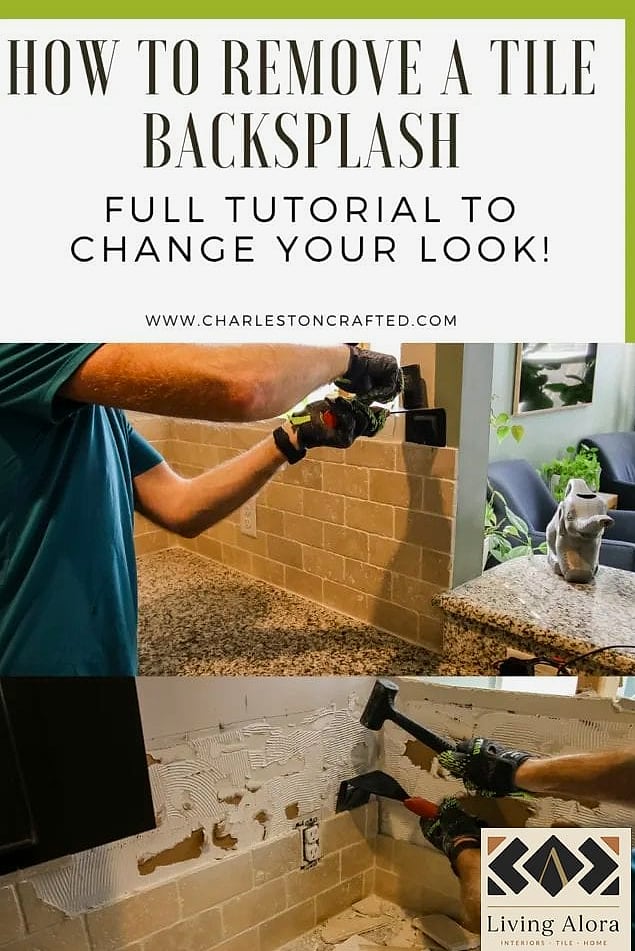
Once tiles are off, you’re often left with a layer of old mastic or thin-set clinging to drywall. A citrus-based adhesive remover softens this residue so a scraper glides through it instead of digging in. Ventilate the room well and give the product time to actually penetrate before scraping.
Remove Tile in Small Sections to Control Debris
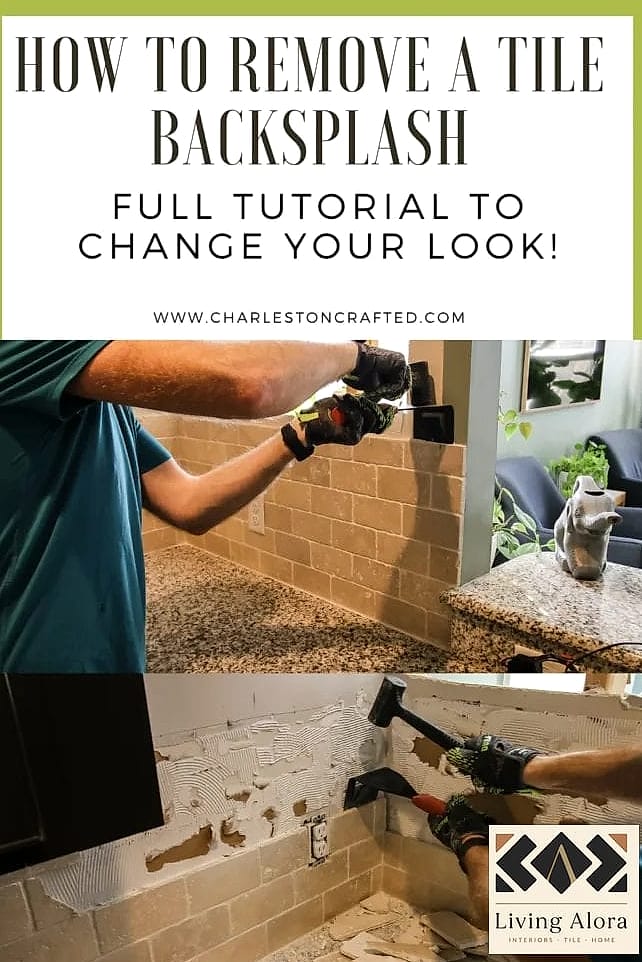
Rather than demolishing an entire wall at once, break the job into two-foot sections. This keeps dust and shards contained and makes cleanup between sections manageable. It also helps you notice drywall damage early instead of discovering it all at the end.
Use a Floor Scraper for Large Flat Panels
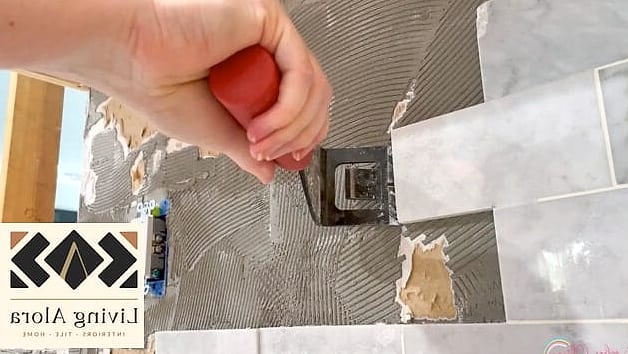
Laminate or solid-surface backsplash panels often come off cleanest with a long-handled floor scraper. The wide blade distributes pressure evenly, which helps pop the whole panel loose in fewer attempts than a small hand tool. It’s a bit of an upper-body workout, but it’s fast.
Test a Small Section Before Committing to a Method
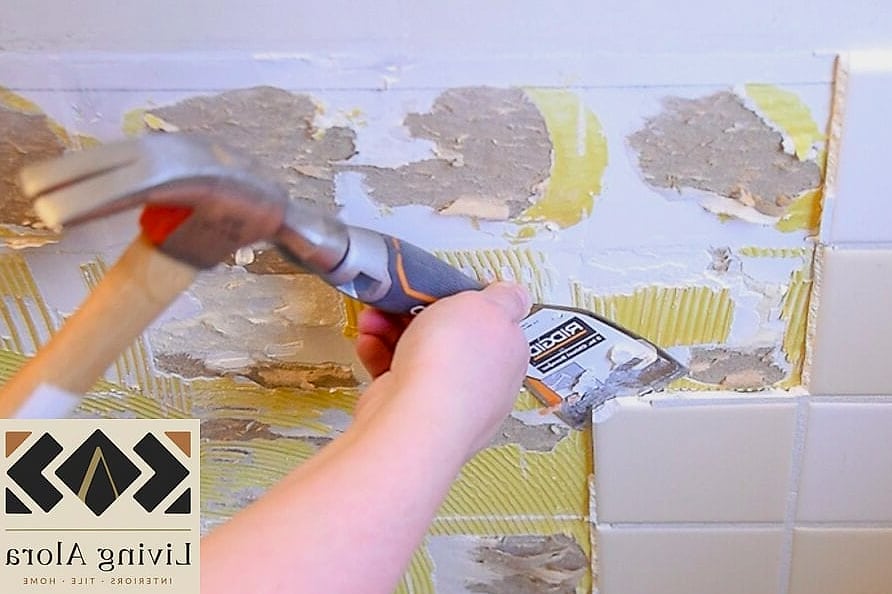
Every wall reacts a little differently based on the adhesive used originally. Before assuming heat, chemicals, or brute force is your best bet, test each method on one inconspicuous tile. This ten-minute test can save hours of frustration on the wrong technique.
Wet Sponge Method for Stubborn Grout Residue
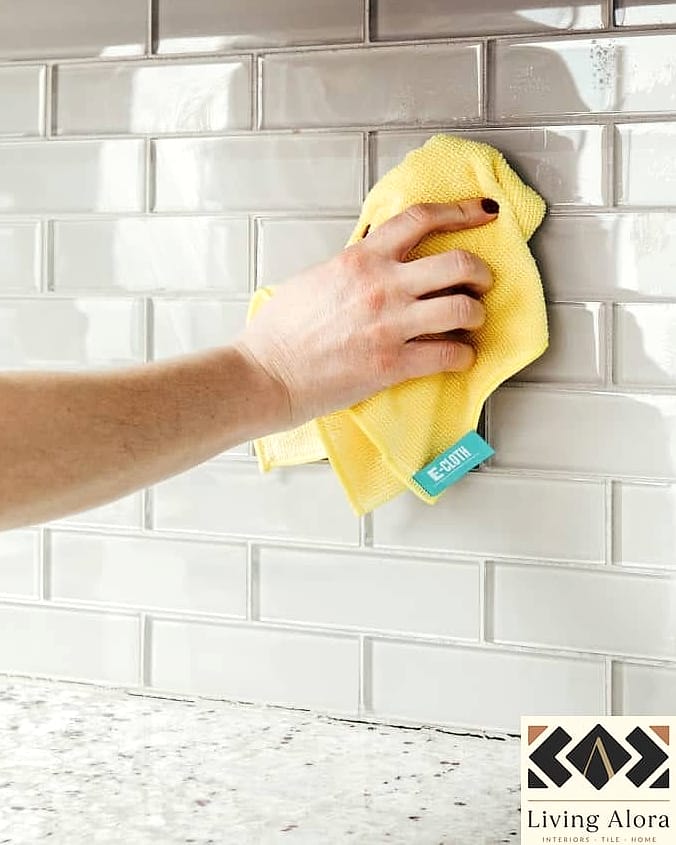
After tiles are gone, leftover grout haze on the wall can be softened with a wet sponge and a little patience. Let the water sit for a few minutes before wiping, since dry scraping tends to gouge drywall paper. This is a gentler alternative when your wall needs to stay mostly intact.
Use a Utility Knife on Caulked Edges First
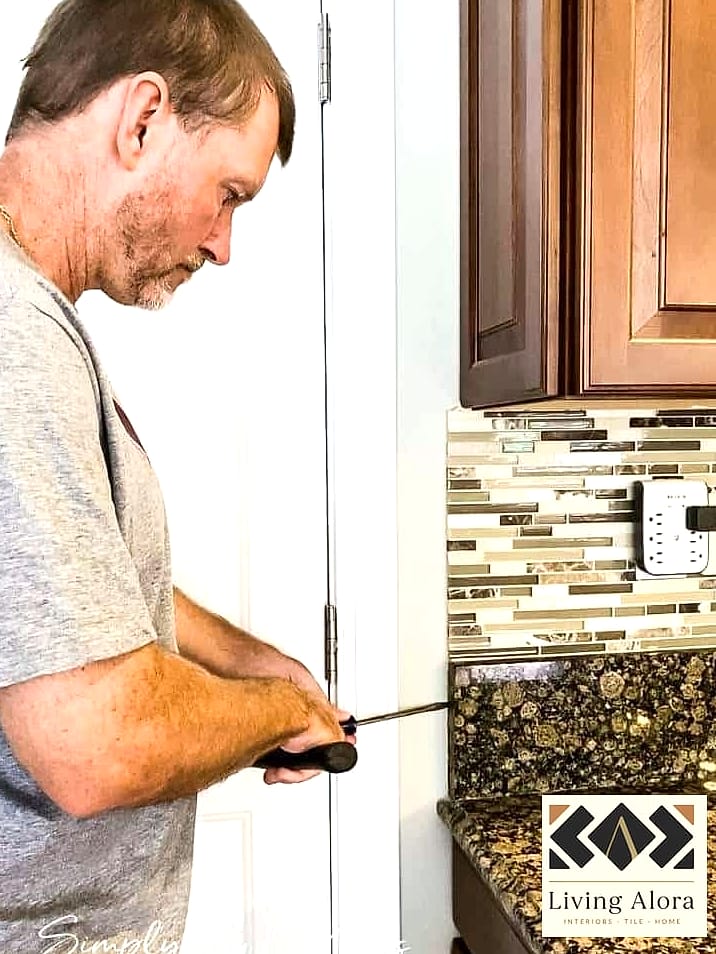
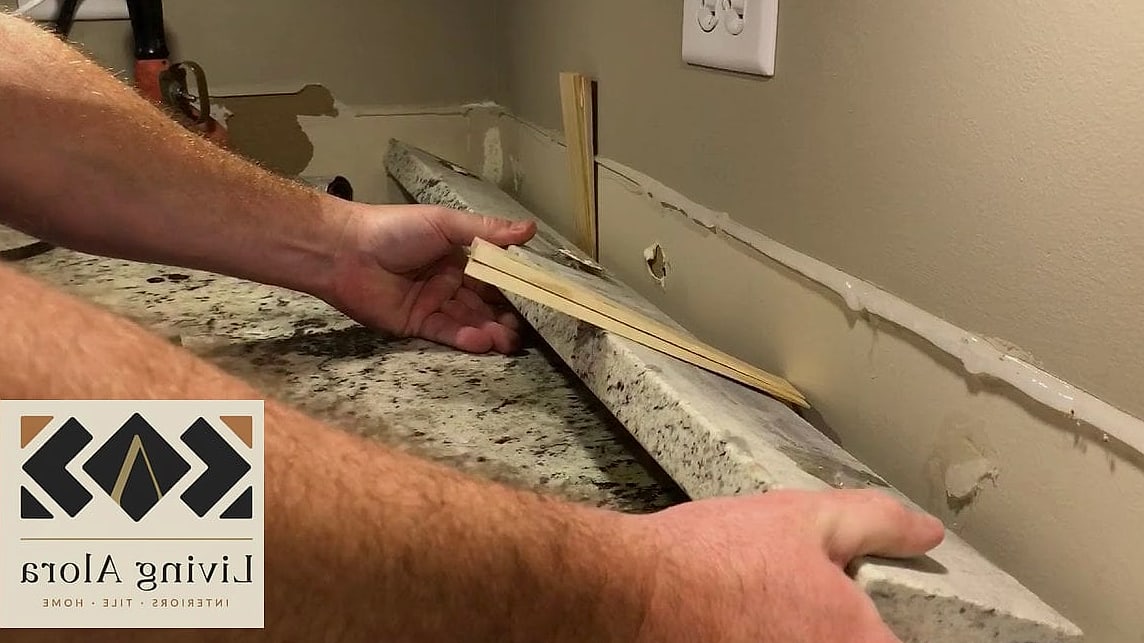
Backsplashes are almost always caulked where they meet the countertop. Running a utility knife along that caulk line before prying tiles prevents the countertop edge from chipping. It’s a five-minute step that protects your quartz or laminate counters from accidental scratches.
Remove Herringbone or Patterned Layouts in Diagonal Rows
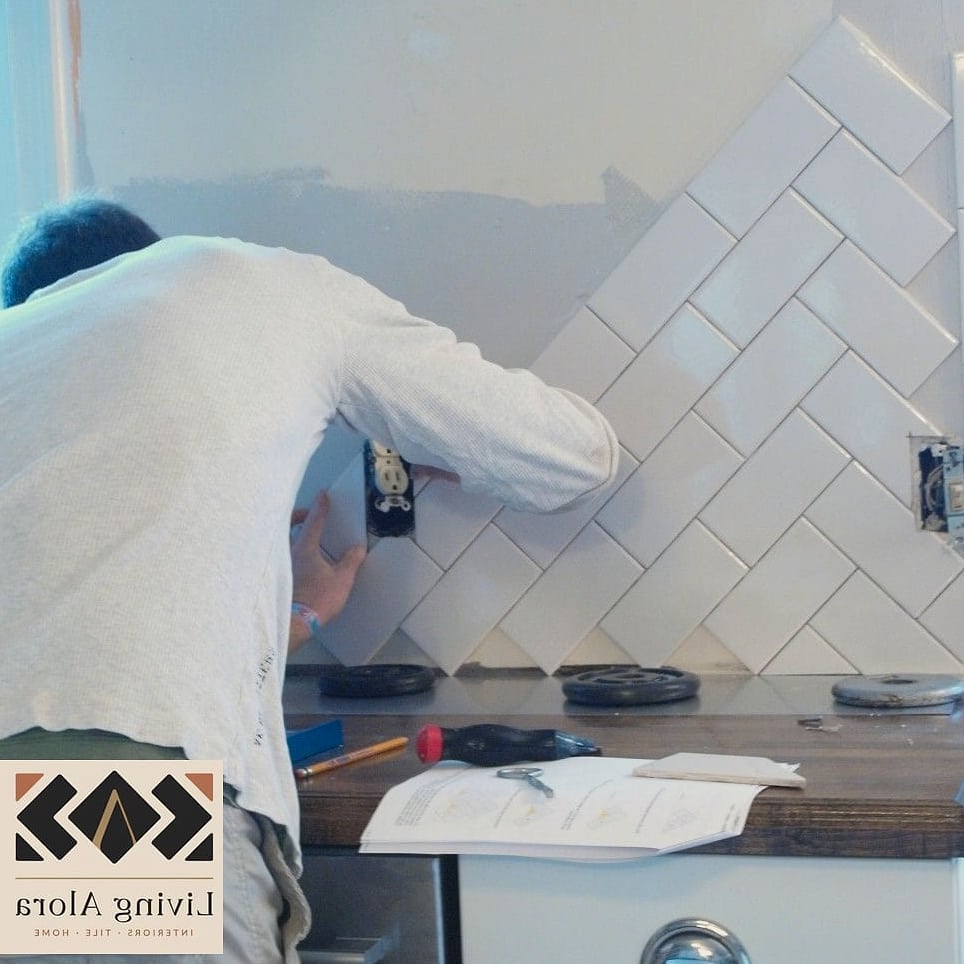
Herringbone and other patterned installations don’t come off in neat horizontal rows like subway tile does. Working diagonally, following the actual pattern lines, keeps you from twisting tiles at odd angles and cracking neighboring pieces. It takes a little longer to plan out, but it’s less destructive overall.
Use a Shop Vac During Removal, Not Just After
Running a shop vac continuously while you work catches dust and small shards before they spread across the kitchen. This is especially helpful for anyone dealing with allergies or asthma during a renovation. Plus, cleanup afterward takes a fraction of the time.
Remove Thin-Set with a Diamond Cup Wheel
If your wall has a thick layer of dried thin-set after tile removal, an angle grinder fitted with a diamond cup wheel grinds it down fast. This works best on cement board rather than drywall, since drywall can’t handle that much abrasion. Wear a respirator mask for this one, as it kicks up a lot of fine dust.
Soften Epoxy Grout with a Heat Gun Before Scraping
Epoxy grout is tougher than standard sanded grout and doesn’t respond to water-based softening tricks. A heat gun set to medium, held a few inches away, softens it enough for a scraper to make progress. Go slow here since epoxy can smoke slightly when overheated.
Remove Backsplash Around a Range Hood Carefully
The area behind a range hood often has extra layers of adhesive or even a metal backing for heat protection. Take this section slower than the rest of the wall, checking for hidden fasteners or heat shields before prying. Rushing this spot is where most accidental wall damage happens.
Use a Painter’s Tool for Delicate Peel-and-Stick Corners
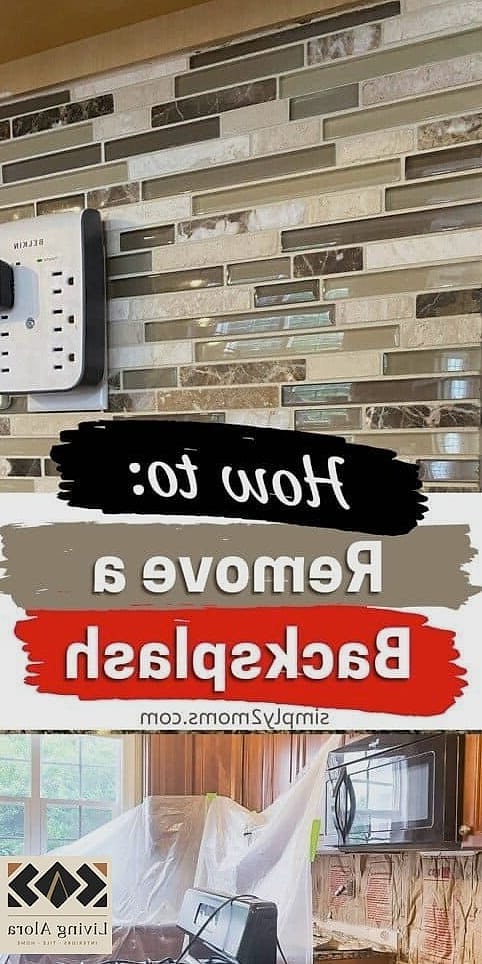
Peel-and-stick tile corners can be tricky to start lifting without a fingernail-width tool. A stiff painter’s five-in-one tool slides under corners easily and gives you enough leverage to start the peel without scratching the wall beneath.
Remove Glass Tile with Extra Caution
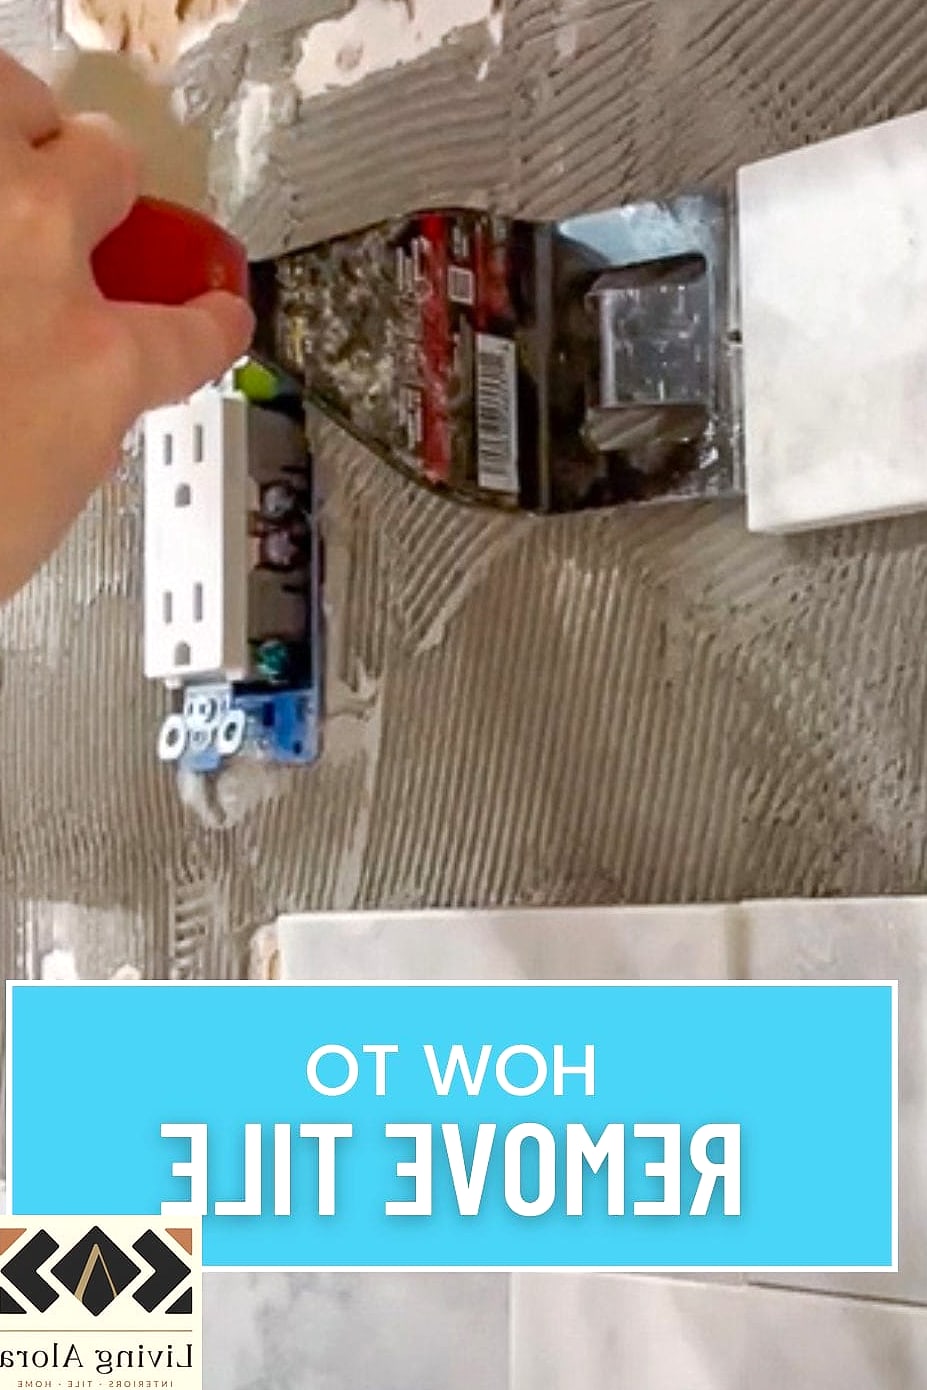
Glass tile backsplashes look gorgeous but shatter more unpredictably than ceramic. Score the grout thoroughly, then apply steady, even pressure rather than sharp taps, which can send glass shards flying. Safety glasses and long sleeves aren’t optional for this one.
Patch and Skim Coat Immediately After Removal
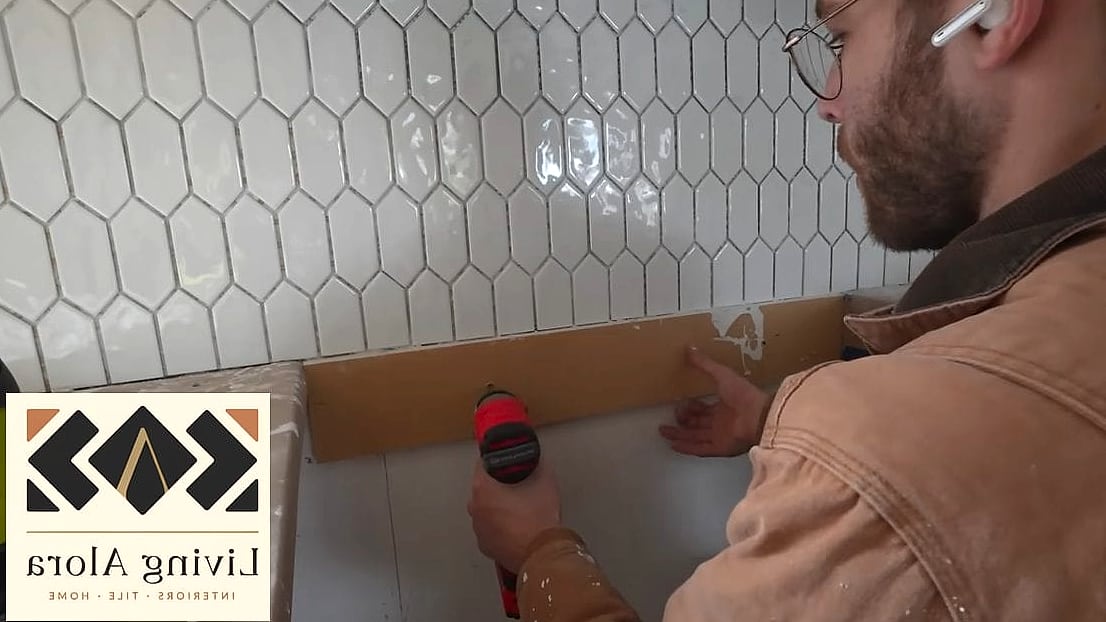
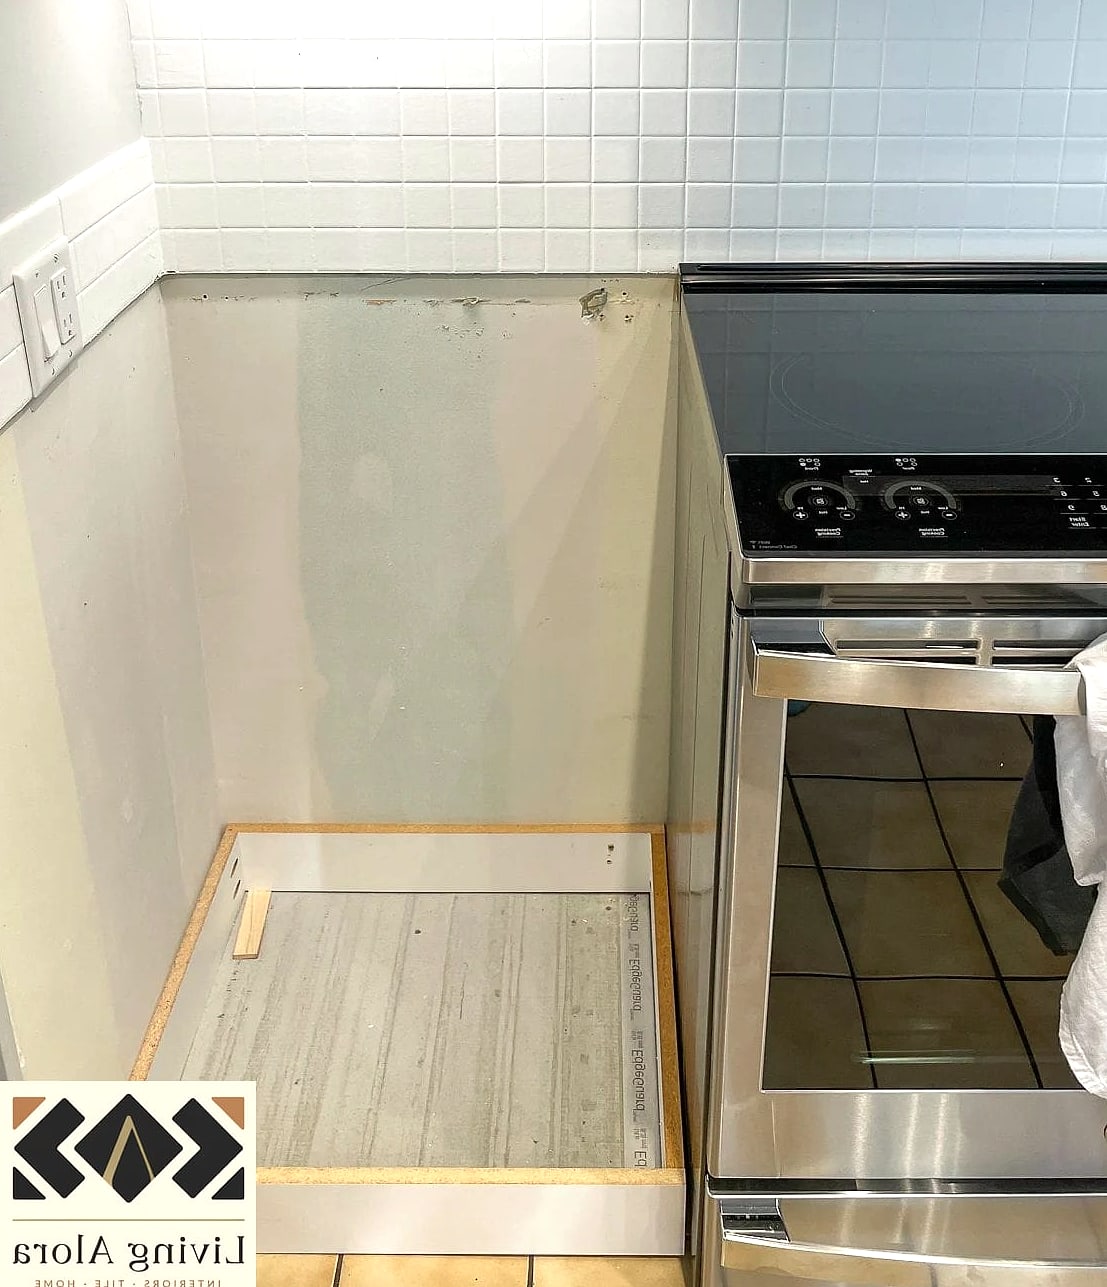
Once your wall is clear, patch any drywall paper tears or gouges with a thin skim coat of joint compound right away. Waiting too long means dust resettles into the wet compound, creating a rougher finish. This step sets you up for a smooth surface whether you’re painting or retiling.
Save Leftover Tiles for Future Patch Repairs
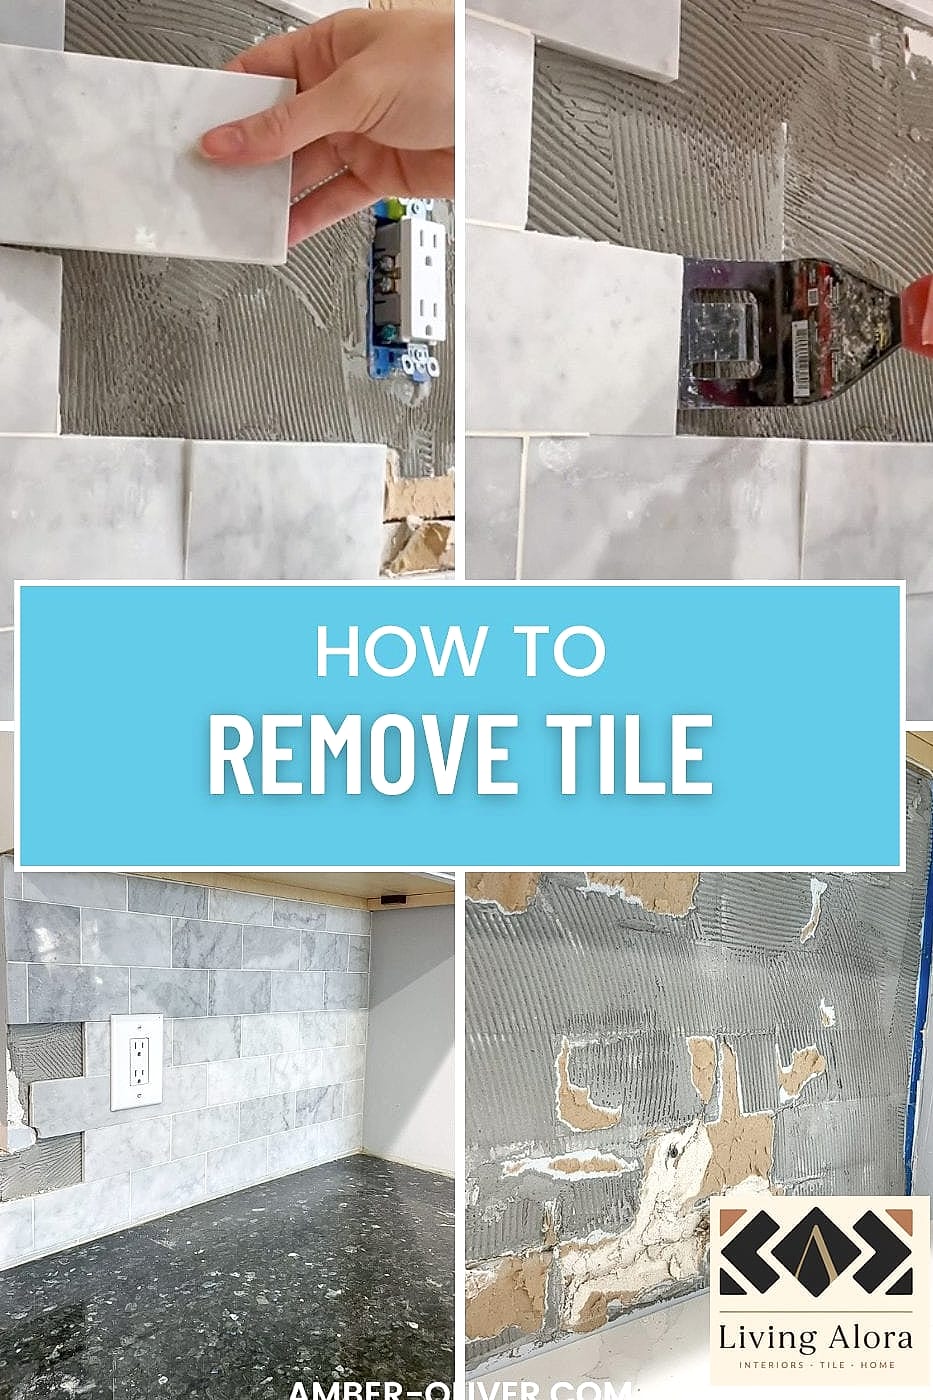
If you’re only removing part of a backsplash or doing a partial update, keep a few matching tiles in a labeled bin in your garage or basement. Future chips or cracks become a five-minute fix instead of a full-wall replacement project. It’s a small habit that pays off years down the line.
That’s the full rundown of 27 how to remove backsplash ideas you’ll want to save right now, covering everything from stubborn natural stone to easy peel-and-stick panels. Pick the methods that match your specific material, protect your countertops and cabinets along the way, and don’t rush the patching step at the end. A little patience during demo makes the reinstall so much smoother.