30 How to End Tile Ideas Trending on Pinterest This Year
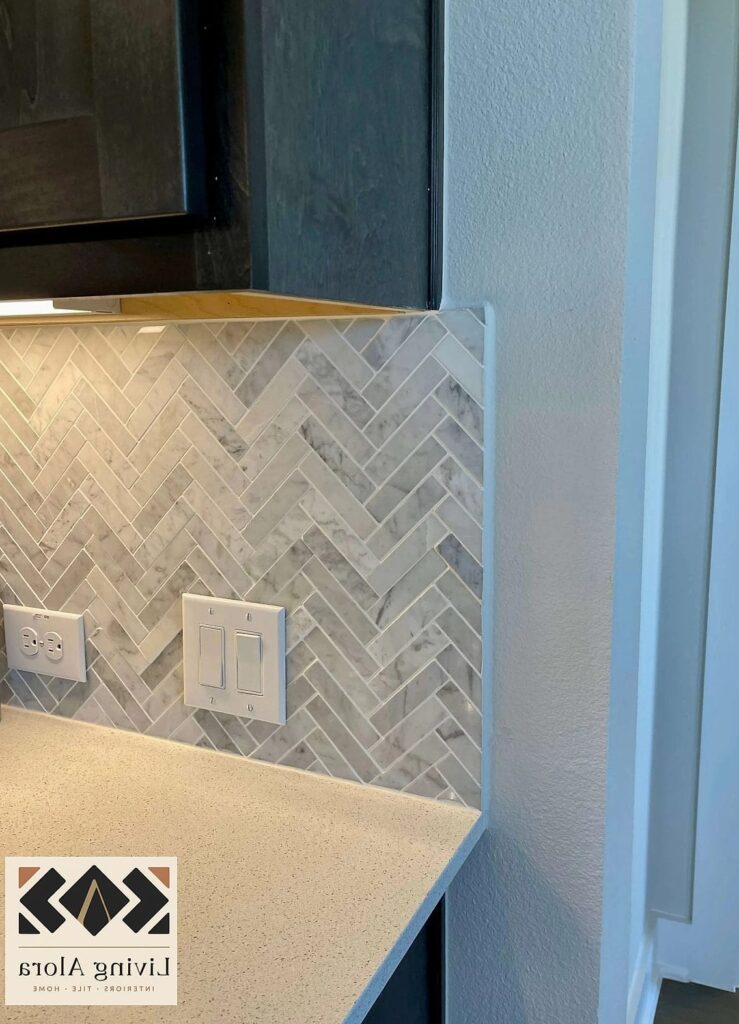
- Metal Edge Trim in Brushed Brass
- Bullnose Tile for a Rounded Finish
- Schluter Strips in Matte Black
- Wrapping Tile Around a Corner
- Ending Tile at a Window Frame
- Pencil Tile Border as a Stopping Point
- Floating the Backsplash to the Underside of Cabinets
- Full Wall Tile to the Ceiling
- Using Caulk Instead of Grout at the Edge
- Wood Trim as a Tile Stopping Point
- Herringbone Tile Ending in a Straight Border
- Tile Ending Behind Open Shelving
- Vertical Tile Stacking with a Clean Top Line
- Marble Tile Ending at a Mitered Edge
- Ending Backsplash Tile with a Simple Reveal Gap
- Curved Niche Edges in a Shower
- Two-Tone Tile with a Painted Line Transition
- Ending Tile with a Ledge for Plants and Decor
- Chair Rail Tile Trim for a Traditional Look
- Ending Shower Tile at the Ceiling with No Trim
- Terracotta Tile Ending in a Natural Rounded Edge
- Tile Ending Flush with a Waterfall Countertop
- Half-Wall Tile Ending with a Wood Cap
- Scalloped Tile Edge for a Playful Finish
- Tile Ending at a Recessed Reveal Strip
- Ending Tile with a Soap Niche Border
- Large Format Tile Ending in Minimal Grout Lines
- Ending Tile at an Angled Cut for Sloped Ceilings
- Tile Ending with a Contrasting Grout Frame
- Ending Tile Behind a Mirror for a Built-In Look
30 How to End Tile Ideas Trending on Pinterest This Year
Ending a tile installation cleanly is one of those details that separates a professional-looking backsplash or shower surround from one that just looks unfinished. If you’ve ever pinned a gorgeous kitchen photo and wondered why yours doesn’t look quite as polished, the answer is usually in the edges. Where tile stops and wall meets air matters more than most people realize, and Pinterest is absolutely full of clever solutions right now. Here are thirty ways homeowners and designers are handling tile endpoints this year.
Metal Edge Trim in Brushed Brass
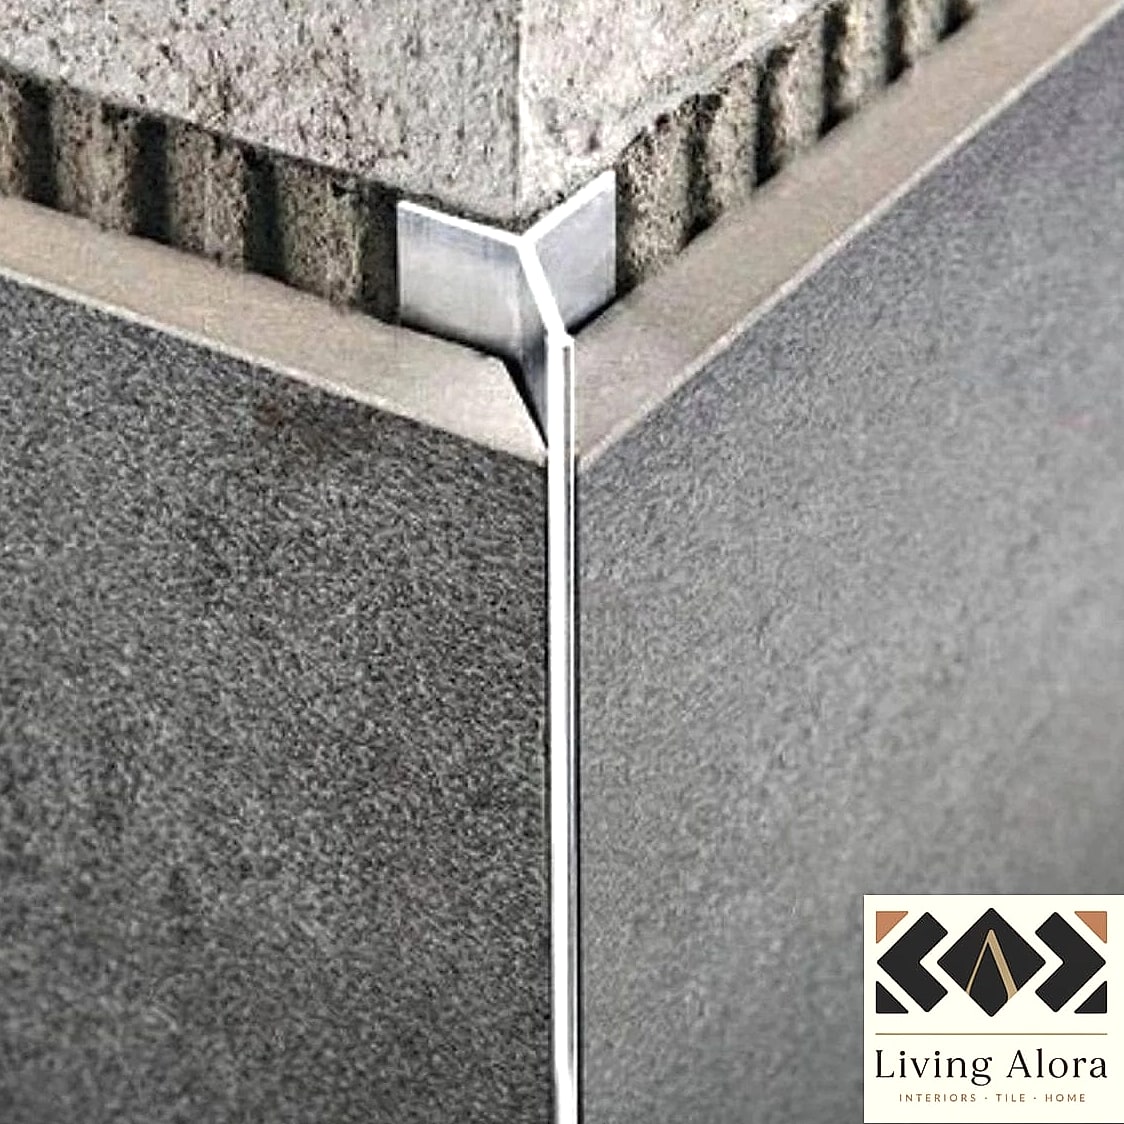
This is a favorite for anyone doing a full-height backsplash and wanting a warm, finished line instead of exposed tile edge. Brushed brass trim catches light beautifully against white or cream tile and pairs well with brass or gold fixtures elsewhere in the kitchen. It’s a small upgrade that reads as custom cabinetry-level detail. Installation is straightforward for anyone comfortable with basic tile work, though a pro will get cleaner corners. Wipe it down with a soft cloth and it holds up fine over years of daily cooking splatter.
Bullnose Tile for a Rounded Finish
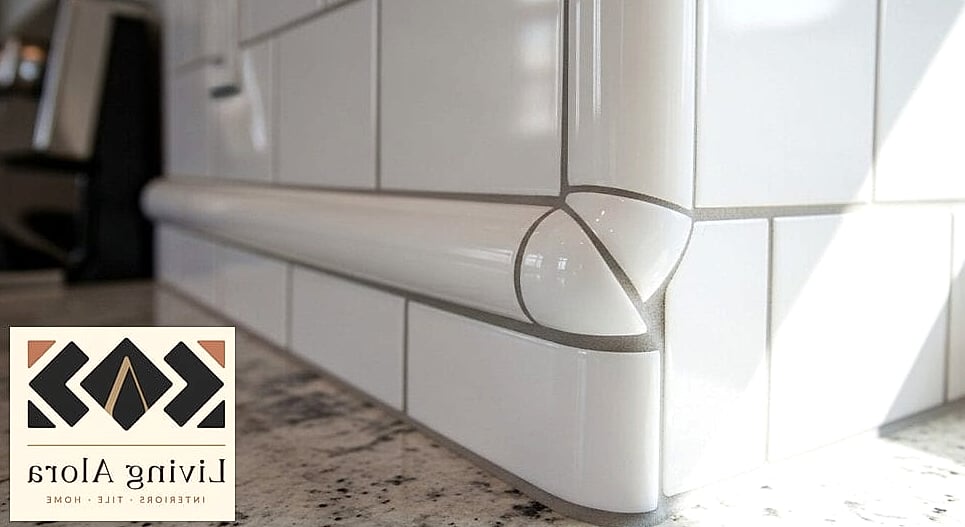
Bullnose tile has a rounded edge built right into the piece, so there’s no separate trim piece needed at all. It’s especially popular in bathrooms where little hands and elbows brush against tile constantly. The soft edge feels safer in family homes and gives a slightly softer, more traditional look than sharp trim. Most tile lines offer a matching bullnose piece, which makes sourcing simple. It’s a bit more expensive per piece but saves you a step during installation.
Schluter Strips in Matte Black
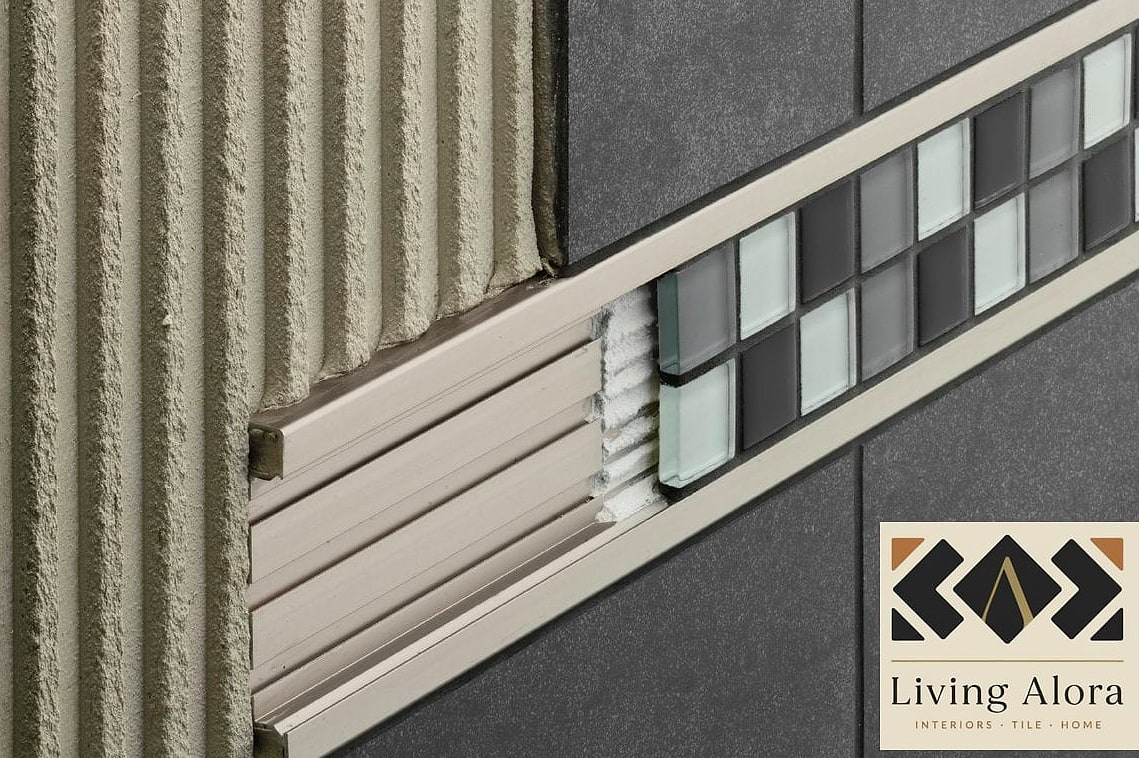
Matte black Schluter strips have become the go-to for anyone doing a moody, modern kitchen or bath. They create a crisp, almost architectural line where tile meets drywall or another surface. This works especially well against dark grout or black fixtures for a cohesive look. The strips come in various profiles depending on how much reveal you want. They’re also genuinely renter-friendly if you’re doing a temporary tile project, since they can be removed without much wall damage.
Wrapping Tile Around a Corner
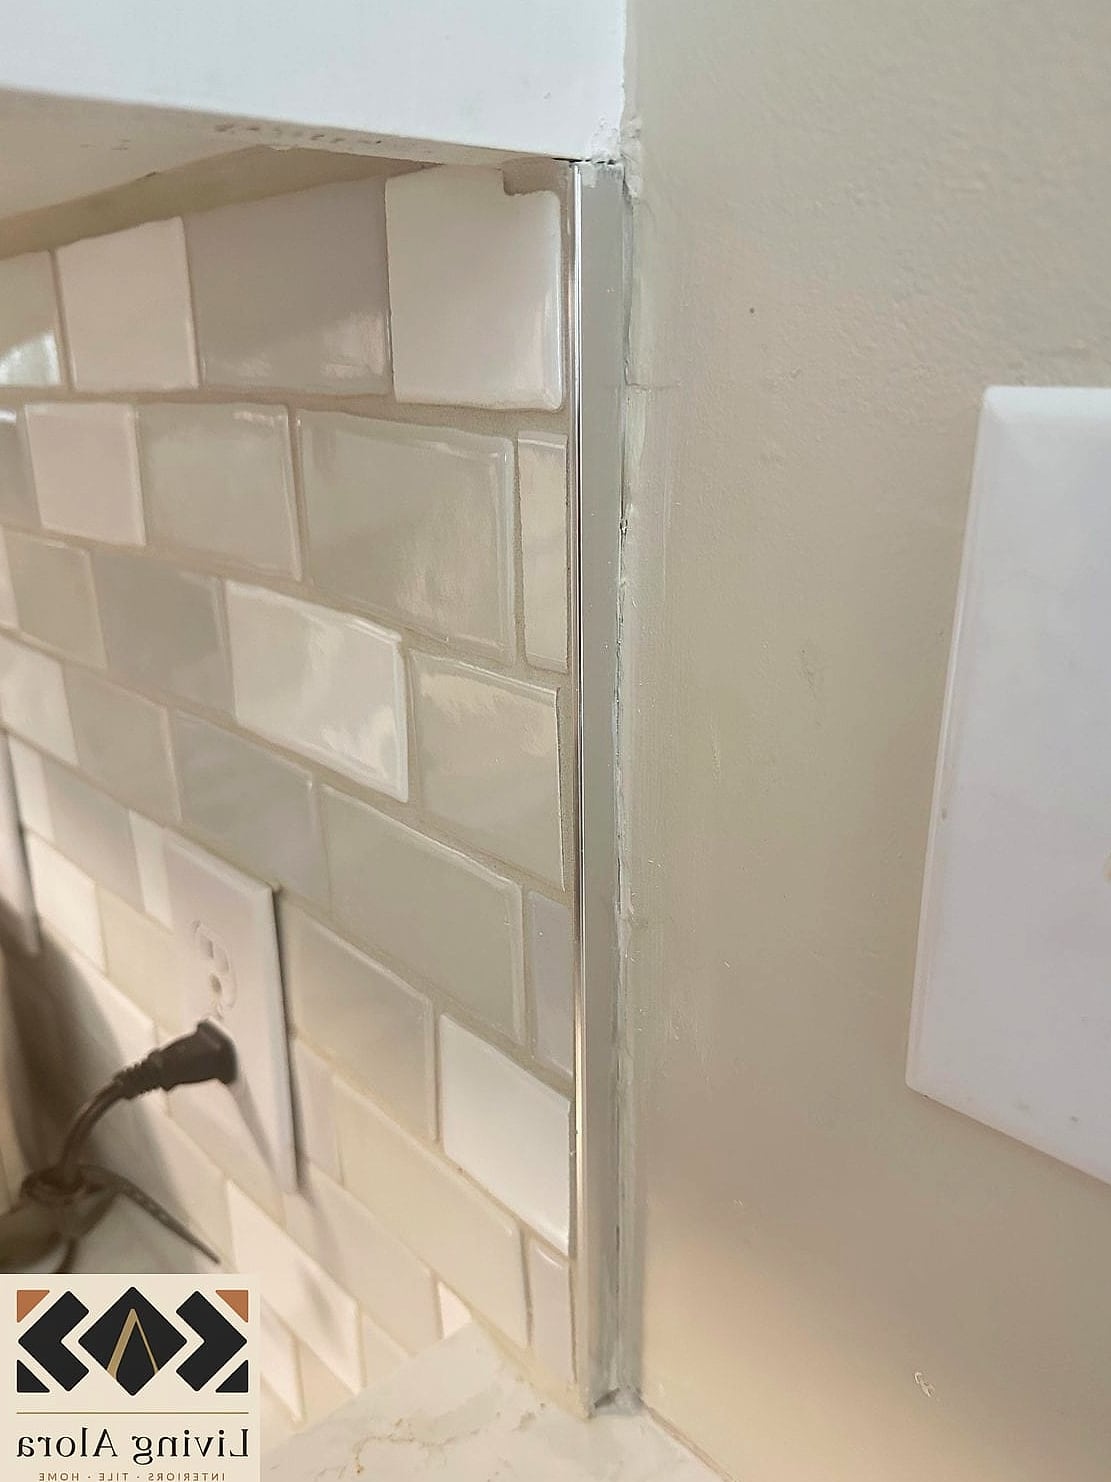
Instead of stopping tile at a hard line, some designers are wrapping it around an inside or outside corner entirely. This works beautifully in shower niches or when tile transitions from a backsplash wall to a side wall near a window. It removes the need for trim altogether and creates a seamless, wraparound effect. It does require more precise cutting, so this is one to hand off to an experienced installer. The payoff is a backsplash that looks like it was built into the architecture from day one.
Ending Tile at a Window Frame
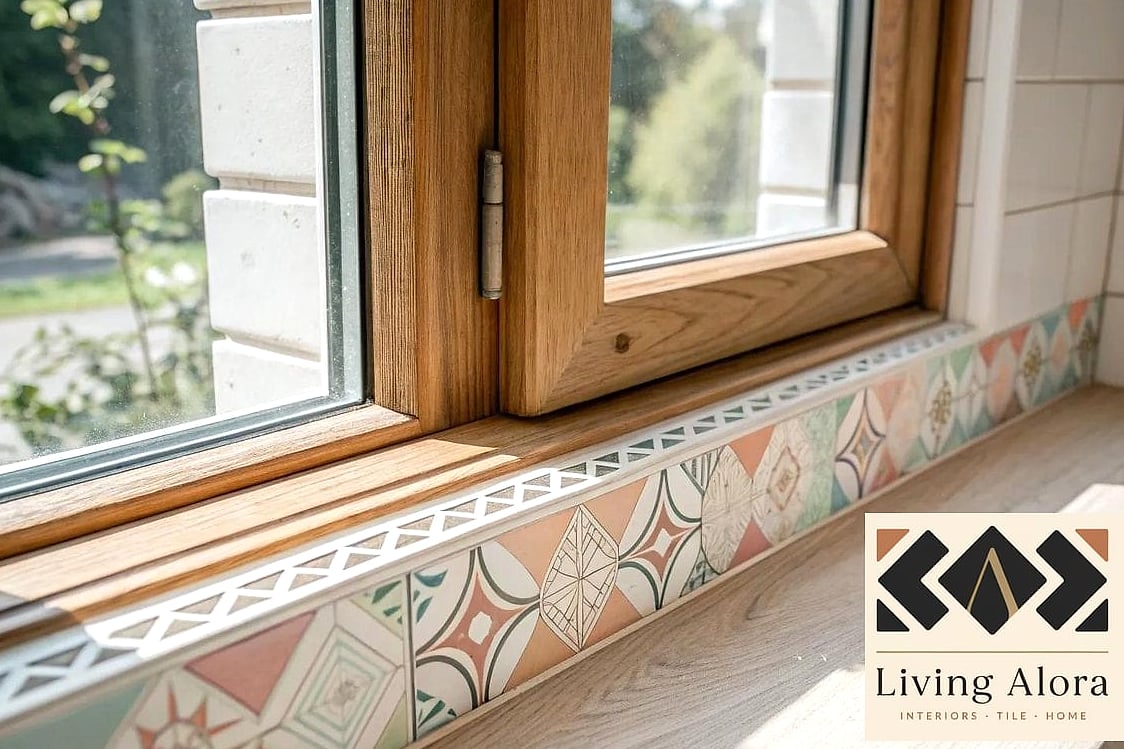
Letting tile run right up to a window casing, flush against the wood trim, is a classic look that’s having a real moment again. It keeps things simple without needing any metal or plastic trim pieces. This works particularly well with subway tile or classic ceramic tile in a farmhouse-style kitchen. The trick is getting your tile layout planned so you’re not left with an awkward sliver piece at the frame. A tile spacer and a little patience during layout will save headaches later.
Pencil Tile Border as a Stopping Point
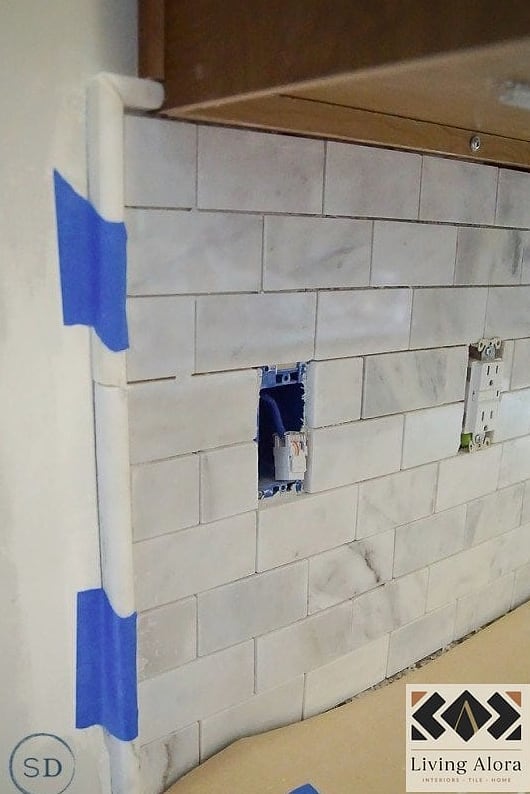
A thin pencil tile liner, usually in a contrasting color or finish, makes a great visual stopping line for a backsplash or tub surround. It’s a decorative way to say “this is where the tile ends” without using functional trim. Popular combos include a white subway field with a black or brass pencil liner. It’s an easy way to add a custom, boutique feel to an otherwise simple tile job. Budget-wise, pencil liners are inexpensive and only needed in small quantities.
Floating the Backsplash to the Underside of Cabinets
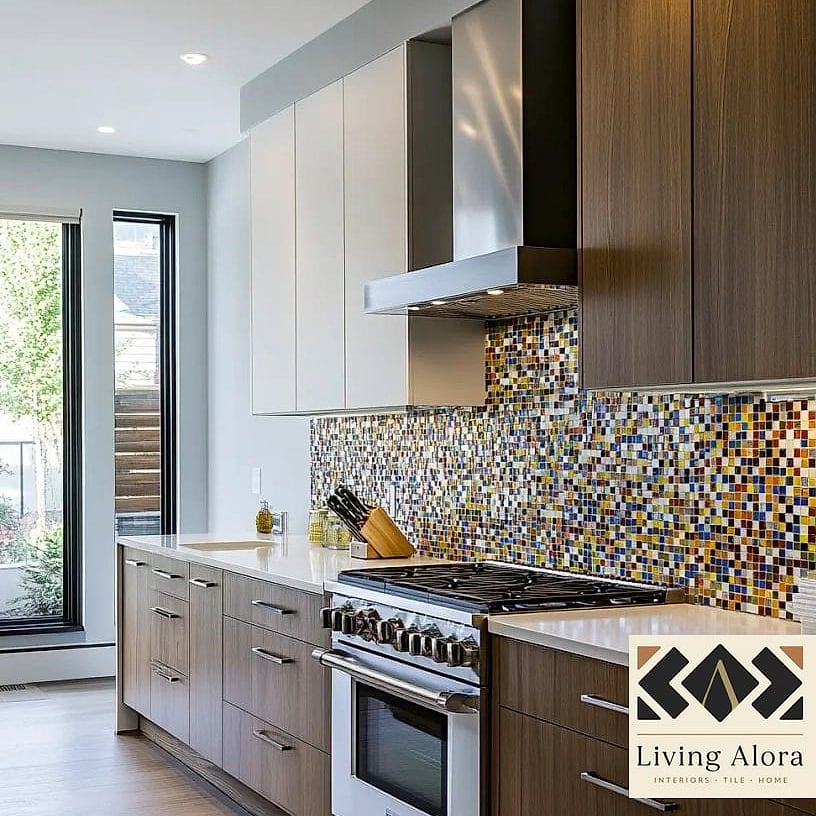
Rather than tiling all the way to the ceiling, many kitchens are stopping tile right at the bottom of the upper cabinets. This keeps costs down since you’re covering less square footage, and it still looks intentional and clean. It works especially well in kitchens with a shorter gap between counter and cabinets. Grout lines stay minimal and the finished edge is simply hidden by the cabinet itself. This is one of the more budget-friendly ways to get a finished look without extra trim pieces.
Full Wall Tile to the Ceiling
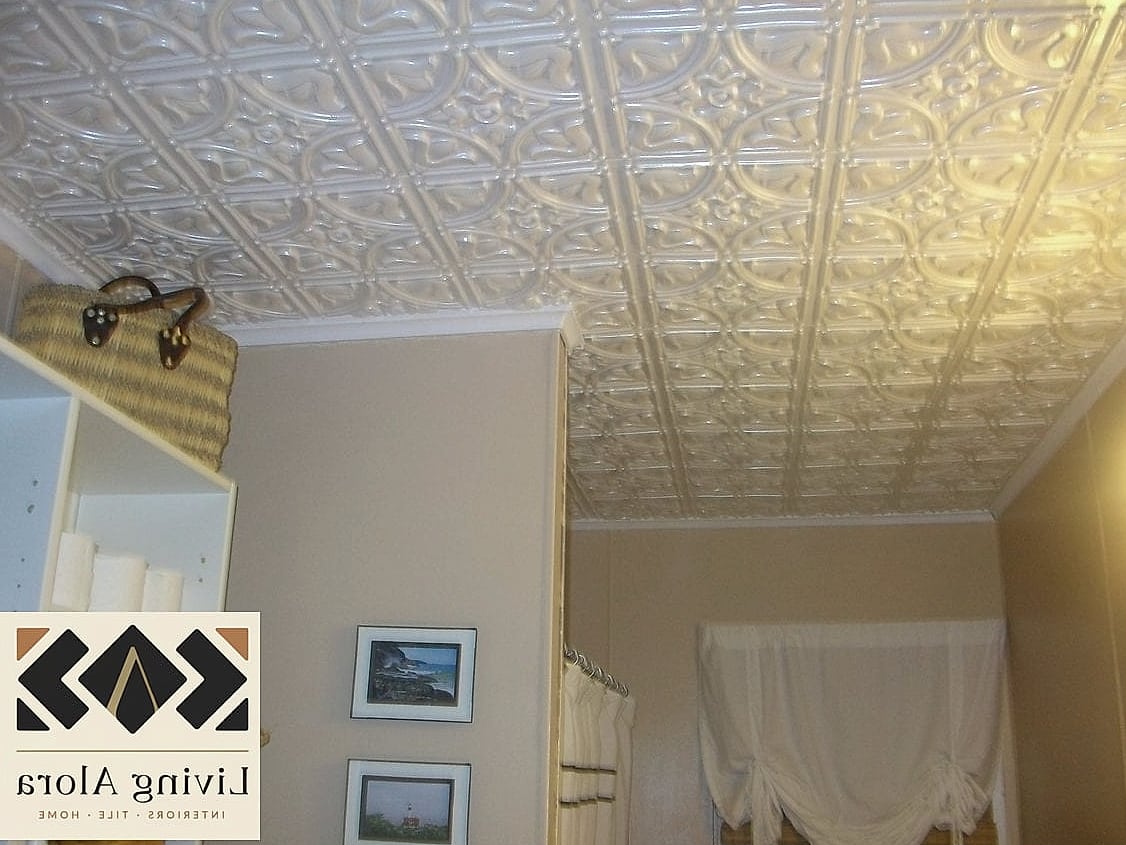
On the opposite end, plenty of Pinterest boards are showing tile running the entire wall height, ending right at the ceiling line. This creates a dramatic, statement-making kitchen or bathroom feature. Zellige tile and handmade ceramic tile look particularly good pulled all the way up since the texture reads as art at that scale. You’ll want a simple painted or caulked line where tile meets ceiling for the cleanest finish. It’s a bigger investment in tile and labor, but the visual impact is hard to beat.
Using Caulk Instead of Grout at the Edge
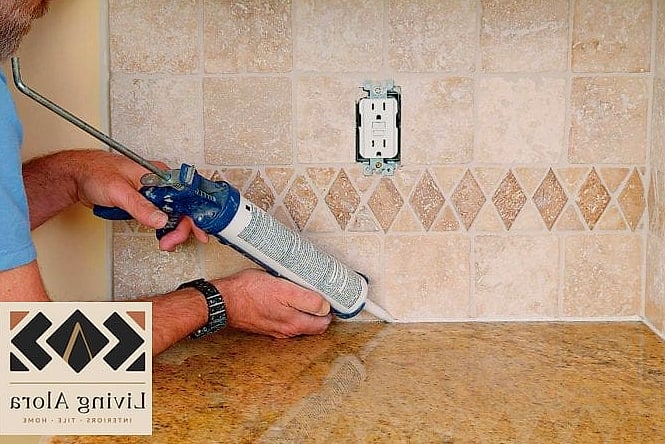
At any point where tile meets another material, like a countertop, tub, or cabinet, caulk instead of grout gives a flexible, crack-resistant seal. This is a practical detail that matters more than people think, since grout can crack at transition points over time. Color-matched caulk keeps the line nearly invisible. It’s a five-minute fix that prevents water damage down the line, especially in showers. Any DIYer can handle this step with a caulk gun and a steady hand.
Wood Trim as a Tile Stopping Point
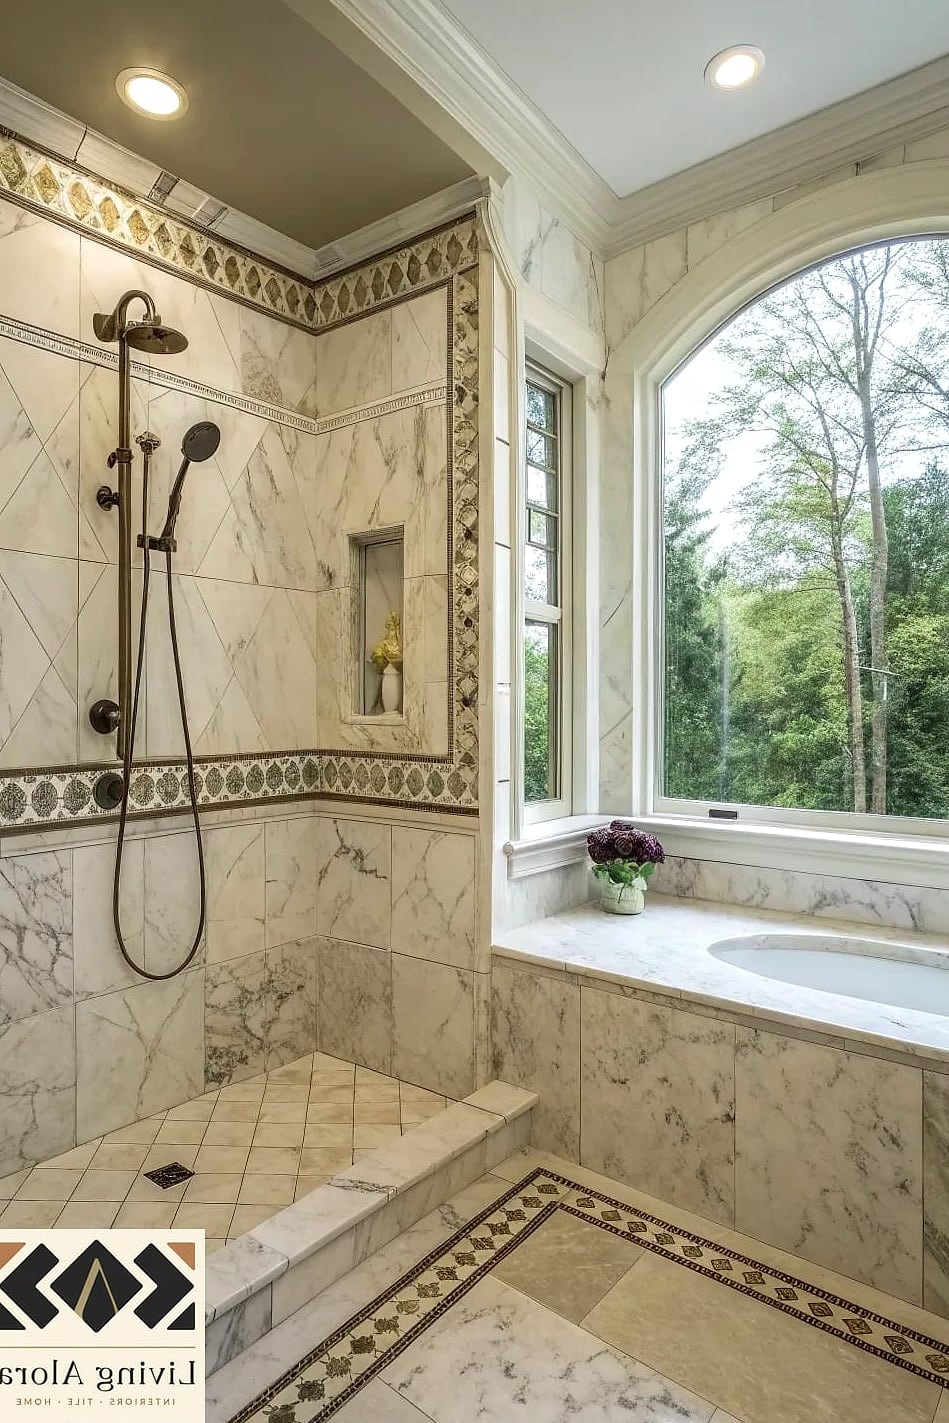
Pairing tile with a wood shelf or trim piece at the top edge brings warmth into an otherwise all-tile space. This look shows up a lot in Scandinavian and Japandi-style kitchens where wood accents are already part of the palette. A simple wood ledge can double as display space for cutting boards or small plants. It softens the transition between tile and painted wall nicely. Just make sure the wood is sealed properly if it’s anywhere near water splashes.
Herringbone Tile Ending in a Straight Border
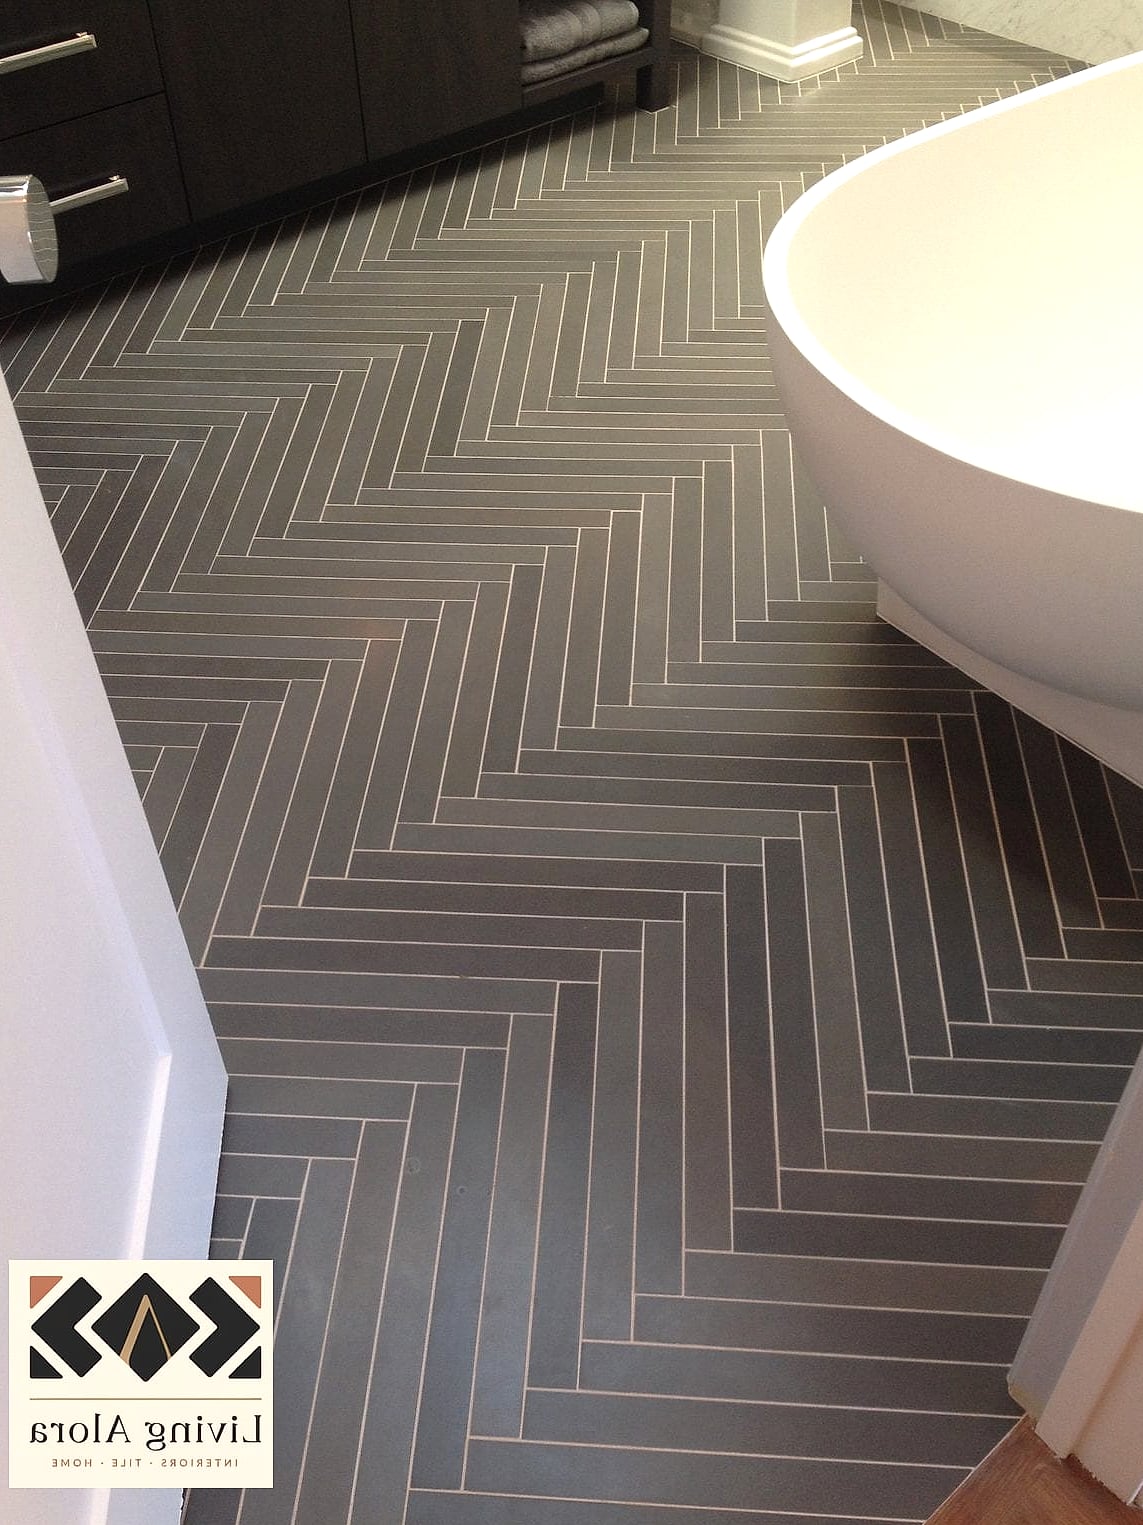
Herringbone patterns can get visually busy at the edges, so a lot of designs are finishing the pattern with a straight row of tile along the border. This creates a clean frame around the more dynamic pattern in the middle. It’s a nice way to enjoy a trendy layout without the edges looking chaotic or unfinished. This technique does take some planning ahead of time, so sketch out your layout before you start setting tile. The contrast between pattern and straight line actually makes the herringbone pop more.
Tile Ending Behind Open Shelving
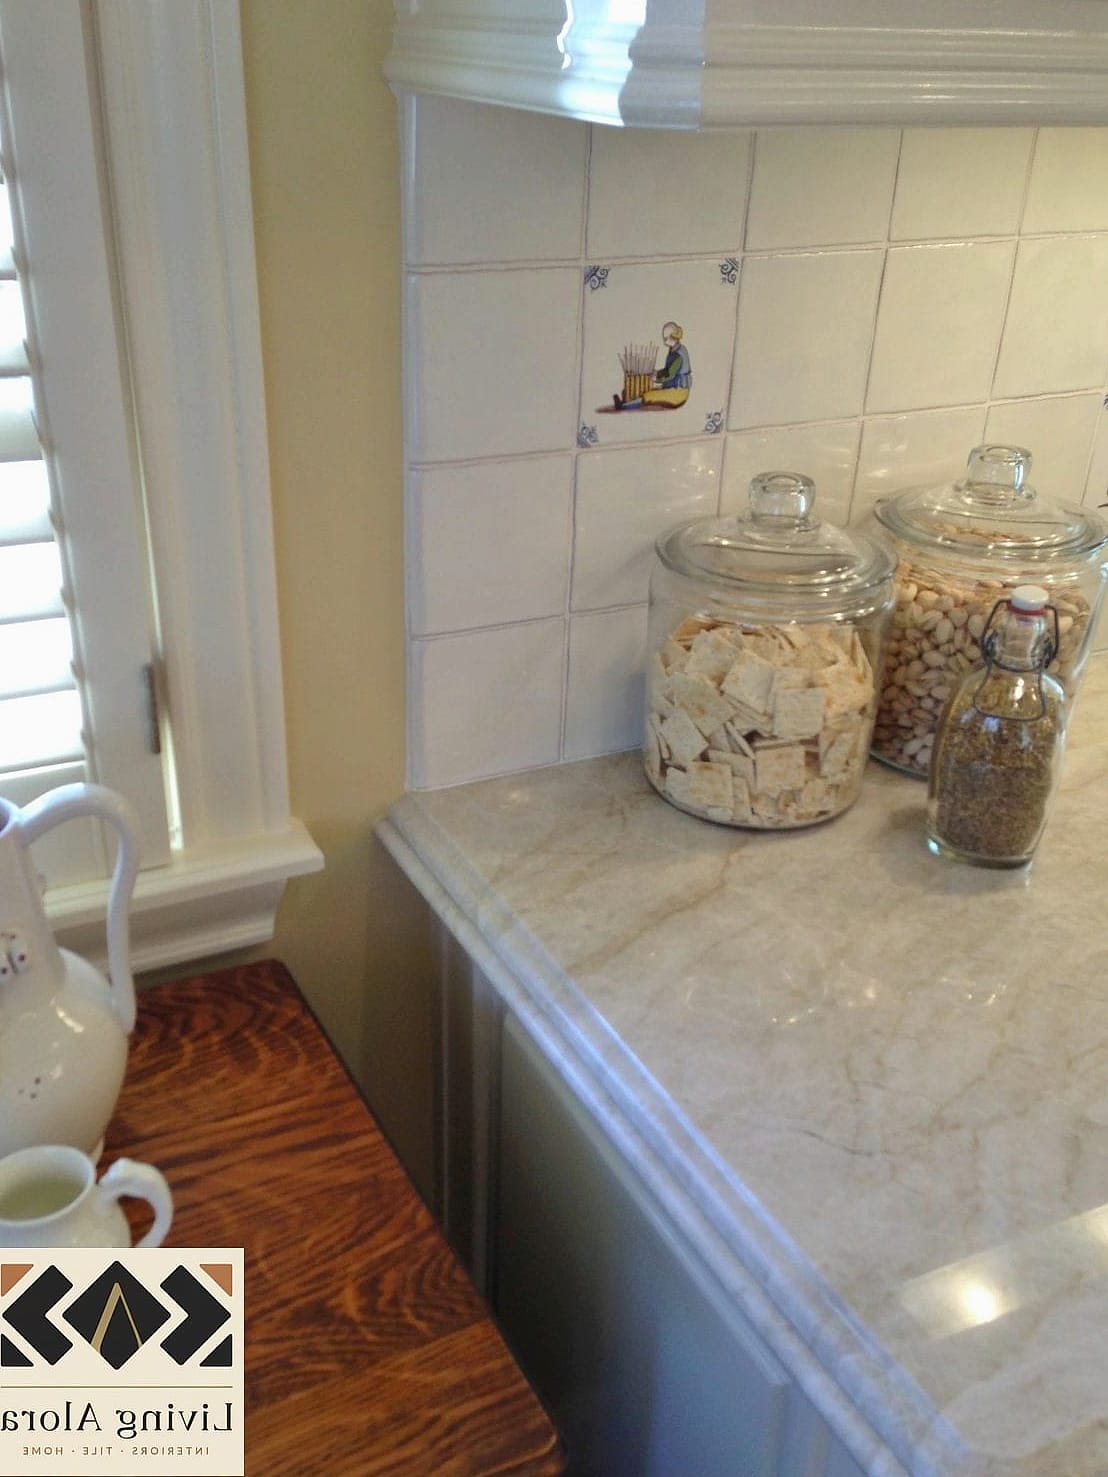
If you’ve got open shelving in your kitchen, letting the tile run behind it and stop where the shelving begins is an easy way to define a zone. This works particularly well with floating shelves mounted directly into a tiled wall. It gives the illusion of a fully tiled space without the cost of covering the whole wall. Just double check your anchors can handle drilling into tile without cracking it. This pairing looks especially good with neutral tile and warm wood shelves.
Vertical Tile Stacking with a Clean Top Line
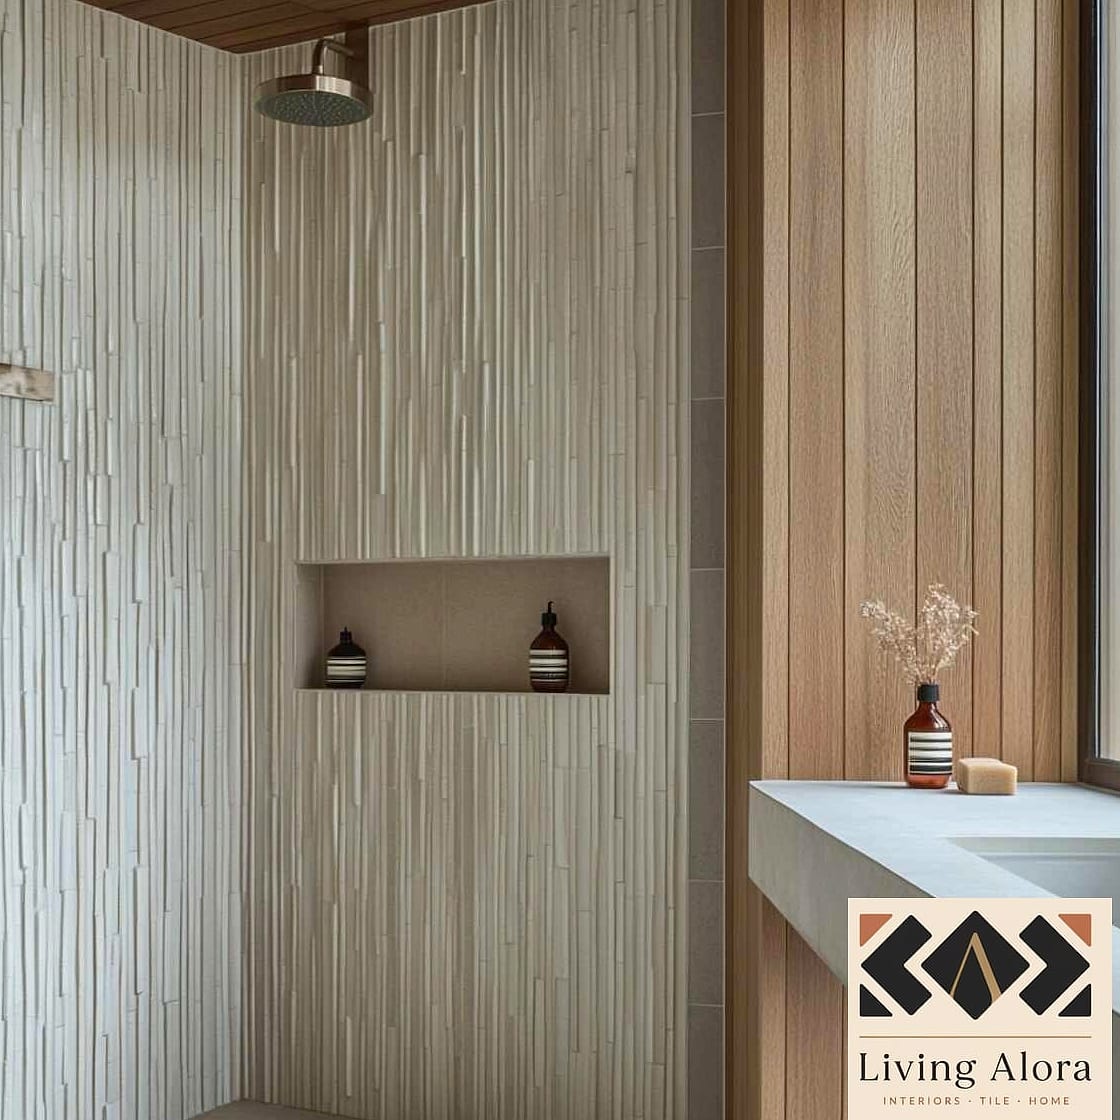
Vertical stacked tile installations are trending hard right now, and most of them end with a simple straight cut at the top rather than fancy trim. The vertical lines themselves do the visual work, so the ending point can stay minimal. This look is popular in both modern bathrooms and statement kitchen backsplashes. It reads as more contemporary than horizontal layouts. Keep grout lines thin and consistent for the cleanest vertical effect.
Marble Tile Ending at a Mitered Edge
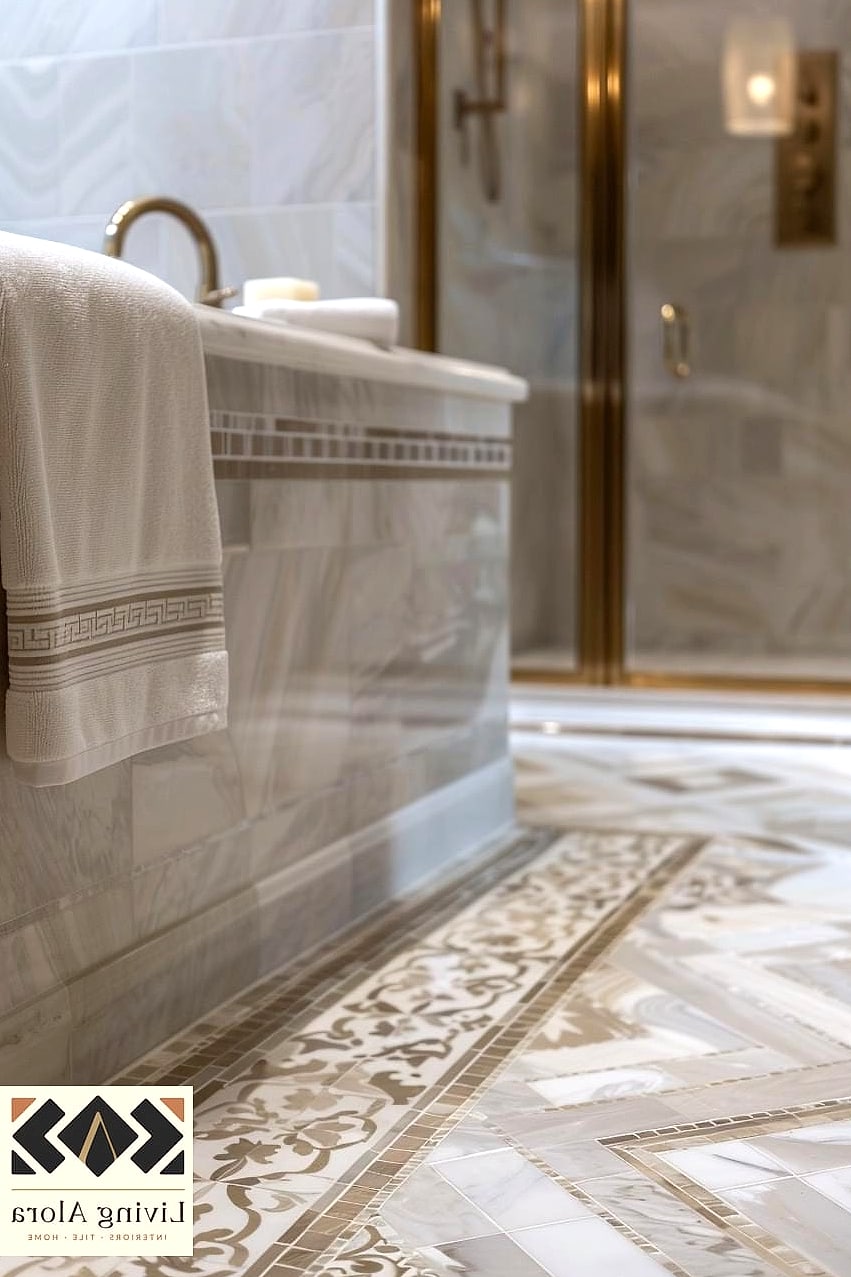
For a high-end look, mitered edges on marble or stone tile create a seamless corner with no visible tile edge at all. This is common on kitchen islands or waterfall countertops where tile or stone wraps a corner. It takes a skilled installer to get the miter cut precise, so this isn’t really a DIY move. The payoff is a look that feels custom and expensive because, frankly, it usually is. If budget allows, this is one of those details worth splurging on.
Ending Backsplash Tile with a Simple Reveal Gap
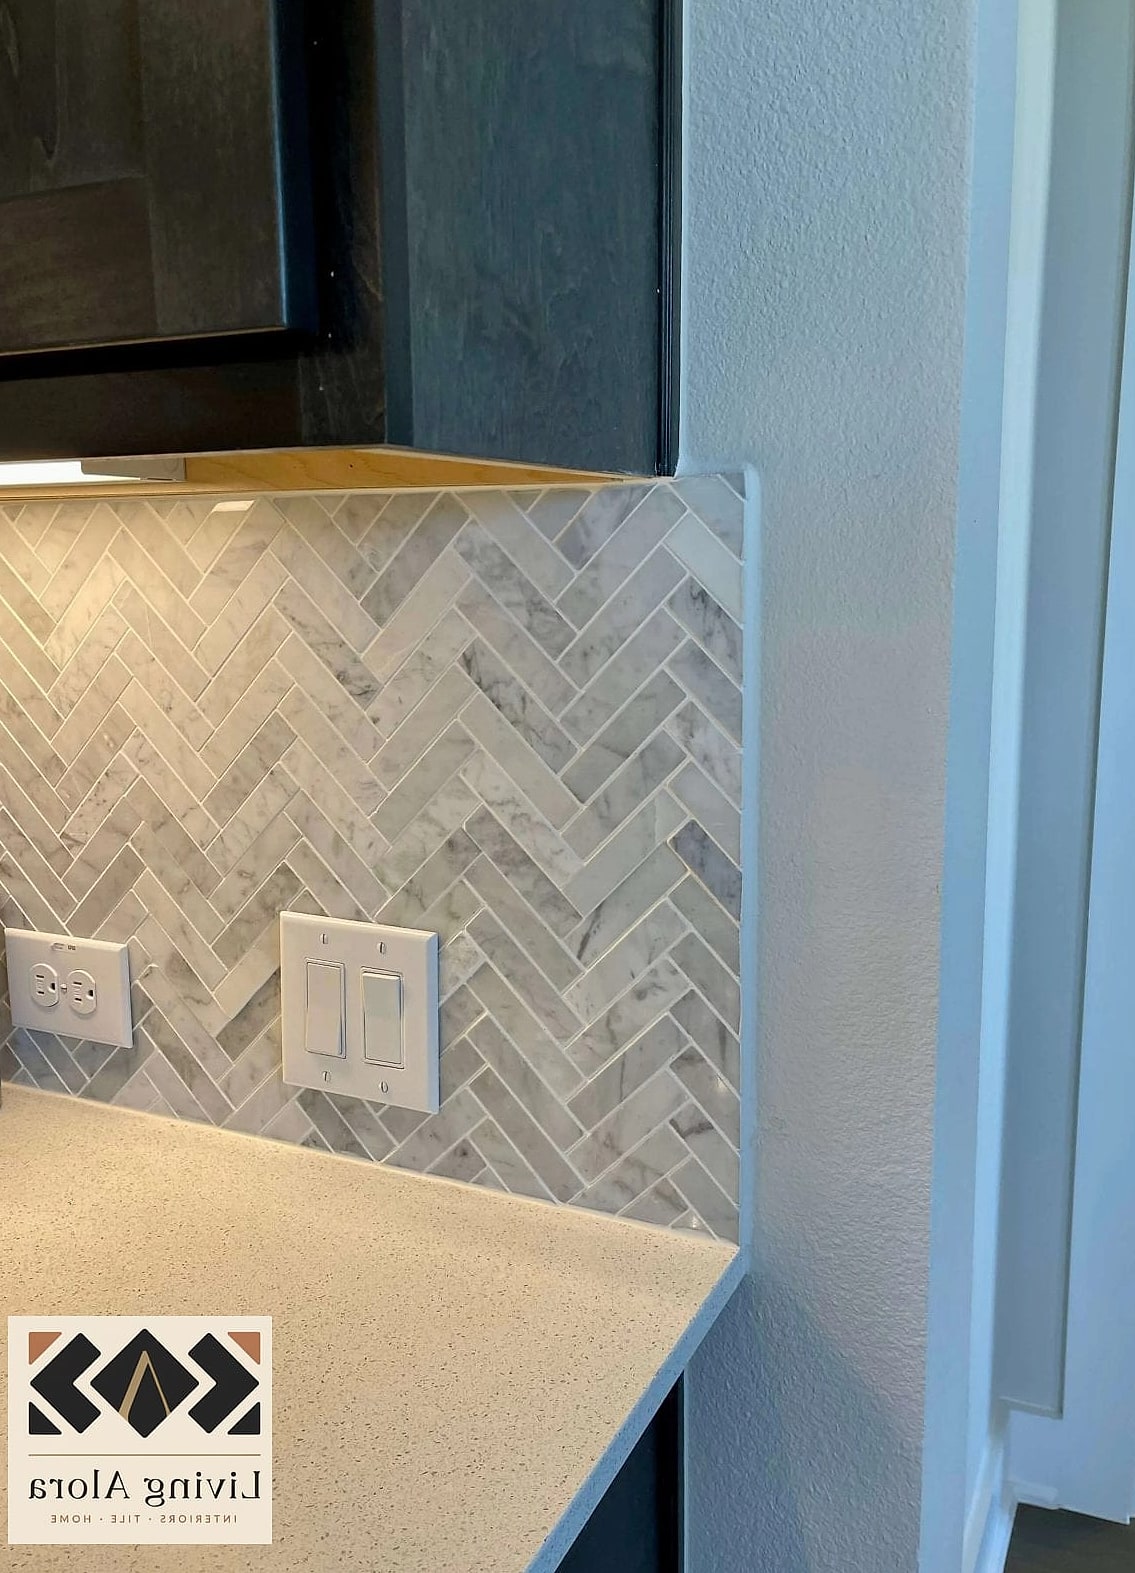
Some modern kitchens are skipping trim entirely and leaving a small, intentional reveal gap between tile and cabinet or wall. It’s a minimalist approach that lets the tile edge itself become the visual detail. This only works well with tile that has a finished, glazed edge rather than a raw cut edge. It’s a great option if you love a clean, architectural aesthetic without extra hardware. Just know this requires more precise tile cutting than trim-based methods.
Curved Niche Edges in a Shower
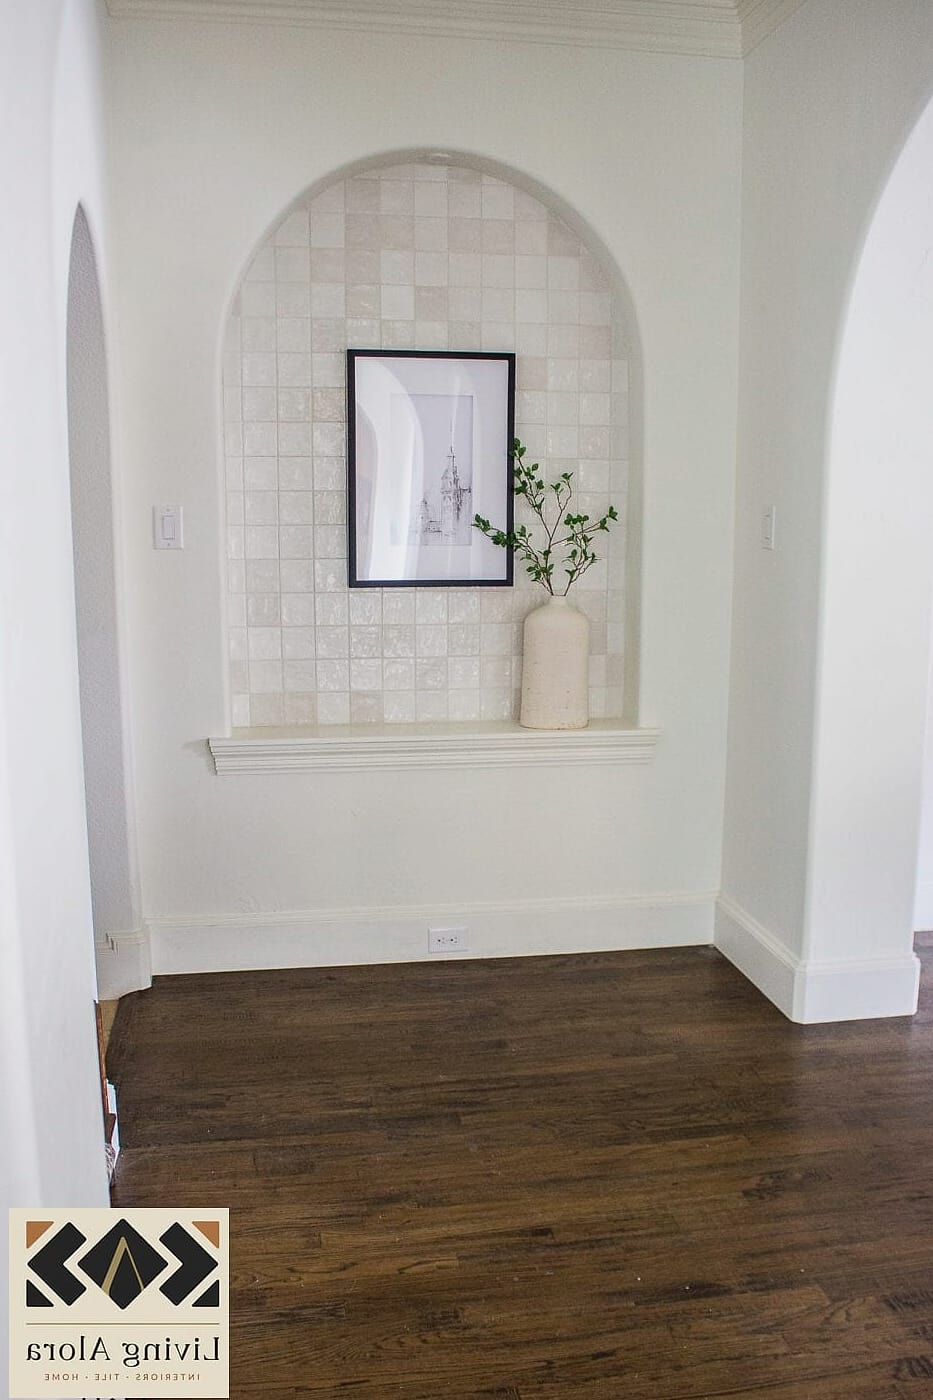
Shower niches with curved, bullnose-style edges instead of sharp trim corners have become a favorite for spa-like bathrooms. They soften what’s usually a very boxy, utilitarian feature. Pairing a curved niche with the same tile as the shower walls keeps things cohesive. This does typically require specialty tile pieces made for curves, so check with your supplier early. It’s a small detail that makes a big difference in how finished a shower feels.
Two-Tone Tile with a Painted Line Transition
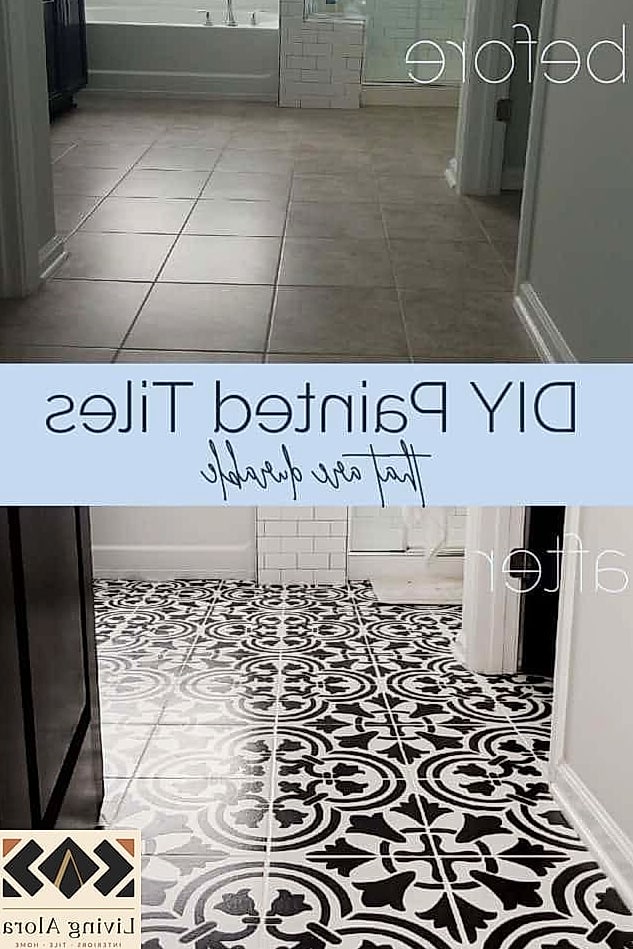
Instead of physical trim, some kitchens are using two different tile colors that meet at a painted or defined line, letting color do the transitioning work. This is an easy way to add visual interest without extra materials. A darker tile on the lower half and lighter tile above, or vice versa, is a popular combo. It works well in both traditional and modern kitchens depending on color choice. This approach is also budget-friendly since you’re not paying for specialty trim pieces.
Ending Tile with a Ledge for Plants and Decor
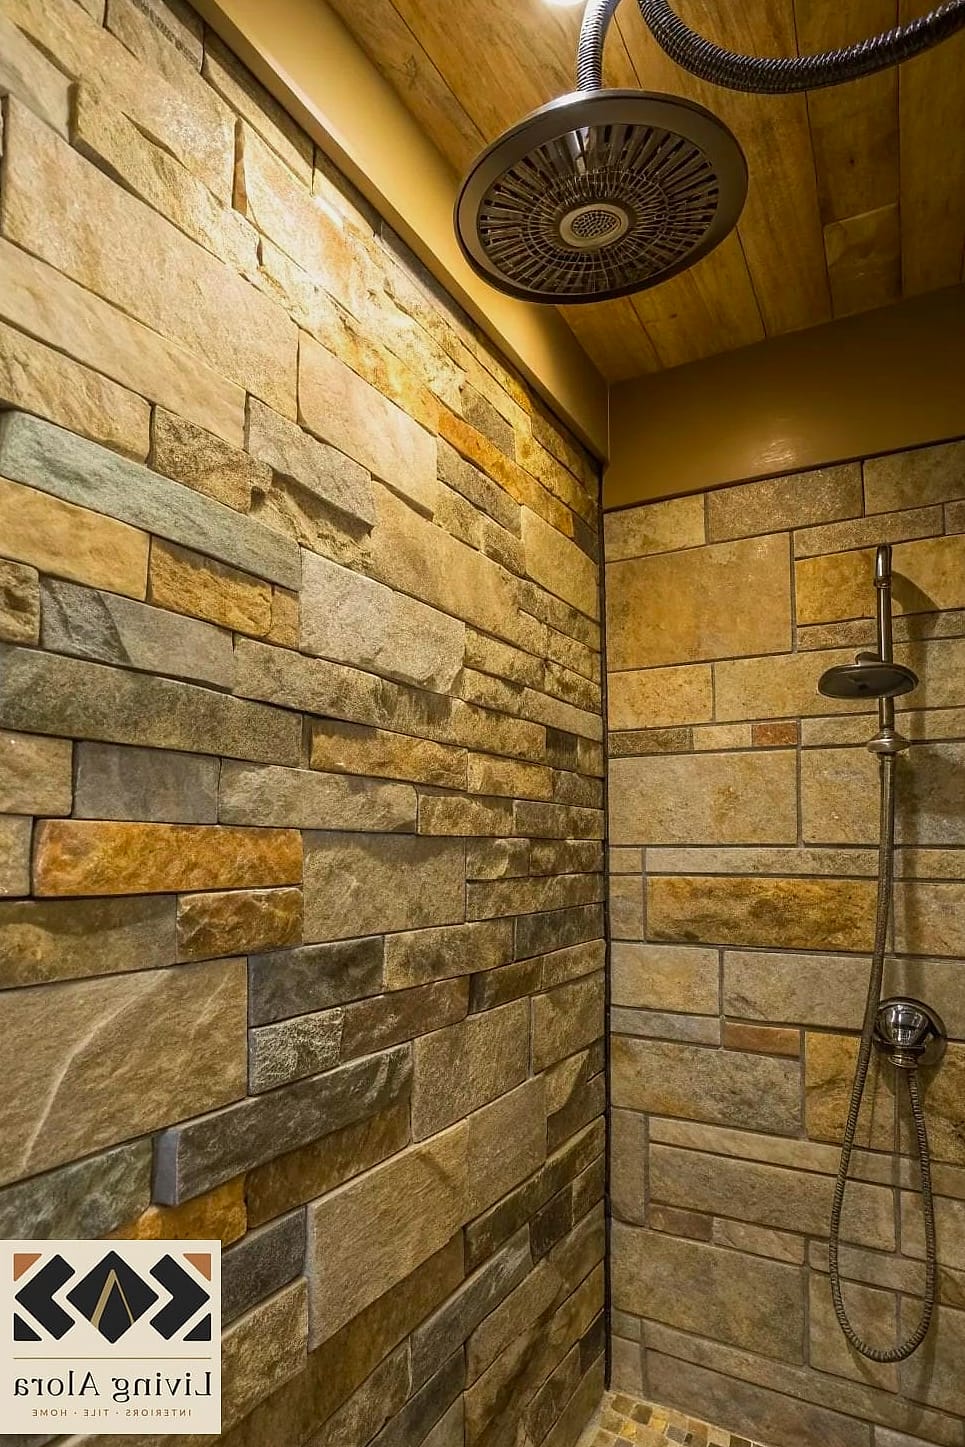
A small tile ledge or shelf built into the wall where the tile ends gives you a spot for candles, plants, or cookbooks. This shows up a lot in bathroom and kitchen Pinterest boards this year. It requires a bit more planning during the build phase since the ledge needs proper support. The payoff is functional styling space that feels built-in rather than added on. Keep the ledge tile matching the main field for a cohesive finished look.
Chair Rail Tile Trim for a Traditional Look
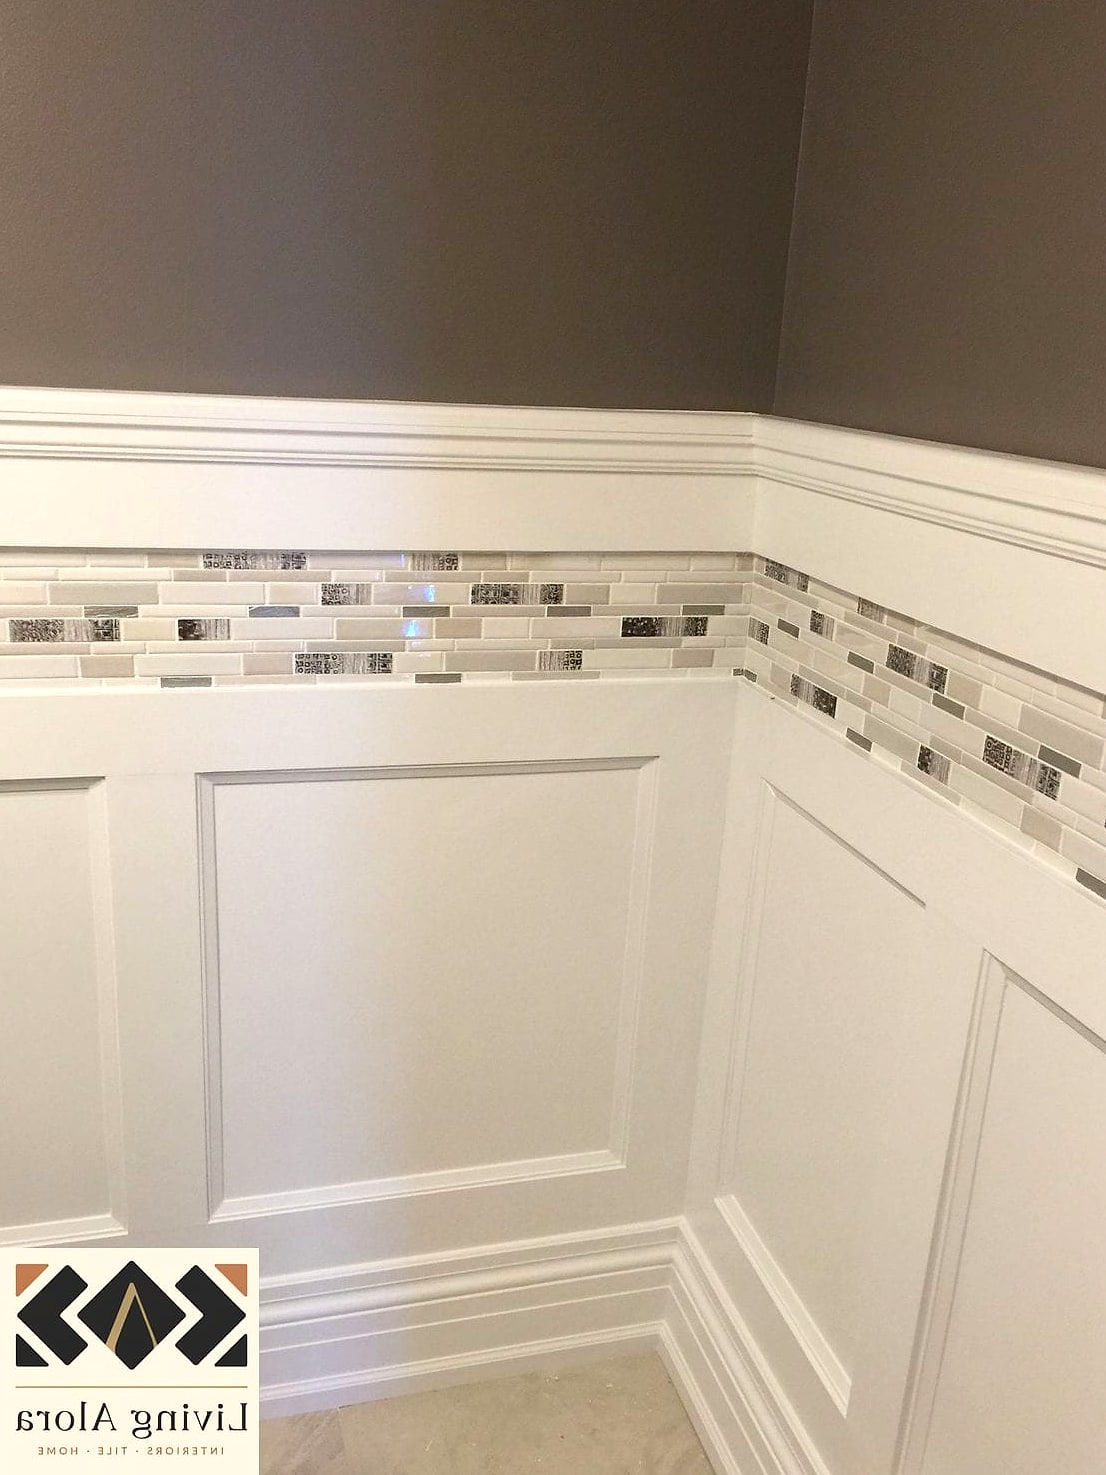
Chair rail tile trim, a slightly raised decorative strip, is a classic way to cap off a tiled wainscot in more traditional bathrooms. It gives a finished, almost furniture-like edge that reads as intentional design rather than a stopping point out of necessity. This pairs beautifully with subway tile below and painted wall above. It’s a great choice for anyone doing a more classic or transitional style home. Installation is similar to bullnose and doesn’t require anything too specialized.
Ending Shower Tile at the Ceiling with No Trim
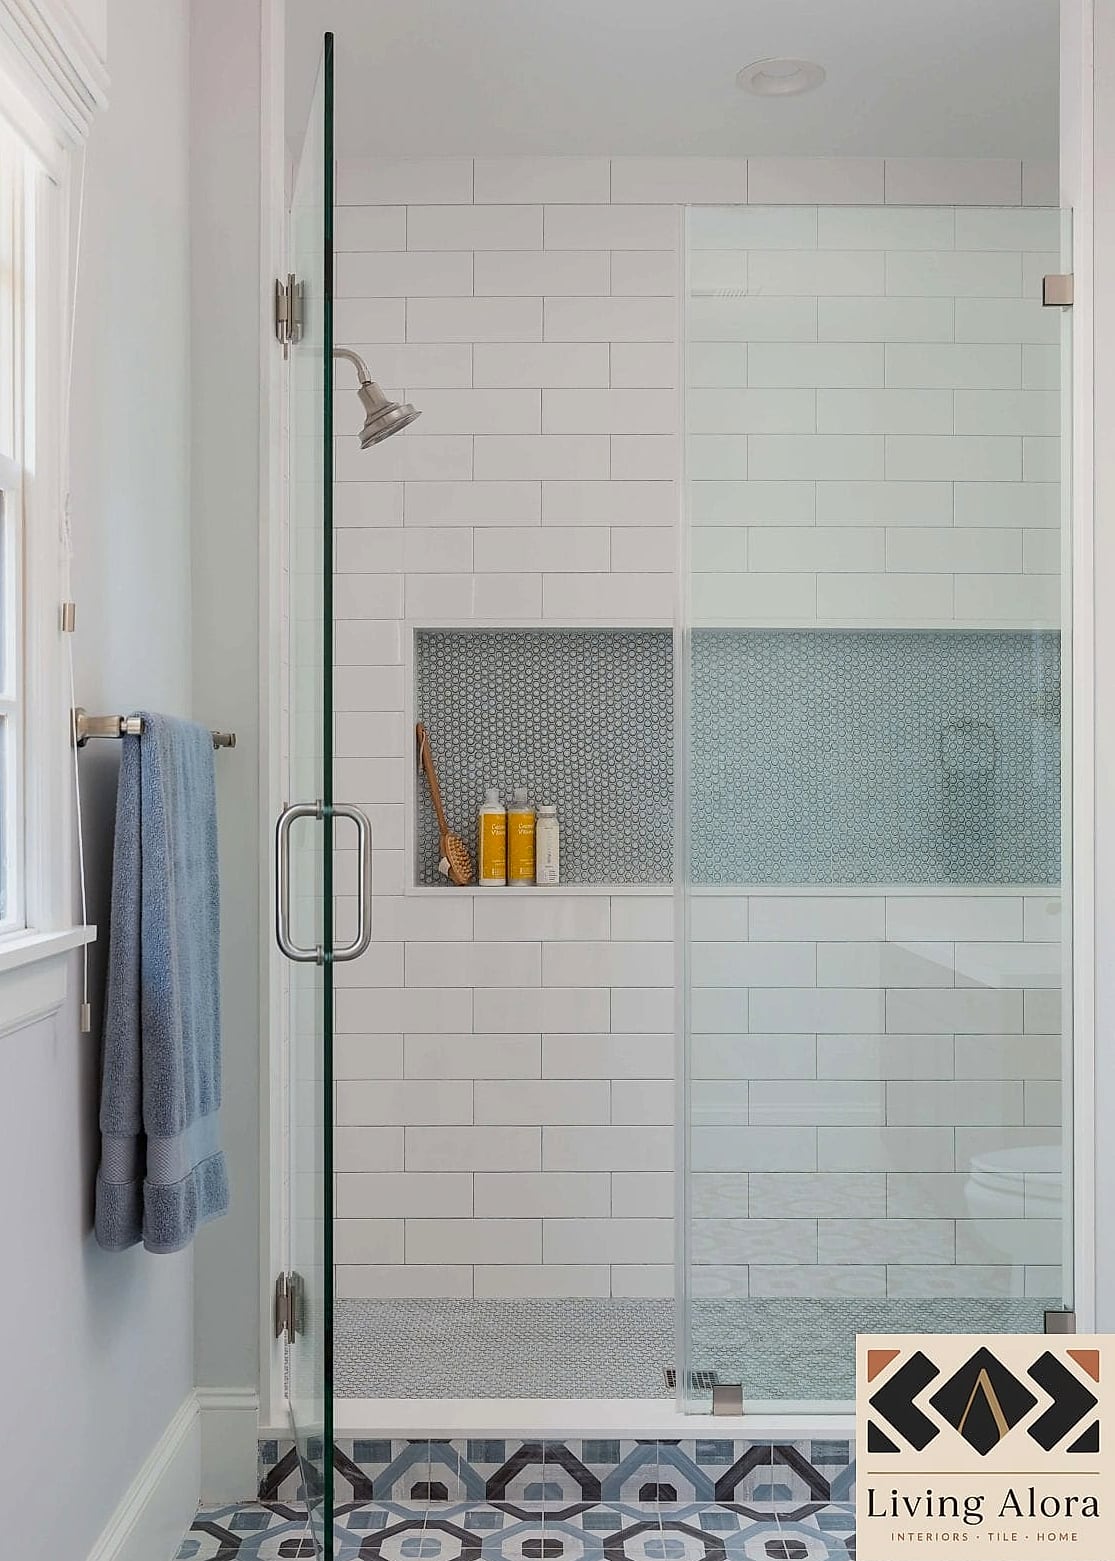
Full-height showers that run tile all the way to the ceiling with just a caulked seam are trending for their clean, seamless appearance. This eliminates soap scum buildup that often collects on trim pieces near the top of a shower. It also makes a small bathroom feel taller since there’s no visual break in the tile. This does mean more tile and grout work overall, so factor that into your budget. Ventilation matters more in this setup since there’s more tiled surface holding moisture.
Terracotta Tile Ending in a Natural Rounded Edge
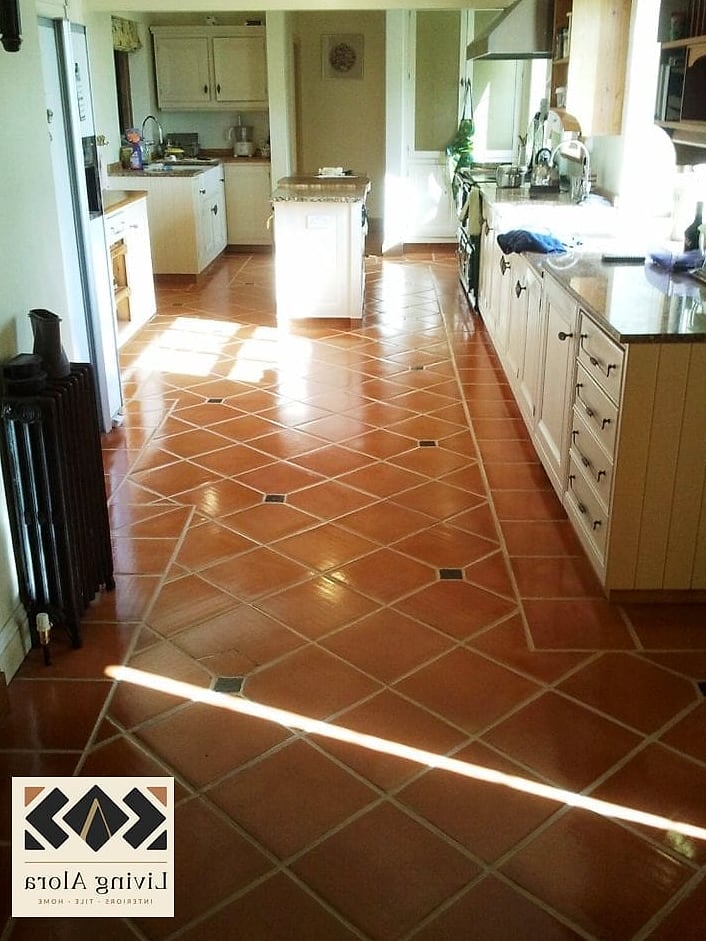
Terracotta and handmade clay tiles often come with slightly irregular, rounded edges that don’t need additional trim at all. The organic imperfection is part of the appeal and fits right into the current earthy, warm-toned design trend. This look is especially popular in kitchens going for a Mediterranean or Spanish-inspired feel. Sealing is important with terracotta since it’s more porous than porcelain or ceramic. It’s a lower-maintenance-looking tile that actually needs a bit more care than people expect.
Tile Ending Flush with a Waterfall Countertop
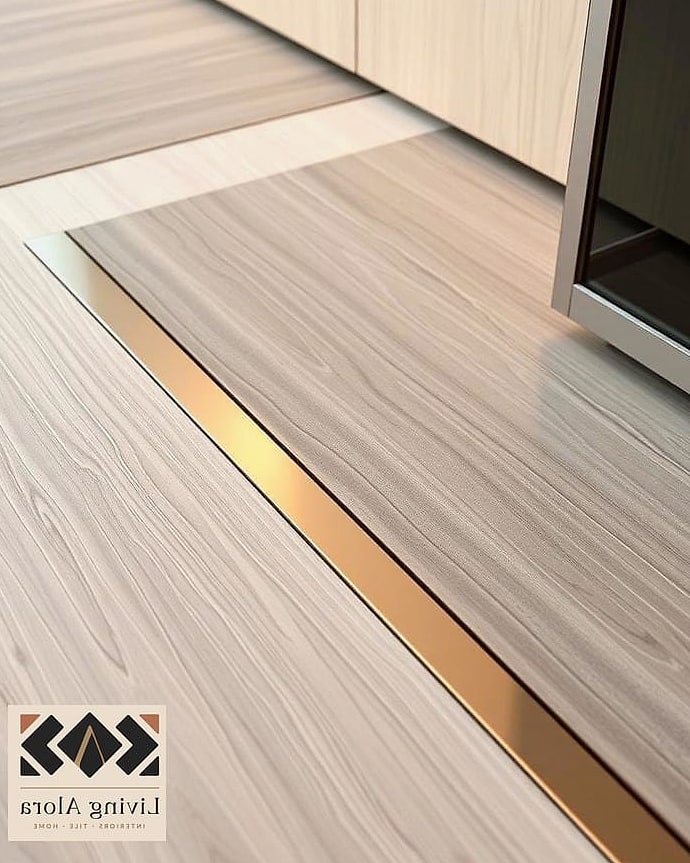
When tile or stone continues down the side of an island to create a waterfall edge, the tile essentially ends at the floor with a mitered corner. This is one of the more dramatic, high-impact looks currently popping up on kitchen renovation boards. It requires precise measuring and a skilled fabricator, particularly with natural stone. The visual weight it adds to an island makes it feel like a furniture piece rather than just a counter. This is a splurge-level detail but one that photographs beautifully.
Half-Wall Tile Ending with a Wood Cap
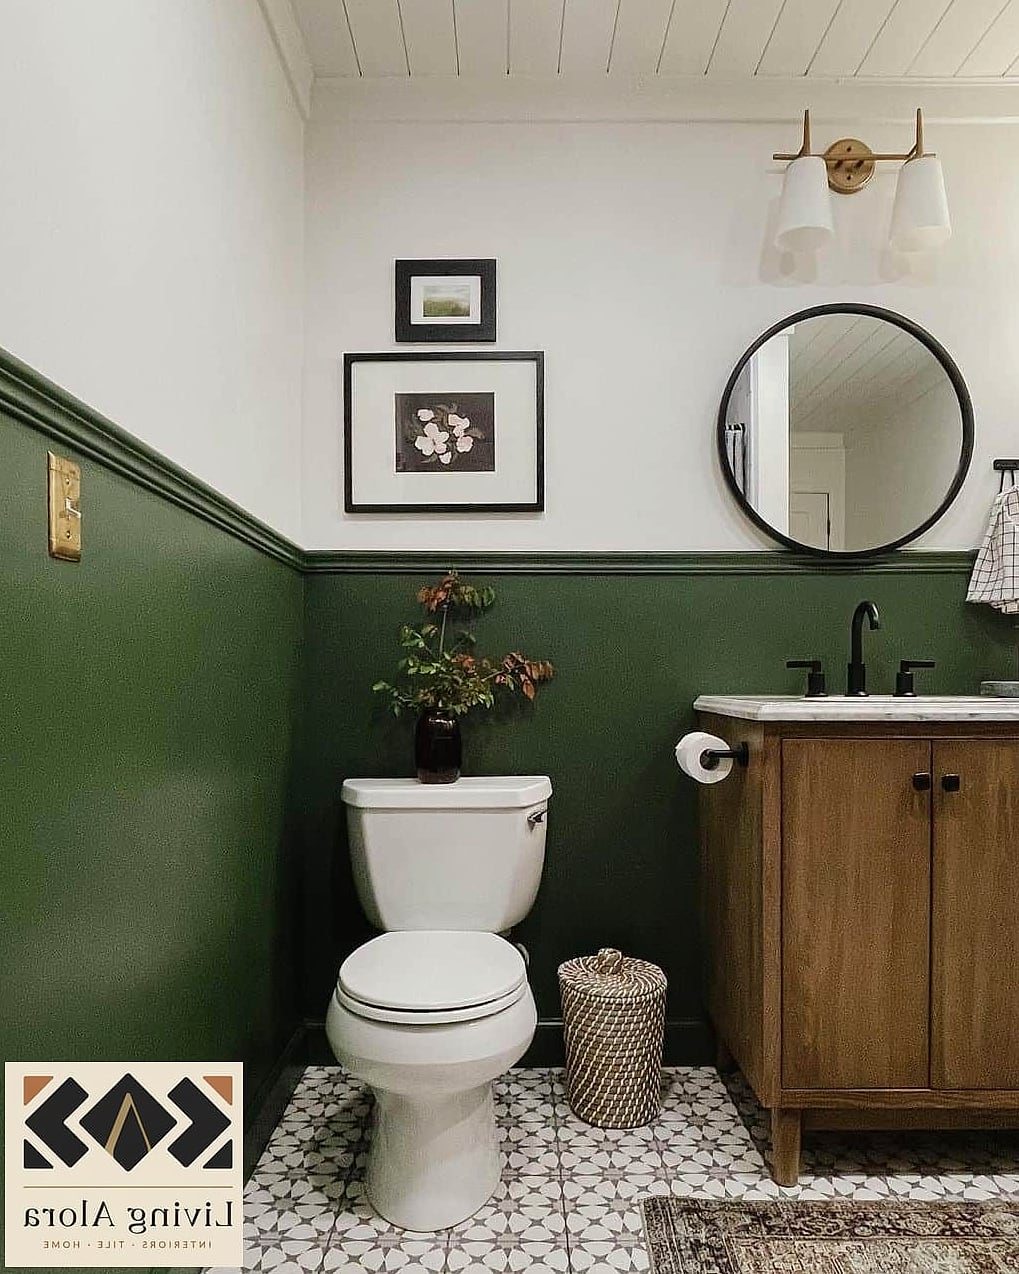
In bathrooms, tiling just the lower half of a wall and capping it with a wood shelf or rail is a warm alternative to metal trim. This look leans into natural materials and pairs nicely with black or brass fixtures. The wood cap can also serve as a spot for small decor or toiletries. Make sure the wood is properly sealed if it’s near a shower or tub. This is an approachable weekend project for confident DIYers.
Scalloped Tile Edge for a Playful Finish
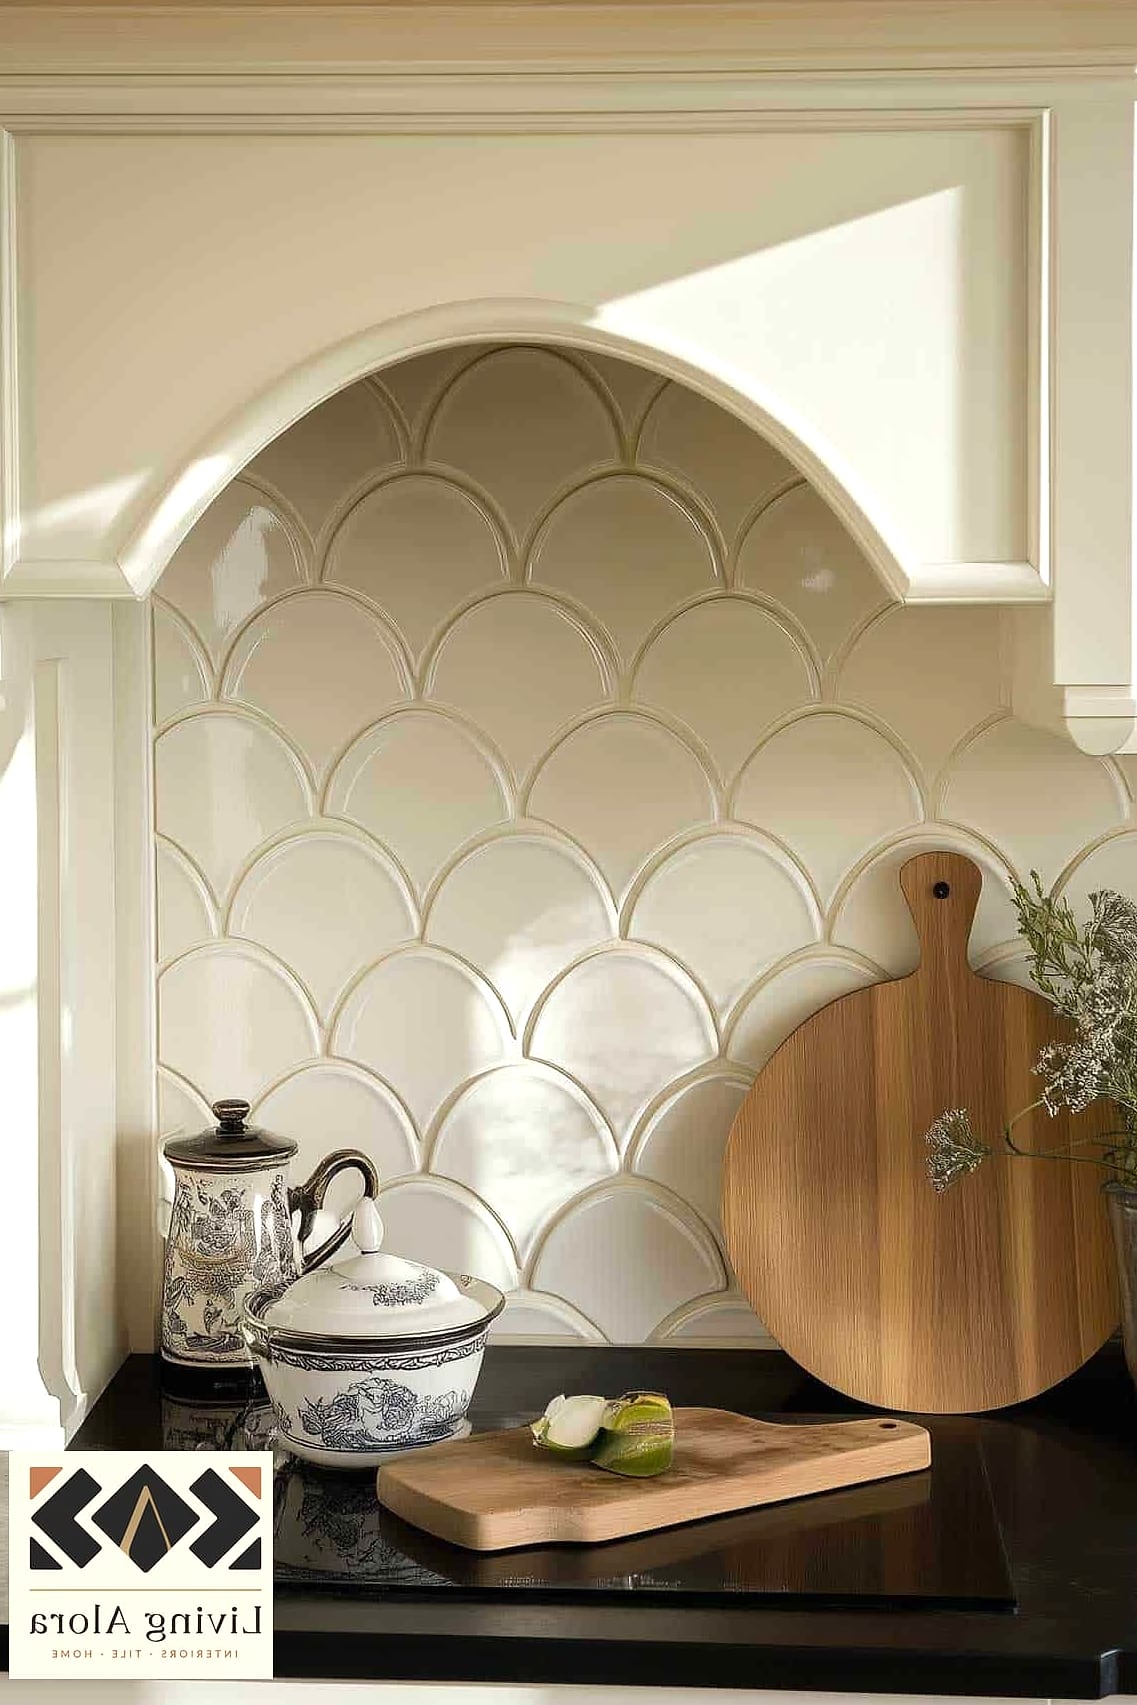
Scalloped or fish-scale tile naturally creates a wavy, playful edge line that needs little else to look finished. This trend has picked up steam for powder rooms and kids’ bathrooms where a bit of whimsy is welcome. The curved shapes catch light differently than flat tile, adding texture even in a single color. Grouting can be a little more time-consuming due to all the curves, so budget extra installation time. It’s a fun way to make a small space feel special without going overboard.
Tile Ending at a Recessed Reveal Strip
A thin recessed strip, sometimes called a reveal or J-channel, sits flush with the wall and gives tile a crisp, shadow-line finish. This is popular in more modern or minimalist kitchens where visible trim feels too busy. It’s subtle enough that most people won’t notice the trim itself, just that the edge looks clean. This does require careful installation since the reveal needs to sit perfectly level. It’s a detail contractors love because it hides small imperfections in the cut tile edge.
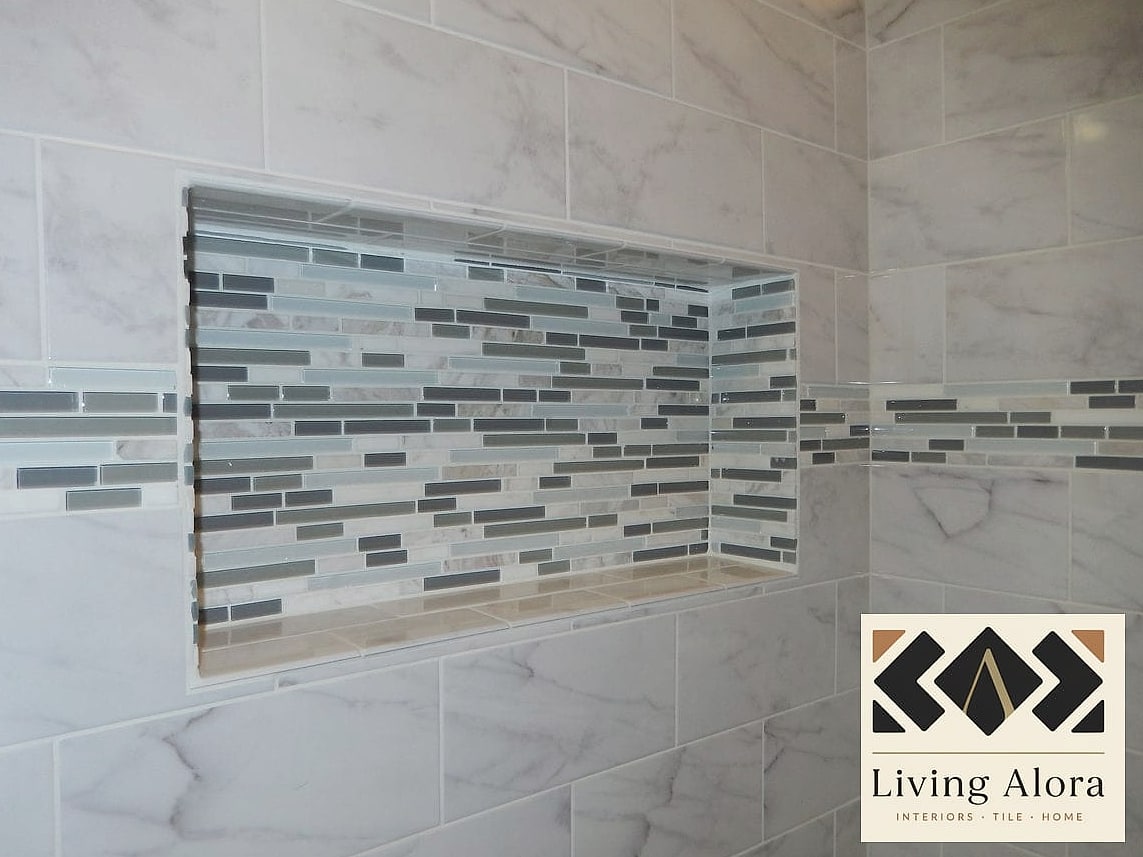
Ending Tile with a Soap Niche Border
Framing a shower niche with a slightly different trim or tile color gives it a defined, finished edge rather than blending into the surrounding wall. This creates a nice focal point in an otherwise large tiled shower wall. Popular choices include a thin metal frame or a contrasting grout color around the niche. It’s a small design choice that makes a niche look intentional rather than like an afterthought. This works with almost any tile style, from classic subway to modern large-format.
Large Format Tile Ending in Minimal Grout Lines
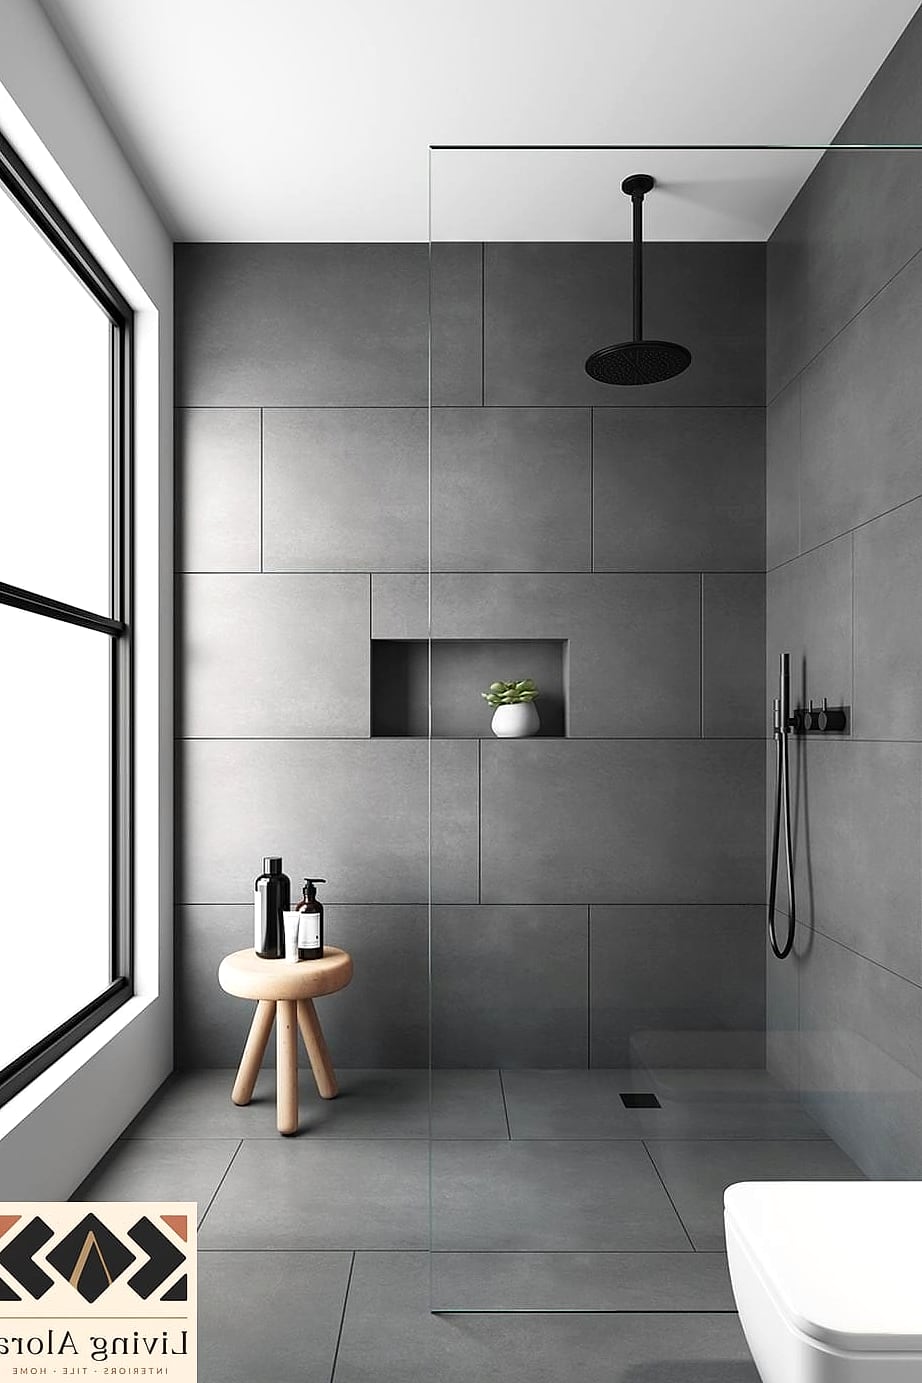
Large format tile naturally needs fewer trim pieces since there are fewer seams to manage overall, and many designs are letting the tile itself create the finished look with barely-there grout lines. This creates a sleek, almost seamless wall or floor. It’s popular in modern bathrooms and kitchens going for a spa-like, uncluttered feel. Cutting large tile requires more skill and a wet saw, so this is generally not a beginner DIY project. Cleaning is actually easier with fewer grout lines to maintain.
Ending Tile at an Angled Cut for Sloped Ceilings
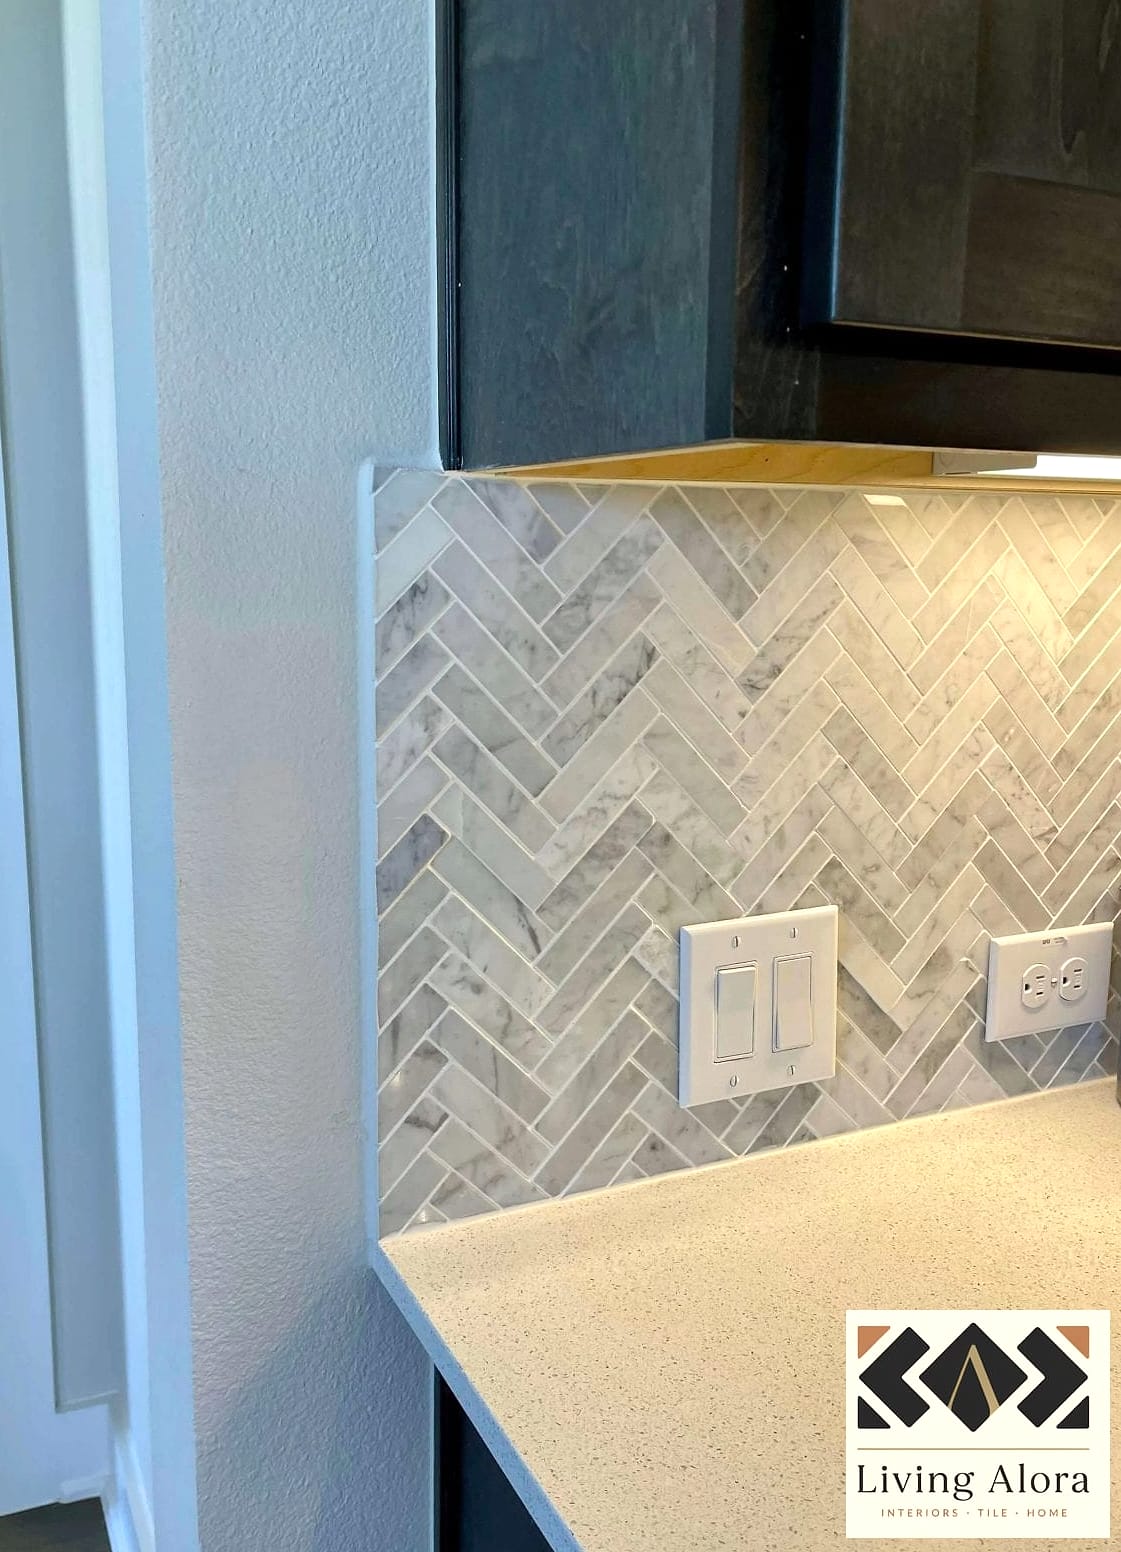
In attic bathrooms or spaces with sloped ceilings, tile is increasingly being cut at an angle to follow the roofline instead of stopping in an awkward straight line. This creates a much more custom, architecturally considered look. It takes careful measuring and a good installer who’s comfortable with angled cuts. The result feels like the tile was designed for that exact space, which, if done right, it was. This is a great option for converted attic bathrooms that are trending on Pinterest lately.
Tile Ending with a Contrasting Grout Frame
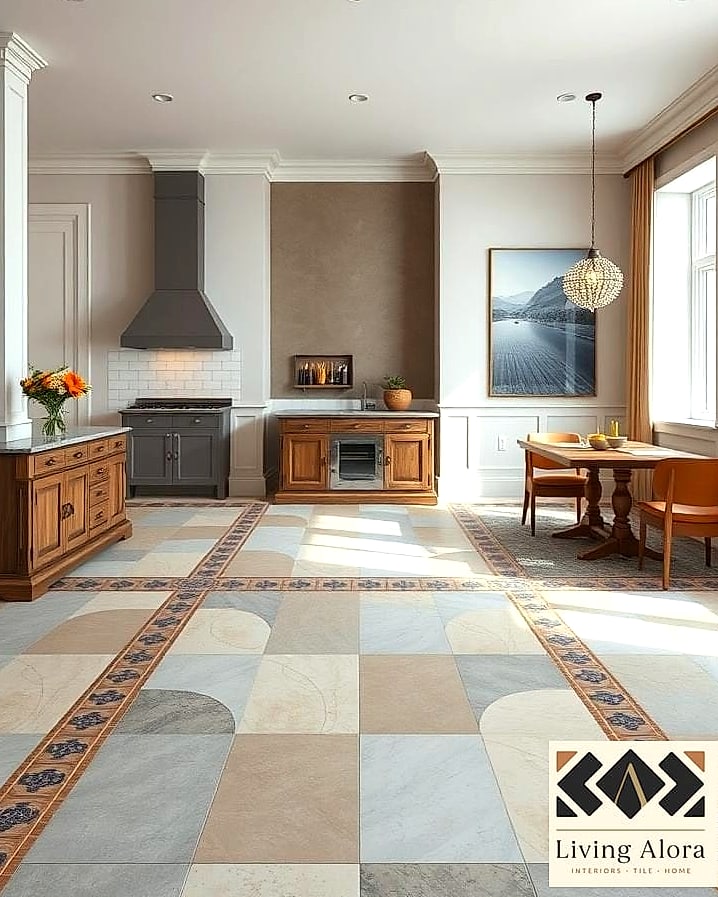
Instead of trim, some designs use a slightly thicker grout line or a contrasting grout color right at the tile’s edge to visually frame the installation. This creates definition without adding any physical material. It’s a subtle, budget-friendly trick that works especially well with mosaic or patterned tile. Dark grout against light tile, or vice versa, gives a crisp outline effect. It’s an easy detail to plan for before you even start setting tile.
Ending Tile Behind a Mirror for a Built-In Look
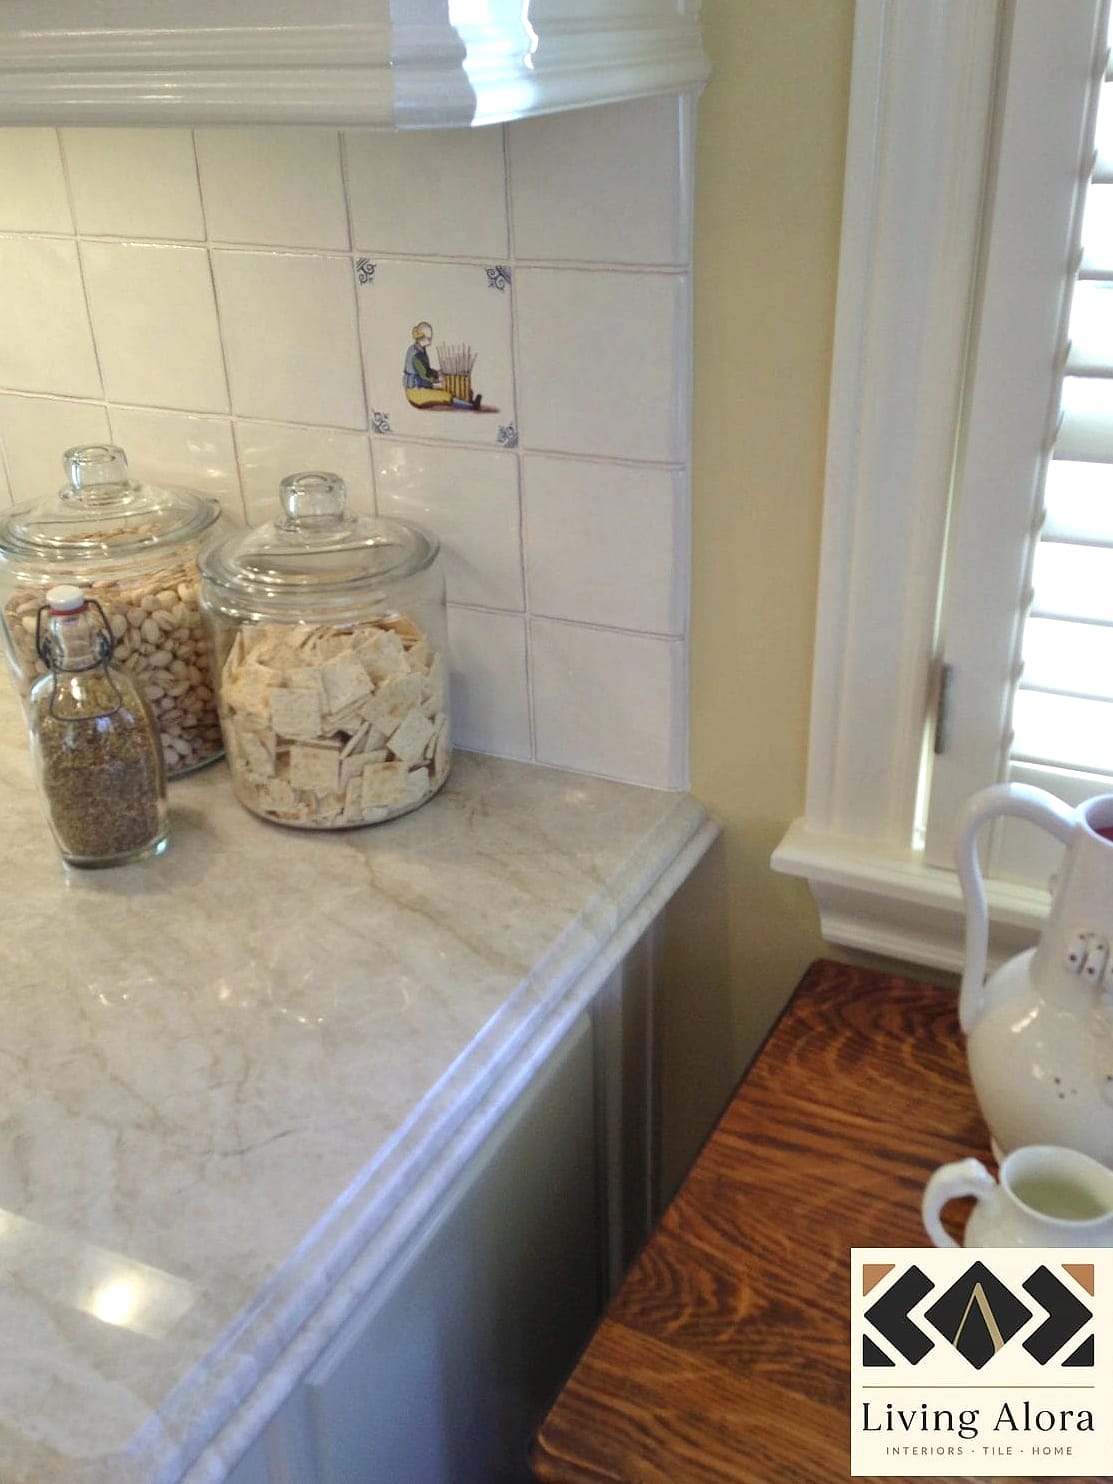
Letting tile run behind a bathroom mirror and stop right at its edges creates the illusion of a fully finished wall without extra material or trim work. This is a clever, budget-conscious way to make a small tiled area look more substantial. It works particularly well with a mirror that has a slight frame to help hide the raw tile edge underneath. This approach saves on tile costs since you’re covering less visible surface. It’s a favorite trick among renters doing peel-and-stick tile updates too.