14 How to Install Subway Tile Ideas You Haven’t Seen Before

- Vertical Stacked Installation for a Taller Look
- Herringbone Pattern for Movement and Texture
- Vertical Herringbone for a Dramatic Statement Wall
- Basketweave Layout Using Rectangular Tiles
- Vertical Offset for a Subtle Twist on Tradition
- Extended Grout Lines for a Modern, Minimalist Look
- Floor-to-Ceiling Installation Behind the Range
- Two-Tone Subway Tile for Added Depth
- Picture Frame Border Detail
- Diagonal Brick Pattern for Subtle Energy
- Vertical Subway Tile Around a Window
- Textured Zellige-Style Subway Tile
- Subway Tile with Exposed Brick-Style Grout Joints
- Mixed-Finish Installation Combining Matte and Glossy Tile
14 How to Install Subway Tile Ideas You Haven’t Seen Before
Subway tile gets a bad reputation for being boring, but honestly, that’s only true if you install it the same way everyone else does. The tile itself is just a blank canvas. It’s the layout, the grout choice, the direction you run it, and the little details that turn a basic backsplash into something people actually stop and ask about.
I’ve pulled together fourteen installation approaches that go beyond the standard brick pattern you see in every builder-grade kitchen. Some are easy weekend projects, others take a bit more patience, but all of them prove that subway tile still has plenty of surprises left in it.
Vertical Stacked Installation for a Taller Look
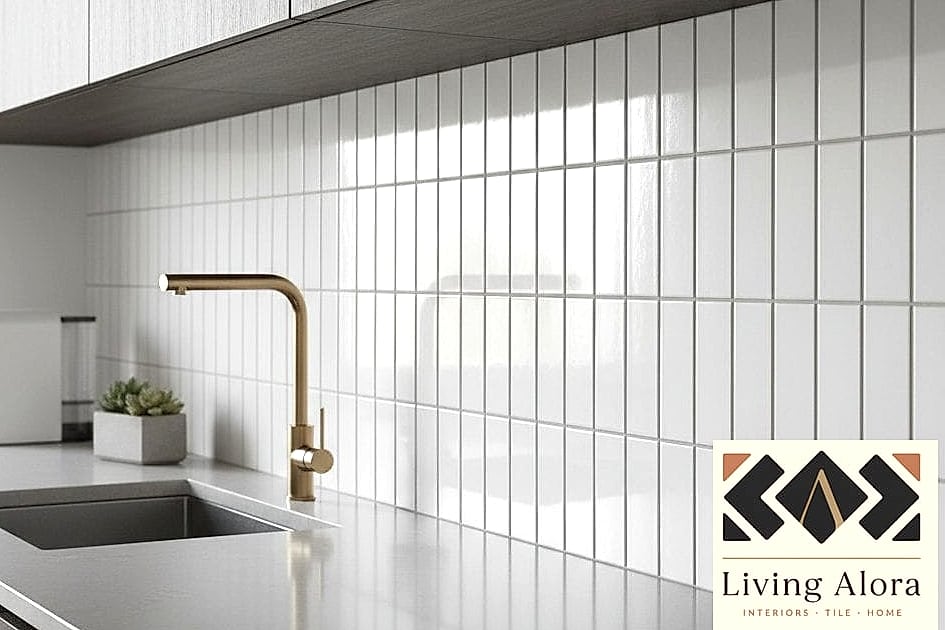
Instead of laying tiles horizontally in the classic offset pattern, try stacking them straight up in vertical columns. Each tile sits directly above the one below it, creating clean, unbroken lines that pull the eye upward.
This works beautifully in kitchens with lower ceilings since it creates the illusion of extra height. It’s also a favorite in small bathrooms where you want the space to feel less cramped.
Grout lines stay minimal and symmetrical here, so precision matters more than usual. If you’re doing this yourself, invest in good tile spacers and take your time with the layout before committing to mortar.
Herringbone Pattern for Movement and Texture
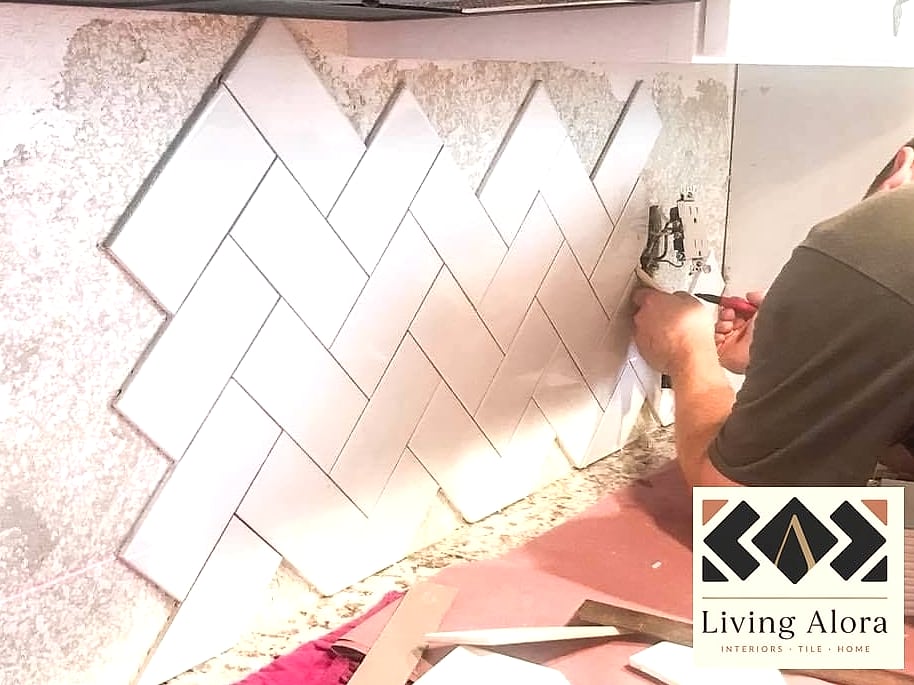
Herringbone turns subway tile into something that feels almost architectural. Tiles are set at 45-degree angles, forming a zigzag pattern that adds visual movement to an otherwise flat wall.
This pattern works especially well behind a stove or as a focal point above open shelving. It draws attention exactly where you want it without needing bold color.
Installation is trickier than a standard layout because of all the angled cuts, so this is one where hiring a tile installer might save you some frustration. If you’re set on DIY, a wet saw and a lot of patience will get you there.
Vertical Herringbone for a Dramatic Statement Wall
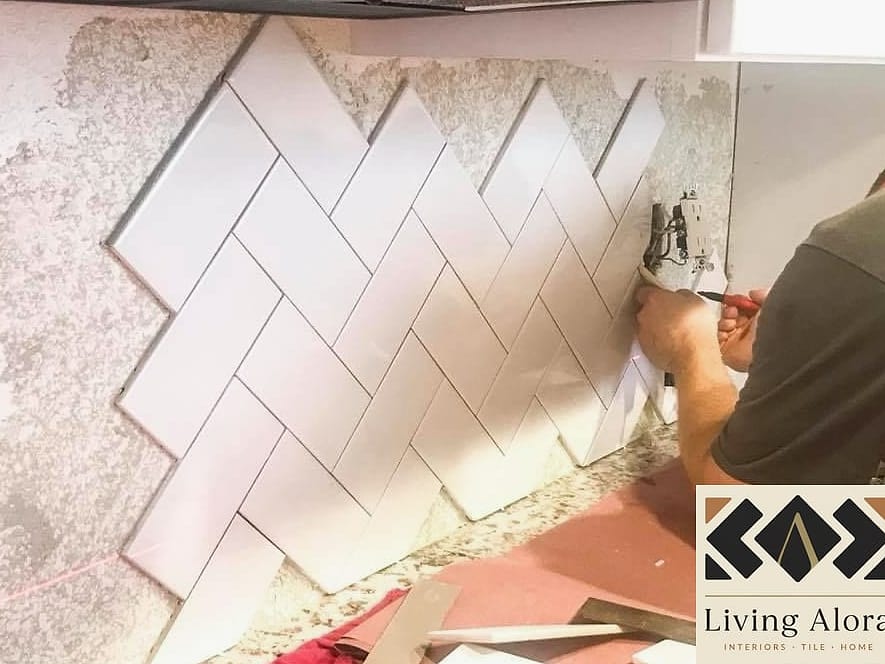
Take the herringbone concept and rotate it vertically instead of horizontal, and you get something that reads almost like a piece of art. This version feels more modern and less traditional subway.
It’s a strong choice for a shower wall or an accent behind a freestanding tub. Pair it with matte black fixtures or brushed brass hardware and the whole space feels intentional and custom.
Because the pattern is so busy on its own, keep the grout color close to the tile color. High contrast grout can make vertical herringbone look chaotic instead of elegant.
Basketweave Layout Using Rectangular Tiles
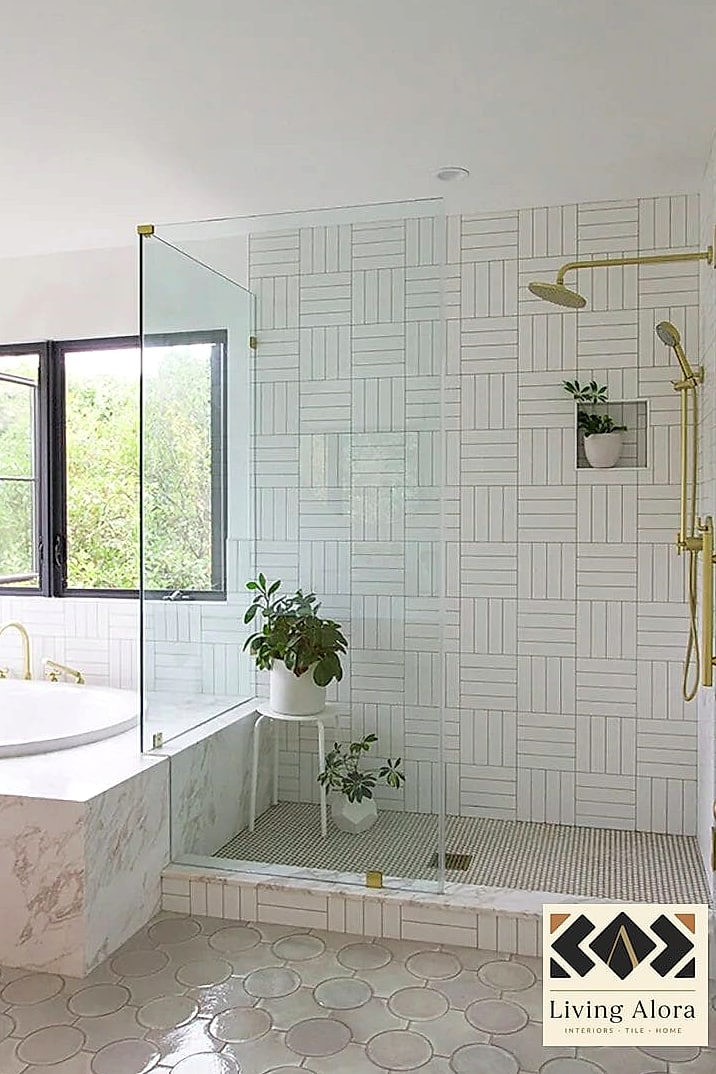
Basketweave isn’t just for mosaic tile anymore. Using standard subway tile in alternating horizontal and vertical pairs creates a woven look that’s unexpected and genuinely eye-catching.
This layout shines in laundry rooms and mudrooms where you want personality without going overboard on color or pattern. It also works surprisingly well on a kitchen floor if you’re using a more durable porcelain tile version.
Because the pattern relies on precise pairing, plan your layout on paper or with tile spacers before you start setting anything permanently. Mistakes here are harder to hide than in a simple brick pattern.
Vertical Offset for a Subtle Twist on Tradition
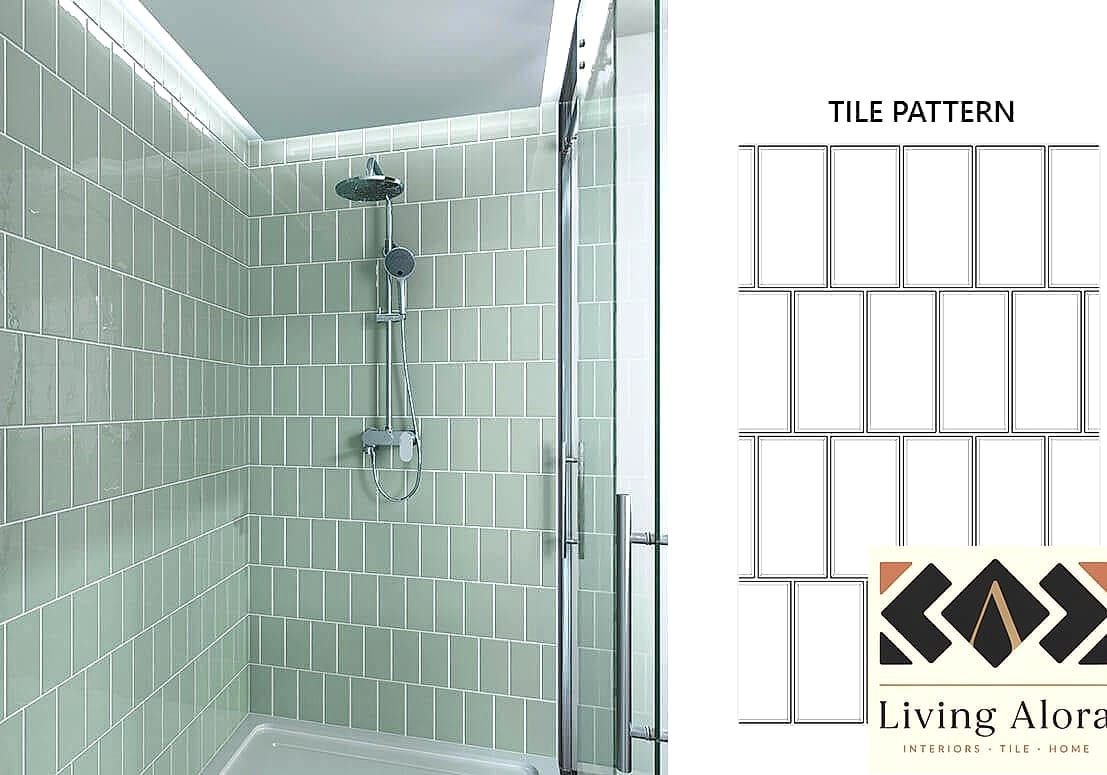
If full vertical stacking feels too rigid, try a vertical offset installation. Tiles run in columns but are staggered so each row shifts up or down slightly from its neighbor.
It keeps the clean vertical lines everyone loves while adding a little organic variation. This is a great renter-friendly option too, since it photographs well and appeals to future buyers without being polarizing.
It’s forgiving during installation since minor spacing inconsistencies just read as intentional texture rather than mistakes.
Extended Grout Lines for a Modern, Minimalist Look
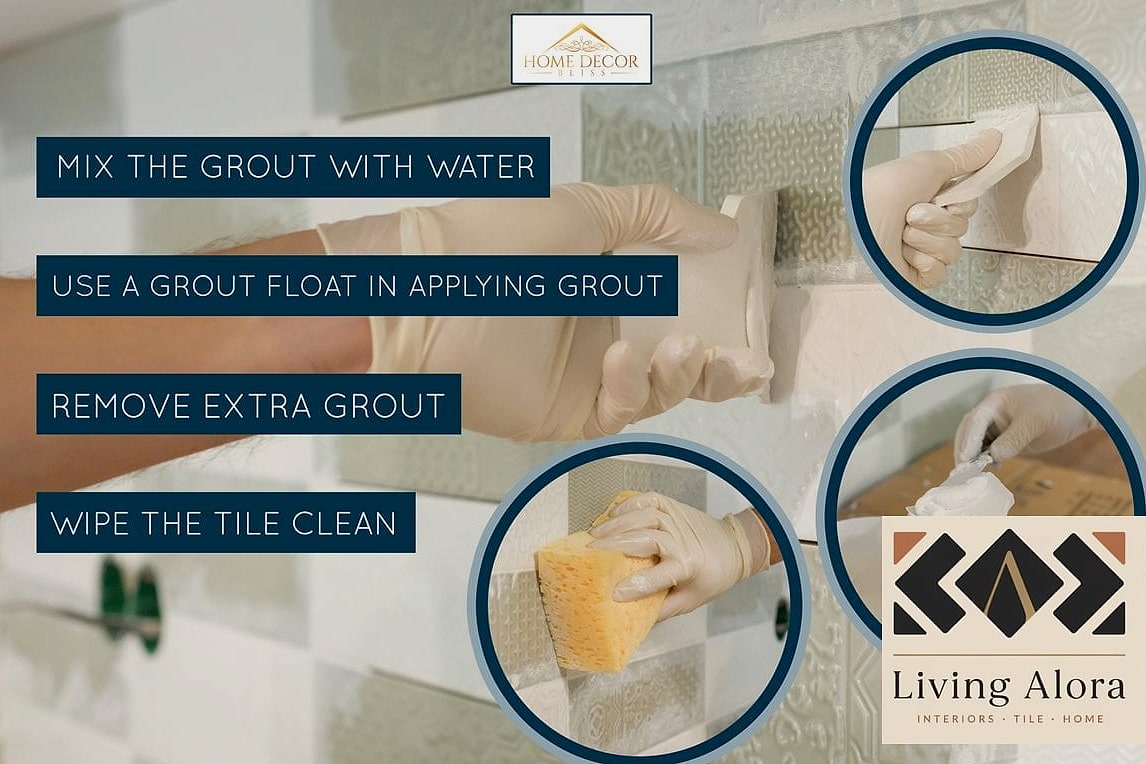
One installation trick that changes everything is simply widening your grout lines. Standard subway tile often uses tight, narrow grout, but pushing that to a quarter inch or more gives the whole wall a more contemporary, almost industrial feel.
Pair wider grout with a dark charcoal or black grout color against white tile for serious contrast. It’s a small change that makes a big design statement.
Keep in mind wider grout lines mean more surface area to clean, so this look pairs best with a sealed grout and a realistic cleaning routine.
Floor-to-Ceiling Installation Behind the Range
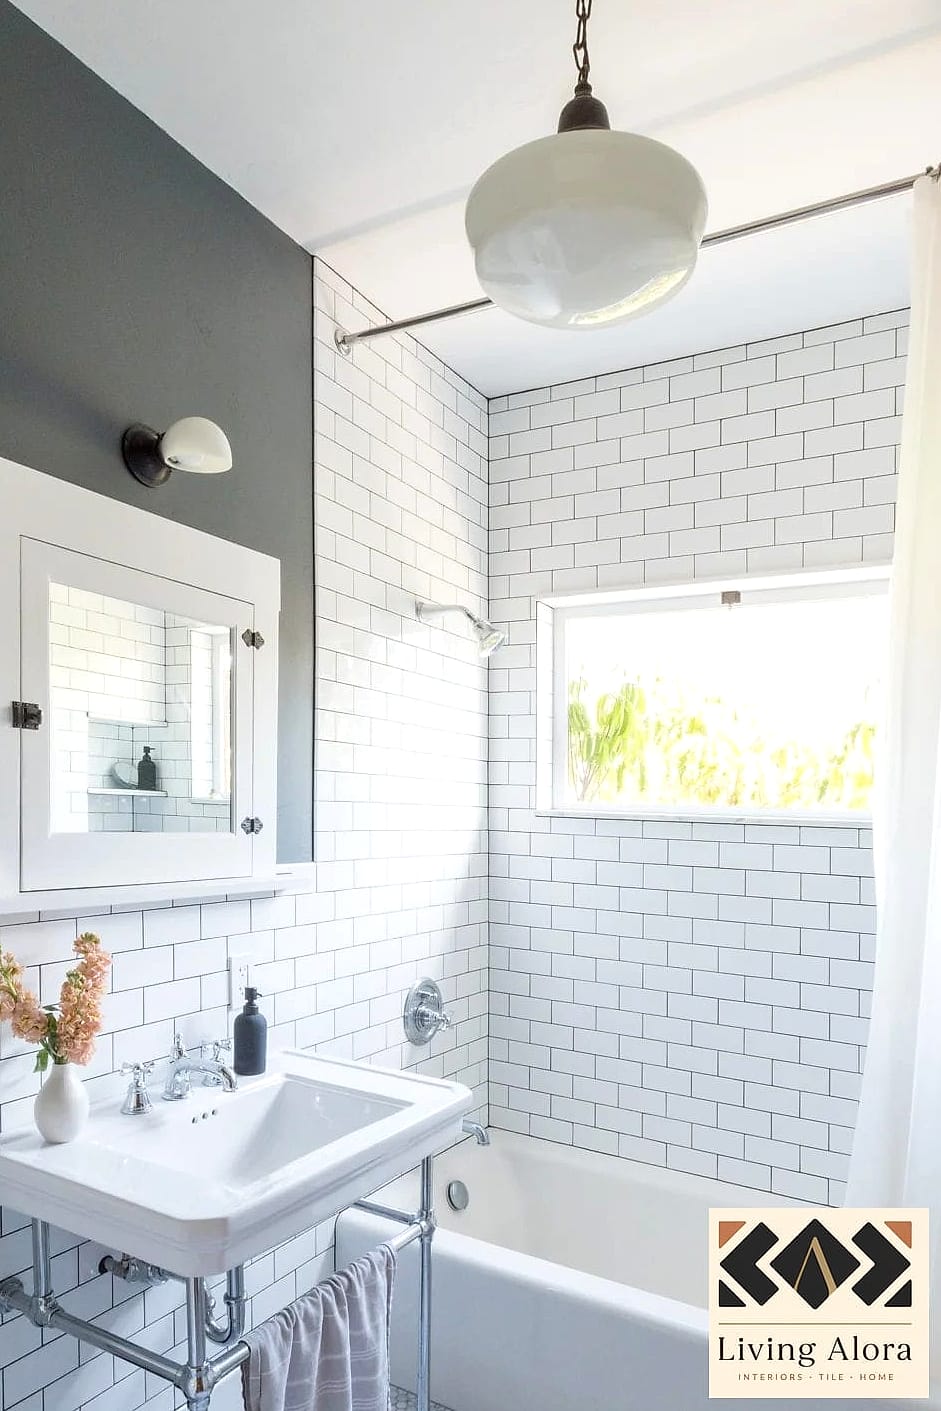
Most kitchens stop subway tile at standard backsplash height, usually around 18 inches above the counter. Taking it all the way to the ceiling behind the stove creates a bold focal wall that feels custom and high-end.
This works especially well in kitchens without upper cabinets on that wall, giving you a clean expanse to show off the tile pattern. It’s also practical, since that full coverage protects the wall from grease and splatters far better than a partial installation.
Budget-wise, this uses significantly more tile, so factor that into your material costs before falling in love with the look.
Two-Tone Subway Tile for Added Depth
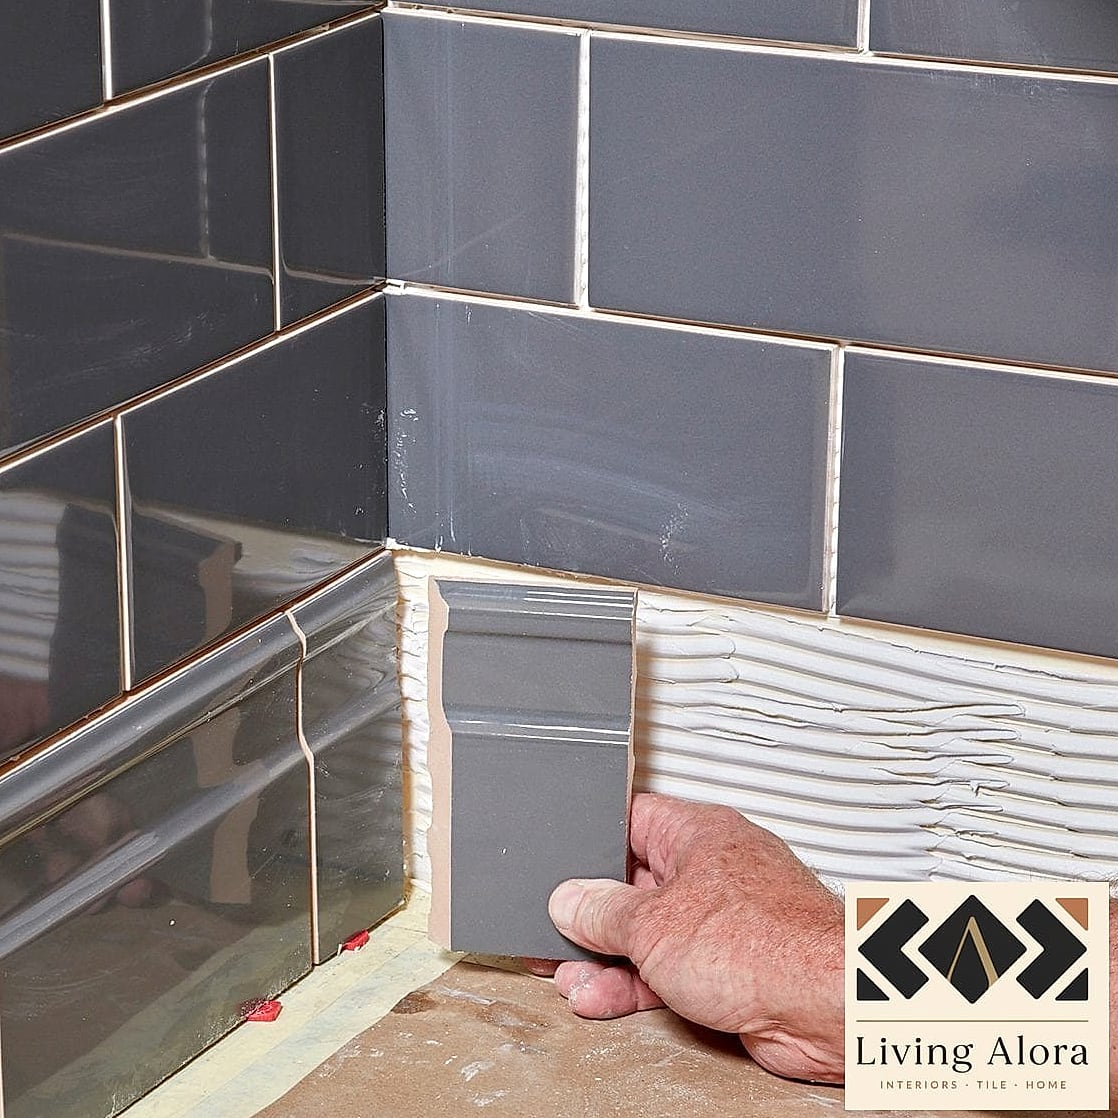
Instead of one solid color, mix two complementary shades of subway tile in the same installation. Think soft sage and cream, or classic white paired with a warm greige.
You can alternate colors by row, by column, or even create a soft ombre effect that gradually shifts from light to dark. It adds depth without relying on a busy pattern.
This approach works in kitchens, bathrooms, and even as a statement wall in an entryway. It’s a subtle way to bring in color if you’re hesitant about committing to a bold hue across an entire wall.
Picture Frame Border Detail

Adding a contrasting tile border around the perimeter of your subway tile installation gives it a finished, tailored look, almost like a piece of wall art got framed. Use a thin strip of marble, a mosaic accent, or even a different tile color to outline the space.
This detail works particularly well above a range hood or within a defined backsplash area between countertop and cabinets. It signals intentional design rather than just filling wall space with tile.
It does add complexity and cost, but even a simple pencil tile border can achieve the effect on a smaller budget.
Diagonal Brick Pattern for Subtle Energy

Rotating the classic brick pattern 45 degrees changes the entire feel of subway tile installation. Rows run diagonally instead of horizontally, creating gentle movement across the wall.
This works well in larger kitchens or open bathroom layouts where you have enough wall space for the pattern to read clearly. In smaller areas, it can feel busy, so scale matters here.
Cutting tiles at an angle along the edges takes more skill and generates more waste, so order a little extra tile than you think you’ll need.
Vertical Subway Tile Around a Window
Instead of stopping your tile at the edge of a window, wrap it vertically around the window frame itself. This creates a cohesive, built-in look rather than having tile awkwardly interrupted by trim.
It’s especially striking over a kitchen sink where a window is often the focal point anyway. Add a small ledge with a plant or a few essential oil bottles and the whole area feels styled rather than just functional.
This installation requires careful measuring and mitered corners for a clean finish, so it’s not the easiest DIY on this list, but the payoff is worth it.
Textured Zellige-Style Subway Tile

While true zellige tile is handmade in Morocco, many manufacturers now make subway-shaped tiles with that same irregular, textured, glossy finish. Installing these instead of perfectly flat ceramic gives you all the pattern benefits of subway tile with an artisanal, one-of-a-kind look.
Light bounces differently across each tile because of the slight variations in thickness and glaze, adding depth that flat tile just can’t replicate. It’s a favorite for homeowners wanting a European farmhouse feel without going fully rustic.
These tiles are pricier and slightly trickier to install evenly, so budget for both the material cost and possibly professional installation.
Subway Tile with Exposed Brick-Style Grout Joints

For an industrial loft feel, install subway tile with deliberately uneven, slightly raised grout joints instead of the usual flush, smooth finish. It mimics the look of old exposed brick while still giving you the practical, easy-to-clean surface of tile.
This pairs beautifully with open shelving, black metal fixtures, and warm wood tones. It feels lived-in and characterful rather than sterile.
Because the technique is nonstandard, talk to your installer ahead of time about achieving this texture intentionally rather than it looking like a mistake.
Mixed-Finish Installation Combining Matte and Glossy Tile
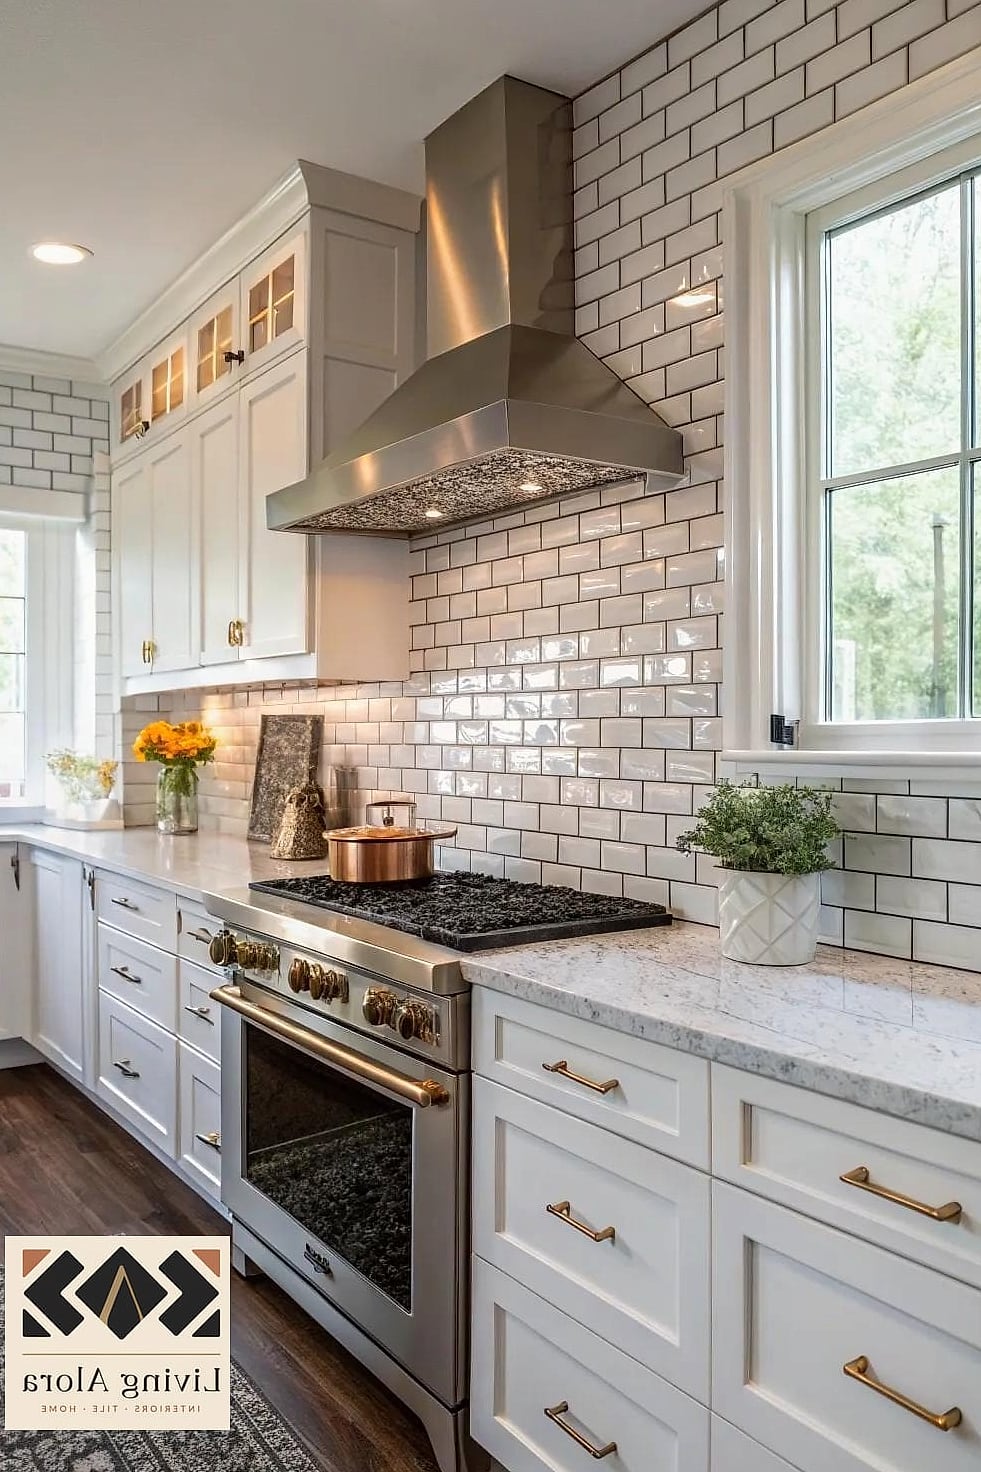
Using the same subway tile shape and color but alternating between matte and glossy finishes creates subtle pattern variation that’s easy to miss at first glance and satisfying once you notice it. Think a glossy tile every third row within an otherwise matte installation.
This works well for anyone who wants texture and interest without introducing new colors or complicated layouts. It’s a quieter design choice that still feels custom.
Lighting plays a big role here since the glossy tiles will catch light differently than the matte ones, so consider your kitchen or bathroom lighting setup before finalizing the ratio.
Subway tile has been a kitchen and bathroom staple for over a century, and honestly, that’s exactly why there’s so much room to play with it. The shape is familiar, which means even a small change in pattern, color, or grout instantly reads as a deliberate design choice rather than something unfinished.
Whether you’re tackling a full renovation or just refreshing one wall, these installation ideas prove that subway tile can be just as much of a design statement as any trendy material out there. Pick the one that fits your space, your budget, and your patience level, and you’ll end up with something that feels distinctly yours.